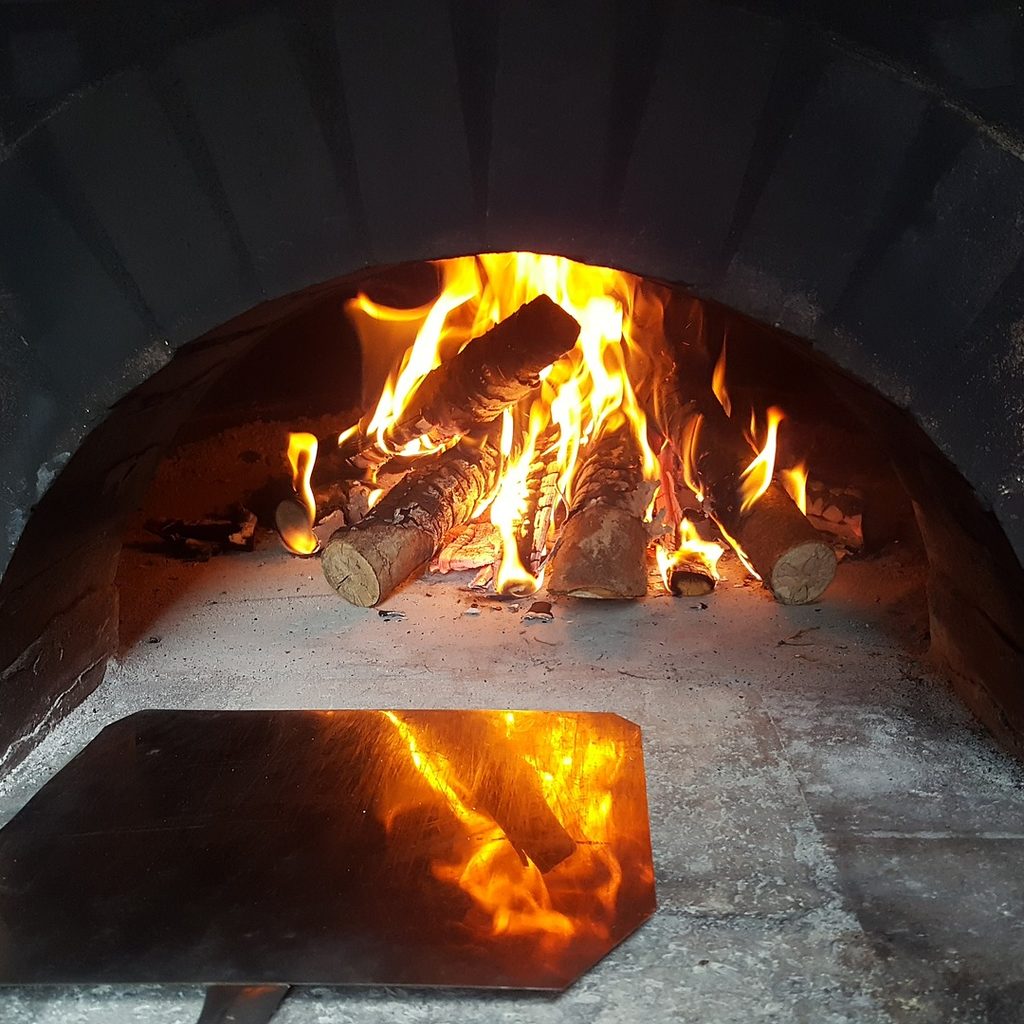
Pizza ovens are a wonderful luxury. One of life’s greatest pleasures is the combination of pizza, the outdoors, and a wood fire. Once you own one, your backyard becomes the neighborhood’s favorite gathering spot – and fast.
However, buying a pizza oven can sometimes be expensive; building one is a great option you likely haven’t considered. There are many outdoor pizza oven designs, but we will show a simple, effective design you can make yourself. You’ll be enjoying the smell of fresh dough and sauce cooking in your backyard before summer arrives.
What you will need
Equipment/tools
We won’t beat around the bush; you will need a few heavy-duty tools for the job. Thankfully, all of these can be bought at your local hardware store:
- Circular saw
- Cordless drill
- Tape measure
- Rubber mallet
- A tub for mixing concrete
- Spray bottle filled with water
- Metal snips
- Jigsaw
- Carpenter’s pencil
- Mason’s trowel
- Hammer
- Masonry chisel
Materials
- Quick-set concrete
- MDF (medium-density fiberboard): 4×4-feet
- Exterior-grade plywood
- Scrap boards: 18×18-inches
- Steel rebar mesh, 10-guage
- Drywall screws
- Silicone caulk
- Release agent, such as mineral oil
- Bricks
- Mortar
- Scrap cardboard
- 75 pounds of sand
- Plastic sheeting
- Metal duct pipe: 6-inch diameter by 2-foot round
Build the bottom and sides of the mold
Essentially, an outdoor pizza oven is a contained fire; that’s why you need a fireproof base. You want to cast the slab as close as possible to the eventual location of the pizza oven. Build a mold of the plywood by first cutting one large piece for the bottom then four pieces for the side. It doesn’t matter what the bottom piece is sized to but we suggest 36×36 inches. With the snips, cut the mesh to 35×35 inches.
Now take the circular saw and cut more plywood into strips that are 2 3/4 inches wide and 36 inches long for sidewalls. Take these sidewalls and attach them to the bottom piece using the drywall screws. Inject the silicone to all 90 degree angles in the mold and use your finger to smooth it down. Once the caulk has finished curing, coat the whole mold with a release agent.
Pour the concrete, then remove the base
Mix your concrete and pour 1-inch of the concrete into your new mold. Place your mesh on top of the concrete then continue pouring the concrete until it reaches the top. Vigorously (and we mean vigorously) hit the sides of the mold with the mallet so the concrete settles. Let the concrete cure for at least 48 hours while occasionally misting the concrete with water to stop cracking. Once the concrete is cured, very carefully knock off the side pieces. With a second person helping, flip the slab upside-down so you can remove the lower piece.

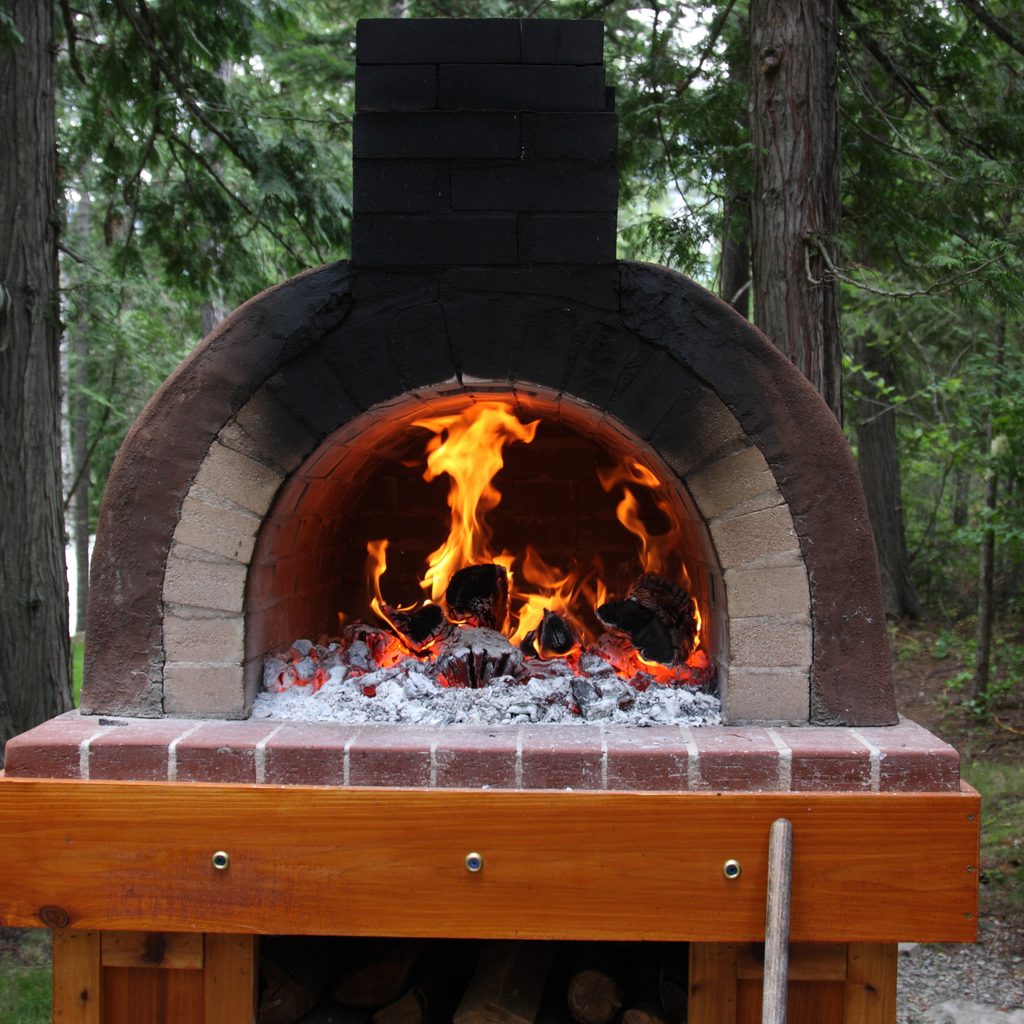
Plan your oven’s footprint, then start building
You need to understand the general footprint of your oven. Remember that the oven will consist of two linked parts: the opening arch and the domed oven. The front opening will have two, double-stacked bricks next to each other roughly 18 inches apart. Five bricks, more or less, will sit on top of the double-stacked bricks. The oven can be free-form; lay your bricks to create a near circle that connects to both sides of the arch. Remember that you can create half bricks with your hammer and masonry chisel.
Front arch
Now, you will create your arch. Take the double-stacked bricks, set them 18 inches apart for the side walls then set one of the scrap boards across the stacks. With your pencil, draw an arch that goes from the inner wall of one stack to the other. Remove the scrap board then put down a second one underneath.
Cut out both arches with the jigsaw. Take the two arch forms and place them roughly 3 inches apart from each other between the side walls. Support the arches with a stack of bricks then mortar, five bricks together across the top of the arch form. Make sure that one of the five bricks is placed in the center to act as a keystone. Mortar each side of the arch to the side walls then let the arch fully dry before removing the arch forms.
Oven’s dome
Mortar the footprint you made for the dome to the concrete base. Once it is fully cured, create a form for the dome by using your sand. Mix the sand with water so it sticks together; then, by hand, transfer the sand to the center of the bricks. Build the sand to create a half-sphere and cover the sand dome with plastic sheets. Now, brick over the sand dome by mortaring each brick with the next. The higher you get, the more you may have to cut bricks into halves or quarters to get a tighter fit. Once there is a 6-inch circle at the top of the dome, stop adding bricks.
Create the chimney
When cooking pizza, the smoke needs somewhere to travel so it doesn’t collect inside the pizza oven. Take the metal duct and place it into the top of the dome, making sure it doesn’t go farther down than the inside wall of the top of the dome. If it goes too low, it may interfere when you go to make your pizzas. Mortar the duct into place.
Cleanup
Wait at least three days for the oven to fully dry and cure. Afterward, you can finally remove all of the supports. Remove the arch forms and the supporting bricks then dig out the sand inside the dome. It’s very important that you get out all of the sand and the plastic sheets. Finally, before fully using the oven at maximum temperatures, create a small wood fire to complete the drying. Make sure that your fire is really small because the mortar and bricks could crack if you heat the oven too quickly.
With some time, money, and energy, you can create a spectacular pizza oven. While the project may seem cumbersome with the amount of tools and materials needed, your patience will be rewarded once you take the first bite of pizza made in your new oven!