
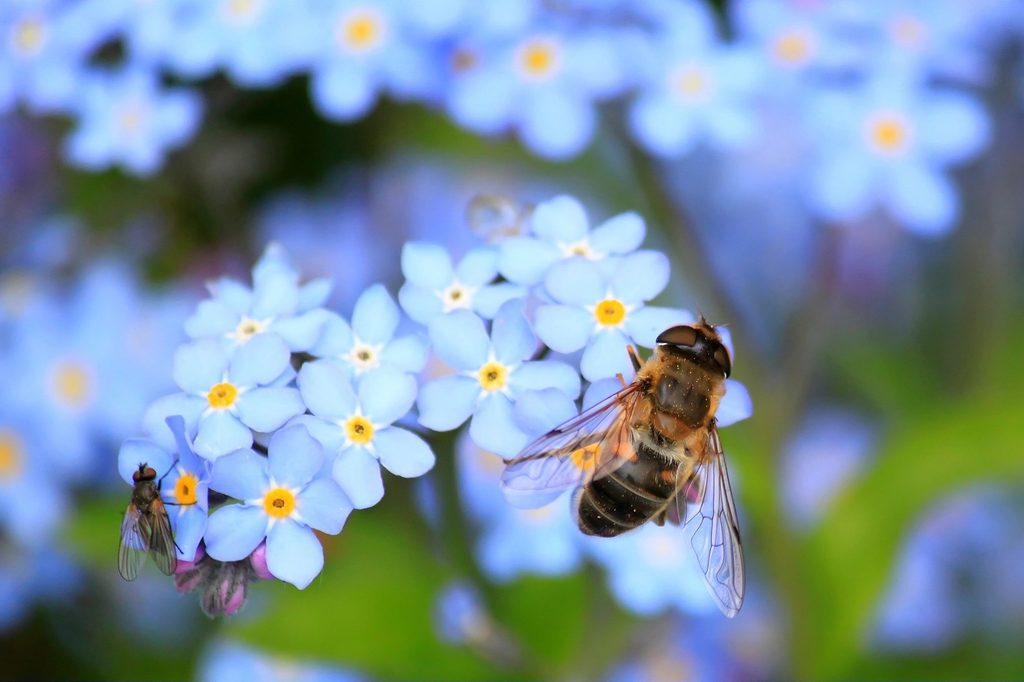
Our pollinators need a break. Consider the monarch butterfly or honey bee, or any of our more than 3,600 lesser-known bee species, hundreds of native butterflies, and hummingbirds. They convert flowers into fruits, grains, nuts, and seeds, including those of more than 150 different North American food crops. However, they face mounting pressure due to habitat loss and fragmentation. Pollinator gardening reduces that pressure. If you’re wondering how to create a pollinator garden, we’ll help you with some tips ahead.
What is a pollinator garden?
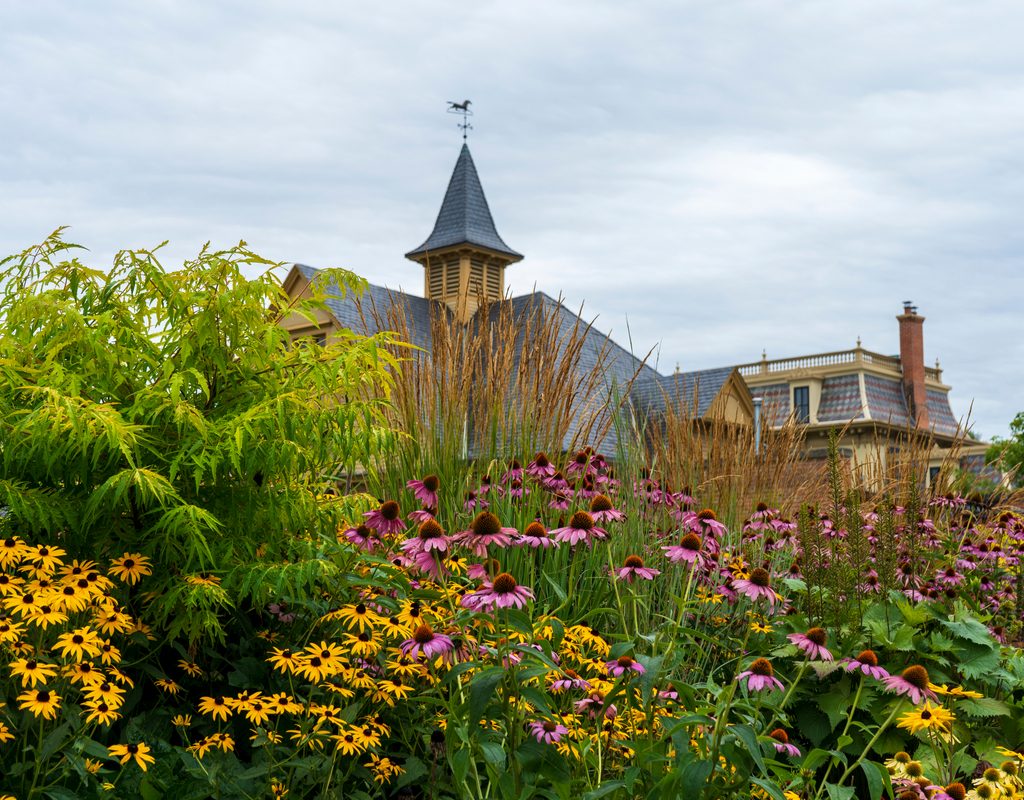
A pollinator garden is a safe haven for bees, butterflies, moths, hummingbirds, and other creatures that carry pollen. It might be as simple as a large container garden with a variety of pollen- and nectar-bearing flowers. Or it could encompass many acres, with host plants that support various stages of life, a progression of flowers throughout the year, and a source of water. Typically, it’s any convenient backyard space that needs a bit of attention.
How to create a new pollinator garden
Analyze the site
Bear in mind that a pollinator garden is an informal space that may not mesh with some landscaping. Choose a location where the aesthetics will flow naturally. Also, avoid sites where insecticides are regularly required.
While virtually any available space can support pollinators, the growing conditions determine which plants will grow there. Measure and sketch the site for planning purposes. Note how much sunlight it receives during the growing season. If it’s sunny, is it baking hot afternoon sun or early sun and afternoon shade? Also note the soil condition and whether the ground is typically moist or high and dry.
A few concerns to watch out for are the prevailing winds and presence of deer, rabbits, and potentially damaging wildlife. If the site is very windy, you may need to incorporate a screen planting into the plan for protection. Plan to protect young plants from herbivores with fences, netting, or tree wraps.
Create a plan to support all life stages
A well-planned pollinator garden should include the full range of resources that pollinators need to survive: food, water, shelter, and security. For a consistent supply of water, include a feature such as a birdbath, garden pond, or small fountain. Limit mowing and trimming in the area, leaving the extra foliage for cover. Hand pull weeds as needed to reduce plant competition.
Use your site sketch and plant list to create a garden plan. Include pathways, water features, and plant positions. Use the following tips to guide plant layout.
- Pollinators need pollen and nectar throughout the growing season. Include plants with early-, mid-, and late-season flowers.
- Spread bloomers from each season throughout the garden for constant, garden-wide interest.
- Plant in masses of five to seven of the same plant to make it easier for pollinators to forage. Repeat multiple masses of the same plant through the garden.
- Garden design principles incorporate variation in height, color, form, and texture. As you decide on which plants to grow, consider how you will organize them into complementary groupings.
- Plants that will grow taller should be at the rear or center. Low plants should be nearest the edges.
- Plan for one plant per square foot to ensure a full garden that will compete well against weeds.
Prepare the garden site
Use an old garden hose and landscape-marking paint to mark the locations and shapes of planting beds. Then remove grass and weeds from the beds before adding a 3-inch layer of compost. Work the compost into the upper 3 inches of native soil with a rototiller or digging fork. Rake the surface smooth and cover the beds with 2 to 3 inches of mulch. Install any water features and hardscaping before planting.
Plant your pollinator plants
Position the plants, still in their containers, on the planting beds according to your plan. Start at the rear or center and work outward. Leave a buffer of 8 to 12 inches between the outer plant pots and the bed border. The buffer will account for foliage growth so that plants do not encroach on the pathway. When all plants are in place, review the layout and make any adjustments before planting.
Pull back the mulch before planting each plant, and recover the roots when finished. Water the bed thoroughly. If the garden is near your property border, consider installing signs that say “Pollinator Habitat: Do Not Spray.”
Maintaining your pollinator garden
A pollinator garden is a habitat that seeks to imitate nature. It’s a low-maintenance project, but it will require some upkeep to become well established and to eliminate non-pollinator-friendly weeds. In the initial weeks after planting, water the garden well. Begin with daily watering for the first week, then reduce it to 3 times in the second week. Starting with the third week, and continuing through the first summer, check the garden weekly and water as needed.
You may be tempted to remove spent flowers, but try to avoid doing so. Let the plants reseed themselves in the fall and leave the dried stems in place until spring. They’ll provide winter cover for solitary bees and other non-migratory pollinators. When the new growth emerges in spring, cut back the prior year’s dead stems.
Best pollinator plants
So, which flowers can you actually grow to attract pollinators? Any native plant that flowers will be excellent for your local pollinator garden, but there are some common pollinator-friendly plants that you can look into if you want to broaden your search. Here are a few flowering plants to get you started as you shop around for your pollinator garden.
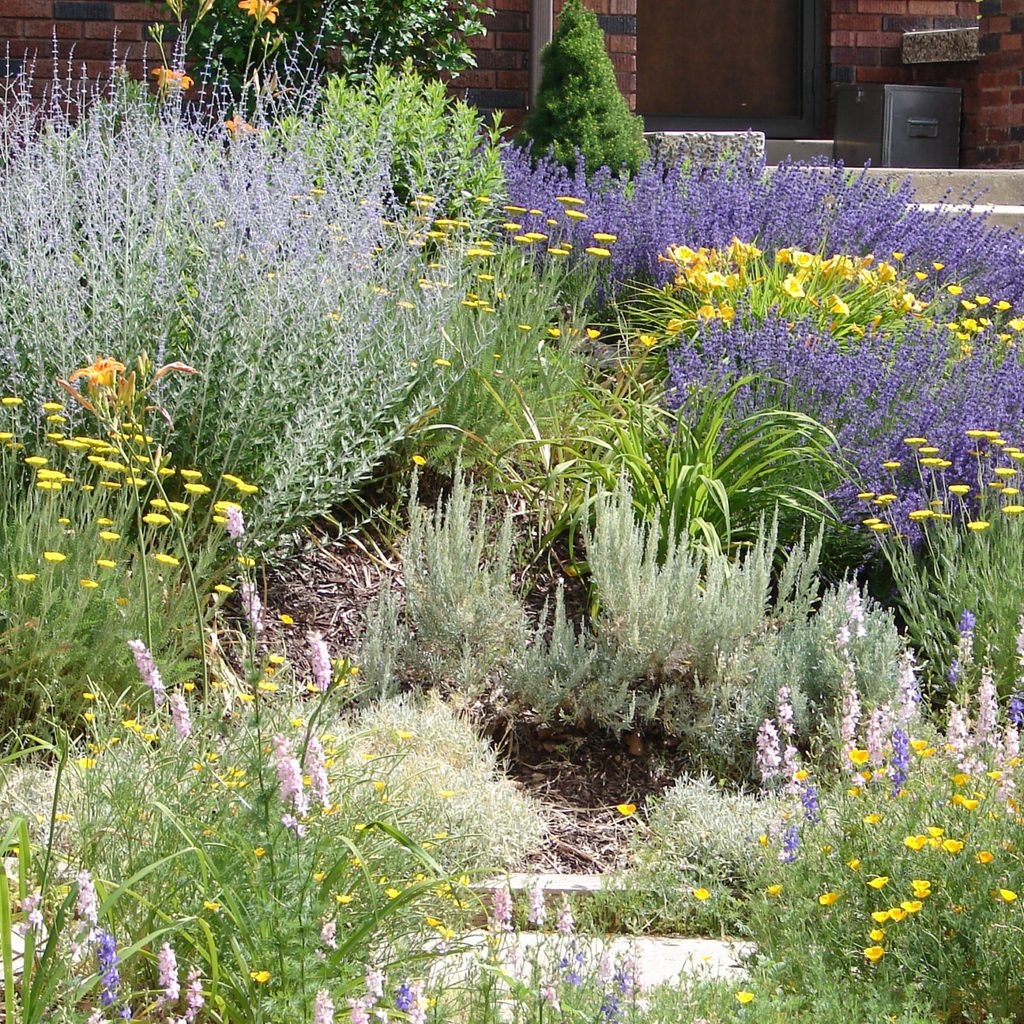
- Herbs: Dill, basil, cilantro, lavender and parsley
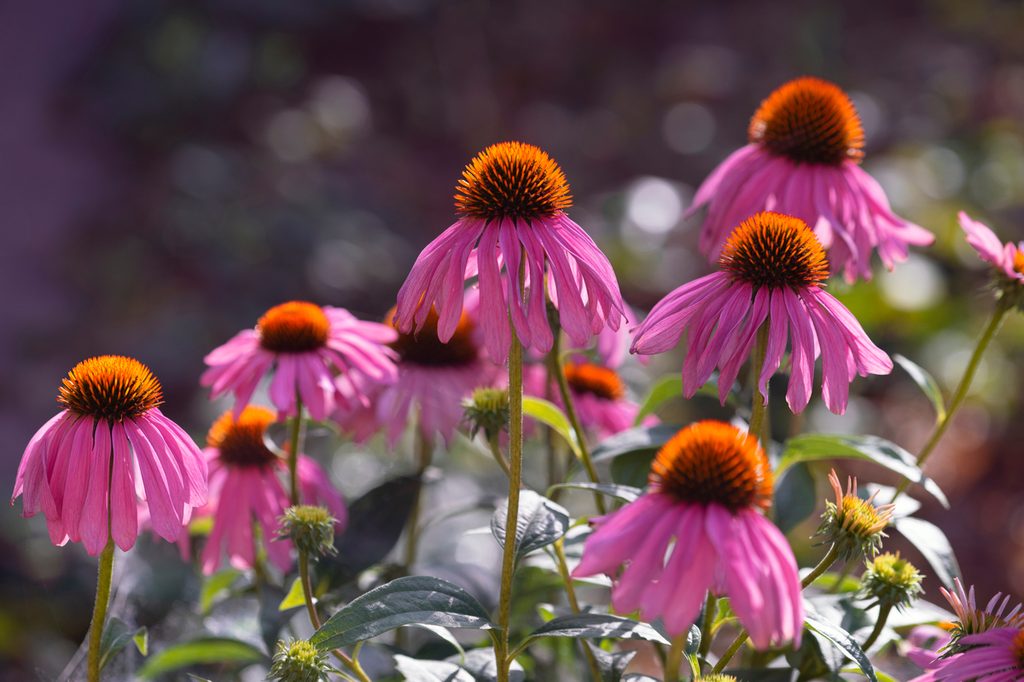
- Perennial flowers: Milkweed, bee balm, allium, columbine, and coneflower
- Annual flowers: Cosmos, sunflower, sweet alyssum, and zinnia
- Shrubs: Rose, lilac, tea tree, viburnum, and willow shrubs
- Trees: Apple, cherry, plum, red maple, and yellowwood trees
Most gardeners have enjoyed watching butterflies or hummingbirds as they move methodically through the landscape. By following these tips, creating a dynamic landscape that attracts and supports native pollinators may be easier than you think.


