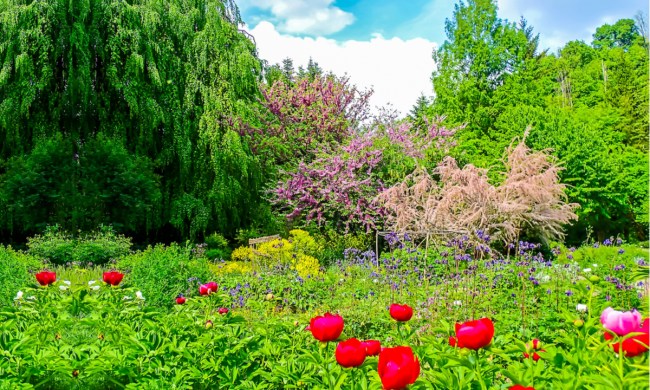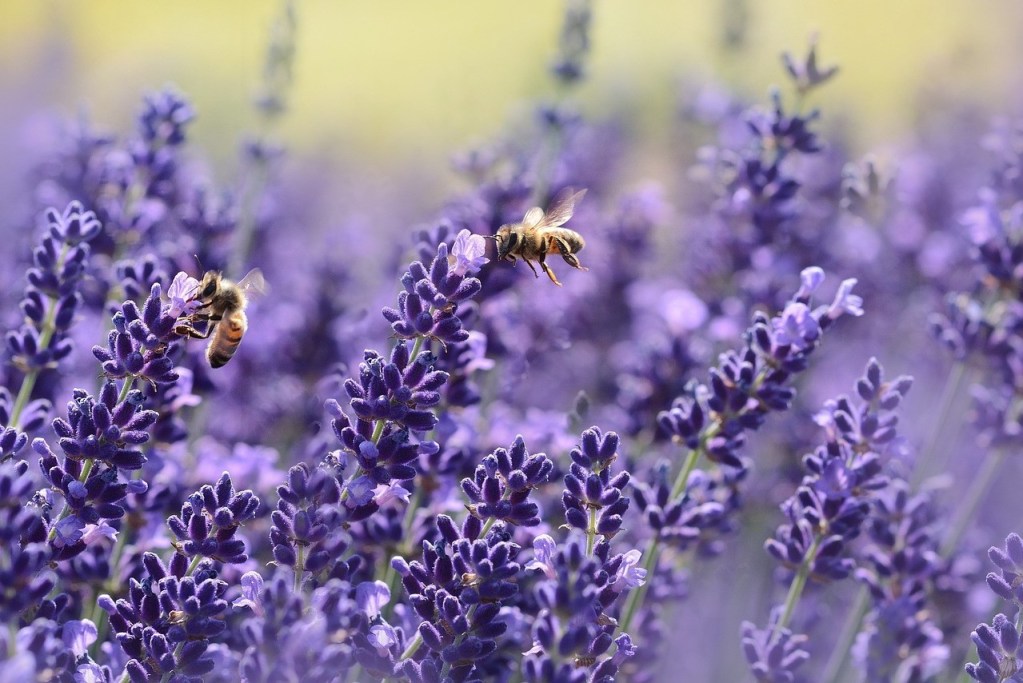
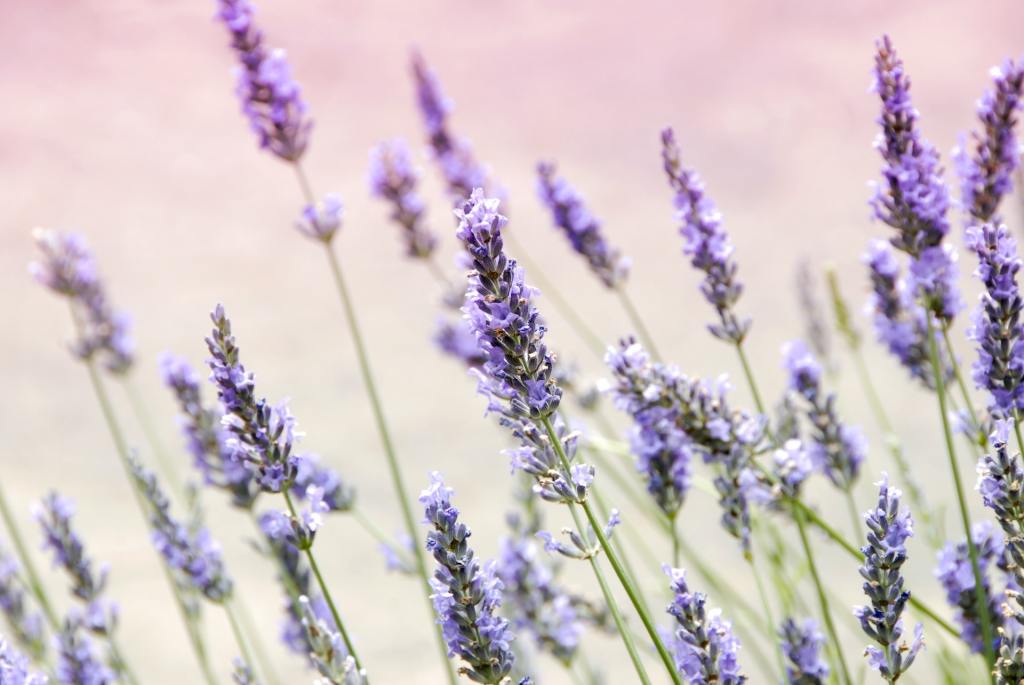
Knowing how to grow lavender is a useful skill. Lavender is a beautiful and fragrant flower to add to your garden. It has many different uses, due its beauty, soothing scent, and delicious flavor. Aside from the ways it benefits us directly, lavender also attracts many beneficial insects and is an excellent addition to pollinator gardens.
Lavender is easy to grow indoors and out, making it a great fit for practically any garden or living situation. Want to get started growing your own lavender? Here’s everything you need to know to grow it from seed!
Planting lavender
Growing lavender from seed is fairly easy, but it requires patience. You can sow lavender seeds directly in the garden, but they germinate much more reliably when started indoors inside a seed tray. Use a light, seed-specific potting mix, and gently cover each seed with a thin layer of soil. Lavender germinates more quickly when it’s exposed to sunlight, so don’t cover them entirely. Make sure they’re in a warm location or use a heating mat to keep the seedlings warm.
The soil mix should be well-draining to avoid overwatering the seeds. Lavender seedlings are particularly vulnerable to fungal infections. Letting the soil dry slightly between waterings and keeping the seedlings somewhere with good airflow can help mitigate this. Most lavender seeds will germinate in just a couple of weeks, but some can take up to a month if they are lacking in sun or heat. Lavender grows very slowly at first and will continue to grow slowly during its first year.
When the seedlings are a few inches high and have a few sets of leaves, it’s time to harden them. Hardening is the process of getting seedlings used to outdoor elements, which increases their likelihood of surviving after being transplanted. This means taking the seedlings outdoors for short periods, beginning in a more sheltered location, and then moving them into more open areas as time progresses. After a couple of weeks, your seedlings will likely be ready to transplant.
Caring for lavender
Transplant your lavender to a location in full sun with well-draining soil. Lavender is fairly hardy and will tolerate drought and heat, but it doesn’t bloom well in full shade and can develop health problems when left in standing water. If your soil is slow to drain, consider adding compost or other organic matter. As the organic matter breaks down, it leaves holes and air bubbles behind, which water can drain through.
Lavender doesn’t need much water overall. While your transplants are establishing themselves, water them once or twice each week. After a couple of weeks, your lavender’s roots should be established, and you can reduce watering to once every two to three weeks. When it begins to produce flowers, increase your watering back to once or twice a week, as plants typically use more water and nutrients when blooming.
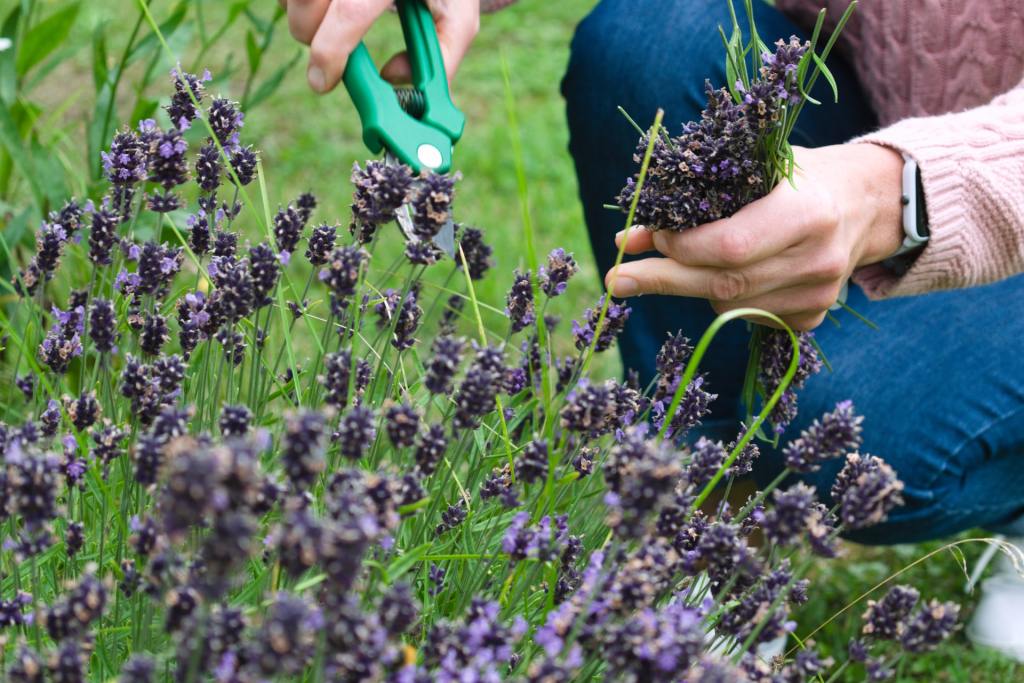
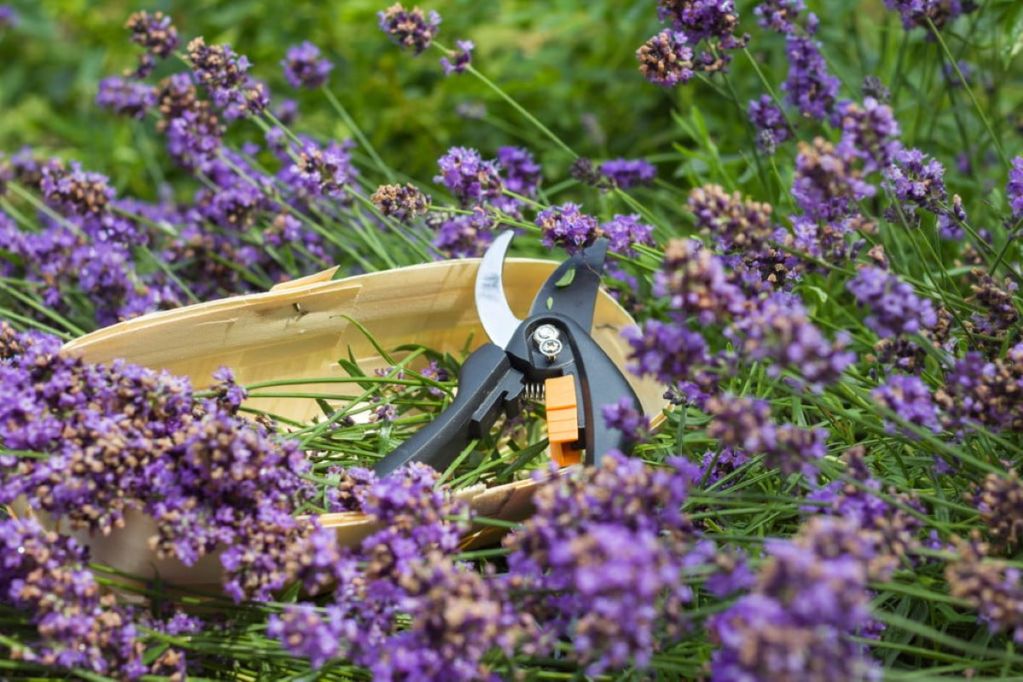
Pruning is also important for lavender; it keeps the plant healthy and blooming. After it blooms, use a pair of sharp, clean garden scissors, shears, or a knife and clip the top third to two-thirds of each stem, just below the lowest leaves. This is often unnecessary during the first year of life, especially since some lavender varieties won’t bloom during the first year. During the first year, just give your lavender a light trim. Prune the lavender a second time during fall to keep new growth from becoming woody, as older, woody growth won’t bloom as much.
The best companion plants for lavender
Lavender is an easy-going plant that you can grow next to a variety of plants for a beautiful cottage garden. The best plants to grow with lavender should generally have similar care requirements, such as full sun and low watering needs. If you want to round out your herb container garden, you can grow lavender next to other herbs, such as thyme and rosemary.
Low-maintenance flowers, such as yarrow, coneflowers, and zinnias, also do quite well with lavender, and these blooms also help attract pollinators. In general, you want to avoid planting lavender next to any plant that requires moist soil or full shade. Some examples of plants that are incompatible with lavender include mint, hostas, and ferns.
Addressing pests and diseases
Most insects don’t bother lavender, although you may see the occasional whitefly. You can remove whiteflies by hand or with a water spray, but they aren’t much cause for concern. Aphids are more of an issue, as they are known to spread the alfalfa mosaic virus.
Alfalfa mosaic virus causes yellow patches on lavender plants as well as distorted or stunted growth. It can spread by aphids, but you may also find it in cuttings from infected plants that may not have been tested for the virus. If one such cutting is planted in your yard or garden, or even just nearby, then an aphid can carry the virus from the infected plant to any nearby healthy ones. Sap from infected plants can also spread the virus, so any garden shears or scissors used to cut infected plants must be sanitized thoroughly before being used again.
The best way to keep the alfalfa mosaic virus out of your garden is to avoid taking cuttings from any unhealthy or untested lavender plants and to control the aphid population in your garden. Soapy water and neem oil are both effective at getting rid of aphids when you see them, and some gardeners report that strong-smelling herbs such as garlic, rosemary, fennel, and dill can repel them. These plants also tend to attract ladybugs, which eat aphids. Unfortunately, there is no treatment or cure for the virus once a lavender plant is infected. Although the virus rarely kills the plant, it does significantly reduce its ability to grow and bloom.
Harvesting seeds from your lavender plant
Now that you know how to grow lavender from seed, you might want to harvest seeds from your lavender plant in order to grow more. Start looking for seed pods in the fall, after your lavender plant has bloomed. The flowers should have already faded, leaving behind little gray or pale purple pods. Leave them on the stem until they are dry, to ensure the seeds have plenty of time to develop.
Then carefully cut the stems off the plant, placing them in a bag or bowl so you don’t lose any seeds. Once you’ve collected your stems, brush or shake the seeds loose with your hand. Store them in a sealed container in a cool, dry place until you’re ready to plant them.
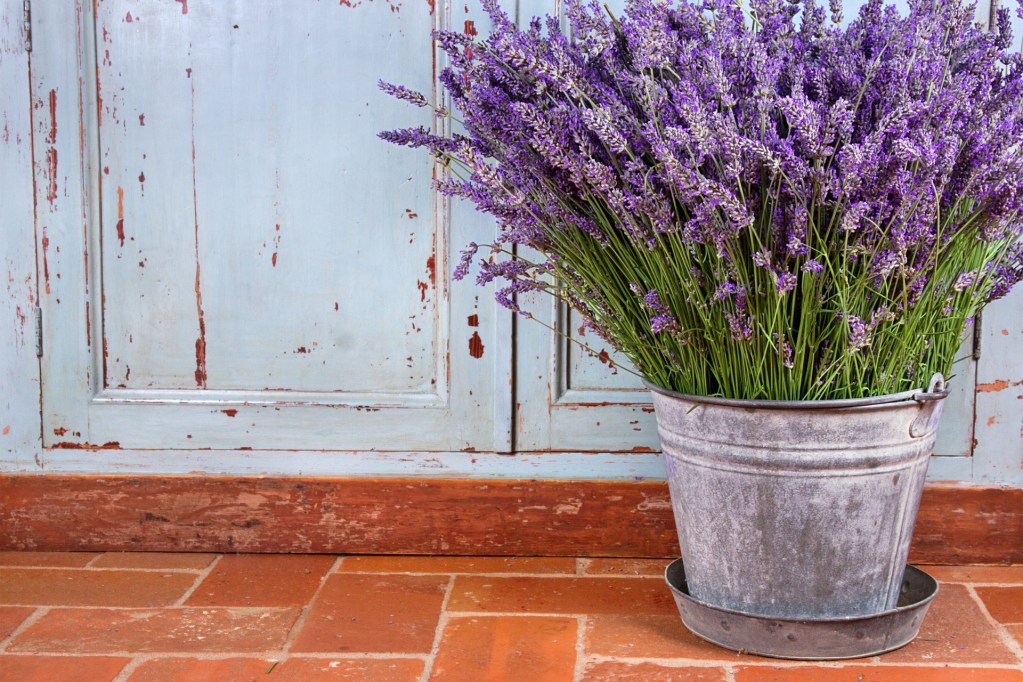
Lavender is a wonderful perennial herb and flower with many uses. It isn’t difficult to grow, but it does take some patience and care. Starting lavender from seed can be tedious, as it grows slowly, but it’s ultimately quite rewarding. Once your lavender is grown, you can cut and dry the stems, propagate it for more flowers, or just enjoy the sense of calm it brings to your garden.