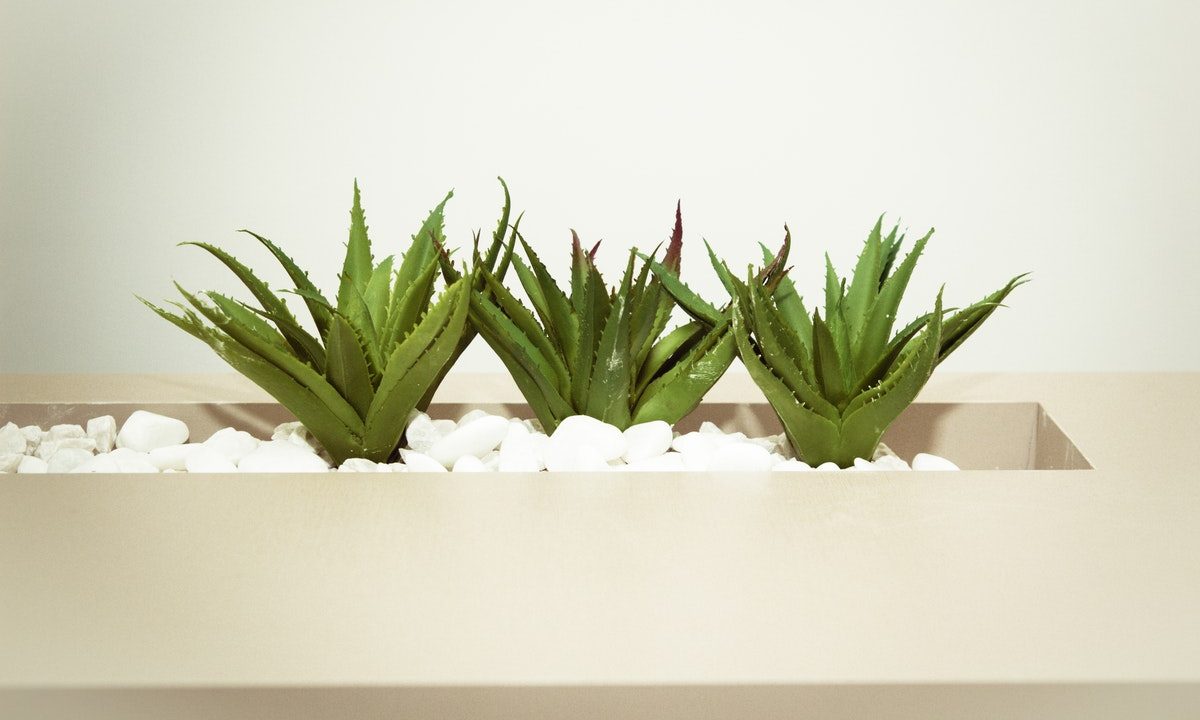
Aloe vera plants often are kept not only for their appearance but for their leaves, which can be used to help treat minor burns. They’re an aesthetically pleasing and beneficial succulent to have around, especially since they also help purify the air.
With all the benefits aloe plants provide, it's only natural that gardeners want to propagate them to grow more. Aloe vera seed pods can be harvested from a mature plant and used to grow new aloe. Want to know how to harvest aloe vera seed pods to grow new aloe plants? This simple guide will walk you through every step of the process, from encouraging your aloe to bloom to harvesting and planting the seeds.
It’s important to note that aloe vera seeds will appear only if the flowers have been pollinated. In warmer areas where you can grow plants outdoors, this is done quite easily and without much effort on your part. If your aloe is primarily grown indoors, you can always encourage pollination by putting the plant out on a deck, patio, or balcony during warmer weeks when it won’t be killed by cold weather. Otherwise, you may be better off purchasing your aloe vera seed pods from another grower or growing a new aloe plant from a pup.
Whether you purchase your aloe vera seed pods from a vendor or harvest your own, here's our easy guide to grow them into healthy, mature aloe vera plants.

How to harvest your own aloe vera seed pods
Aloe vera seed pods can be harvested from the spent flowers of an aloe plant or purchased from other growers.
Step 1: Wait until the pods are a brown-green color before you attempt to harvest the seeds.
Step 2: Split the pods over a dish, basin, or other container to catch the seeds. Because the seeds are small and flat, they could easily be lost on a floor, carpet, deck, etc. The dish will help collect the seeds for you, and you can throw away the empty pod when you’re done.
Step 3: Split the pod to harvest the seeds, paying close attention to the color of the seeds themselves. If they’re light-colored, they aren’t ready to harvest. If they’re brown to black in color, they’re ready to be planted.
Step 4: If growing your new aloe indoors, you can plant the seeds immediately. However, if you plan to grow your aloe outdoors, wait until the next spring to plant them. Either way, you should plant your aloe seeds within a year after they are harvested.
How to plant your aloe vera seed pods
Aloe seeds sprout without much hassle as long as you provide them with the proper care. Seeds should be planted in well-draining soil but without too much excess medium that can get soggy. Although any container will work, you should make sure the one you use has good drainage and isn’t too large.
Step 1: Fill a pot or other container with well-draining soil, such as a cactus or succulent soil.
Step 2: Slightly dampen the soil, then place the seeds approximately 1 inch apart from each other.
Step 3: Cover the seeds with another light layer of the same potting medium you've used as the base.
Step 4: In order to keep the seeds at a higher humidity, mist the soil lightly once a day until you see seedlings, which can sometimes take up to four weeks.
Step 5: Once your new aloe plants have at least four leaves, you can repot them into their own pots with the same growing medium you used for the seeds.
Step 6: Once the aloe vera plants are in their permanent containers, follow the same care routine you would for your mature aloe plant, taking into account any variations caused by the plant and pot being smaller.

How to propagate your aloe vera plant
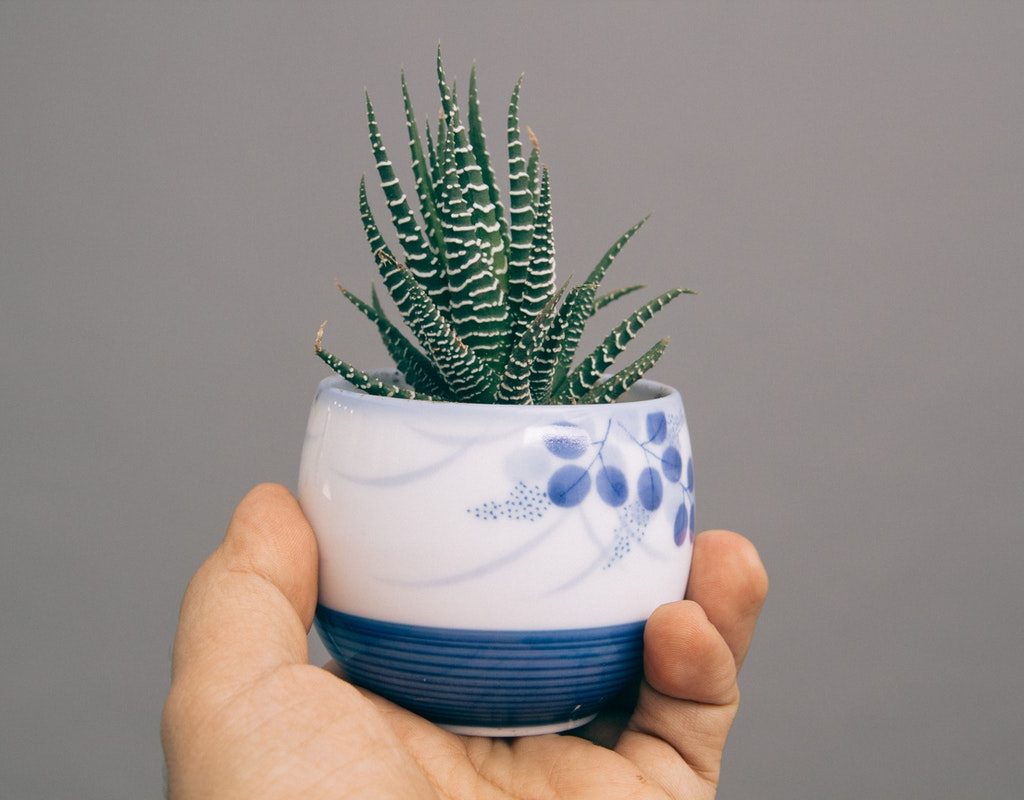
If your plant does not have any seed pods, you can always attempt to propagate it. Your aloe plant will naturally grow new pups (or baby plants) that are attached to the parent plant. You may notice them growing up from the bottom, close enough to look like new leaves. All you have to do is wait until the pup is at least one-fifth the size of the parent plant and has several of its own leaves, though this can vary a bit depending on the type of aloe you have. If the pup isn’t mature enough when you separate, you’ll have a hard time successfully propagating it.
Step 1: When the aloe vera pup is ready, use a pair of sanitized scissors, shears, or a sharp knife to cut the base of the pup as closely as possible to the parent plant without damaging either part.
Step 2: Place the pup in a pot of dry cactus potting mix. After about a week, you can water it and care for it as you would any other aloe.

Benefits to growing your own aloe
If you’ve ever had a sunburn or a minor burn from cooking, you know one of the first things people recommend is to put aloe on it. A lot of companies make aloe vera gel for this specific purpose; however, if you grow your own aloe at home, you can easily have some on hand without having to run to the store and spend money!
Aside from burns, aloe vera also provides other benefits to your skin. Aloe can also be used to help treat surface acne and dry skin, as well as help prevent future wrinkling. Be wary of using aloe in this way, though, as using too much can actually cause your skin to dry out.

How to reap the benefits of aloe
In order to get these benefits from your aloe plant, you’ll need to be strategic about plucking leaves.
Step 1: If at all possible, choose an older leaf so that the newer ones have a chance to grow out. Use sterilized scissors, shears, or a knife to cut the leaf off the plant and carefully slice it open.
Step 2: Apply the gel inside the leaf where you need it (on a burn, as a gel for your face, etc.).
Step 3: If any aloe juice is left over, wrap the leaf in plastic wrap, making sure to cover the end where it was cut from the parent plant, and store it in the refrigerator for later use.
Step 4: If possible, wait until you have a plant large enough to spare a cutting or two without going into shock. Your aloe vera may take a while to get up to size, but you can always use aloe products in the meantime.
Encouraging your aloe vera to bloom
In order for your aloe to produce seed pods, it has to bloom first. However, getting an aloe to bloom can be tricky and frustrating if you don't know what to expect. Firstly, it's important to know that aloe plants won't bloom until they are around 4 years old. So you'll have to be patient if your plant is still young! Proper care will encourage your aloe to bloom, but pay special attention to the temperature. Aloes bloom during late spring and summer, when the weather is warm. A cold aloe vera plant will not bloom.
If your aloe is old enough and warm enough, but still isn't blooming, then add a dose of fertilizer to the soil. A balanced fertilizer applied in late winter or early spring will give your aloe a boost and jump start flower production. Succulent-specific fertilizers are a great choice for aloe vera plants. Pay close attention to the instructions on the fertilizer container. Aloe plants need very little fertilizer, so it's easy to overdo it.
Whether you buy your seed pods or harvest them from your own plant, you can create your own tiny arsenal of this first-aid staple plant all on your own. Just follow these steps and you'll be well on your way!


