
While the royal family might not eat it, it’s hard to deny that garlic is one of those garden vegetables that go well with almost every savory dish. In addition to its culinary versatility, growing a garlic bulb indoors at home is relatively easy. Along with some patience, all you need is an unpeeled clove, a bag of potting mix, and a planter to get started!

How to choose your garlic cloves
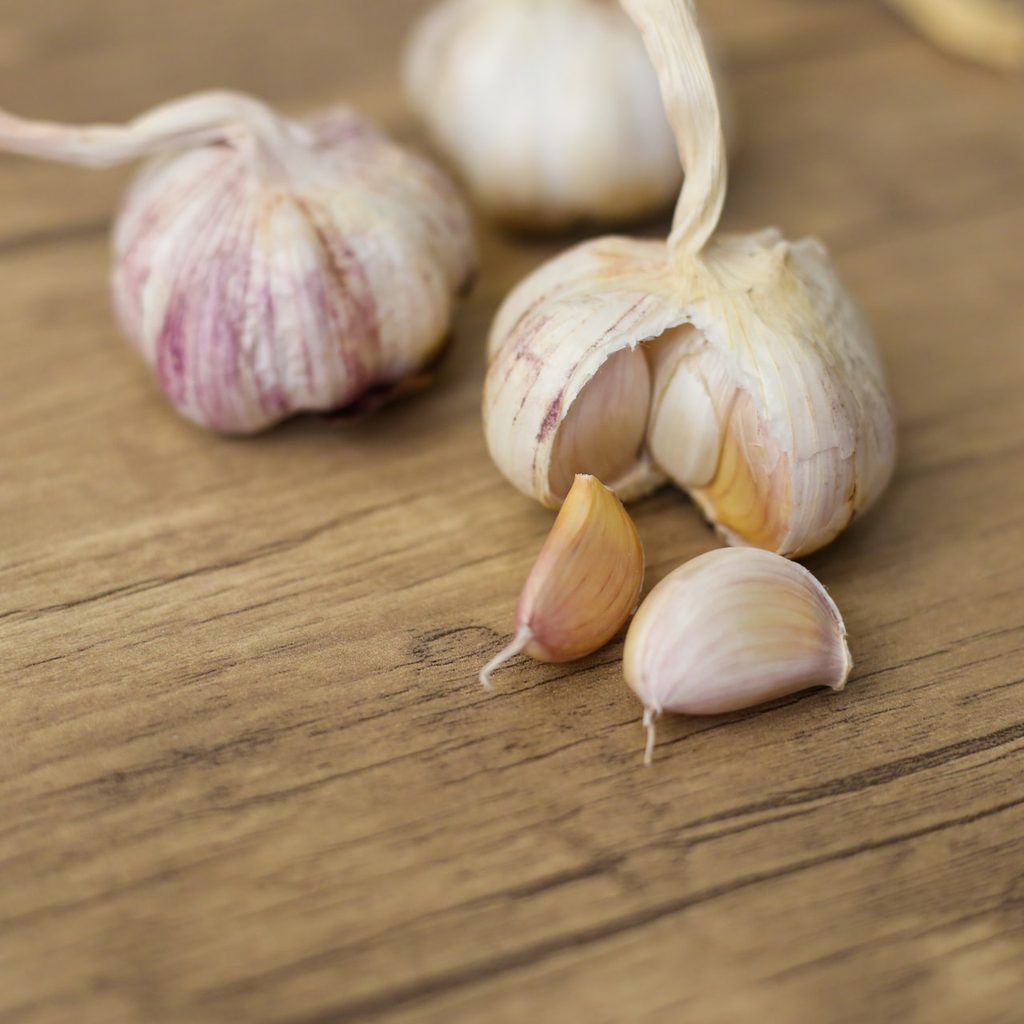
The first step for growing garlic indoors is to source the garlic cloves that you’ll be using. Ideally, it’s best to start with cloves from the farmer’s market or the organic part of the supermarket, since many commercially grown garlic bulbs have been treated so that they can’t grow or sprout. You can also find garlic bulbs at local or online nurseries that are specifically for planting as well, although this undertaking will require more research than your typical grocery errand.
When selecting garlic, you’ll be choosing between softneck and hardneck garlic. The main difference between these two types is the “neck”—softneck garlic has multiple, flexible leaves, while hardneck garlic has a central stalk (or scape) that hardens over time. Softneck varieties generally do better in warm areas, whereas hardneck ones are more suited for cold regions. Hardneck garlic bulbs tend to develop fewer and bigger cloves and often come with more complex flavors. The advantage of softneck garlic bulbs, however, is that they mature sooner and store better.
How to plant your garlic cloves
- When planting garlic, start by gathering three or four cloves. Since you’re growing them inside, keep the cloves in the fridge for a few weeks to simulate a cold period. When grown outside, garlic actually needs a cold dormancy period to flower and form bulbs.
- After giving your garlic a cold period, stick your cloves in a pot with soil sprinkled at the bottom. A note on the soil: you want to use a well-draining potting mix if your plant is indoors and container bound, as a standard garden soil won’t provide enough drainage. If you have a small container, stick to one clove per pot—the size doesn’t matter too much as long as you have a drainage hole. The rough edge of the clove should be pointing down, as that’s where your roots will grow.
- After placing your cloves into the soil, water the potting mix adequately and leave the pot by a bright windowsill. If you didn’t fridge your garlic cloves, leave your planter outside every few days to expose your cloves to cold temperatures.
Another growing option is to first root your garlic cloves. You’ll want to grab a clear cup, put unpeeled cloves in with the root section pointing down, and fill your cup with water until it surrounds the cloves halfway. After a week, green shoots should start forming, and that’s when you can transplant your cloves into the soil before they begin to rot.
How to grow garlic indoors
Once your garlic is in soil, give your plant as much direct natural sunlight as possible, as a grow light may not give it the energy it needs. Feed your garlic twice a month with an organic, diluted liquid fertilizer or whenever you water your plant. Fish emulsion and worm castings can also enrich your soil. Your watering cadence will depend on when your potting mix dries out. Over time, keep trimming your garlic greens to help the plant focus on growing the bulb.
When to grow and harvest garlic cloves indoors
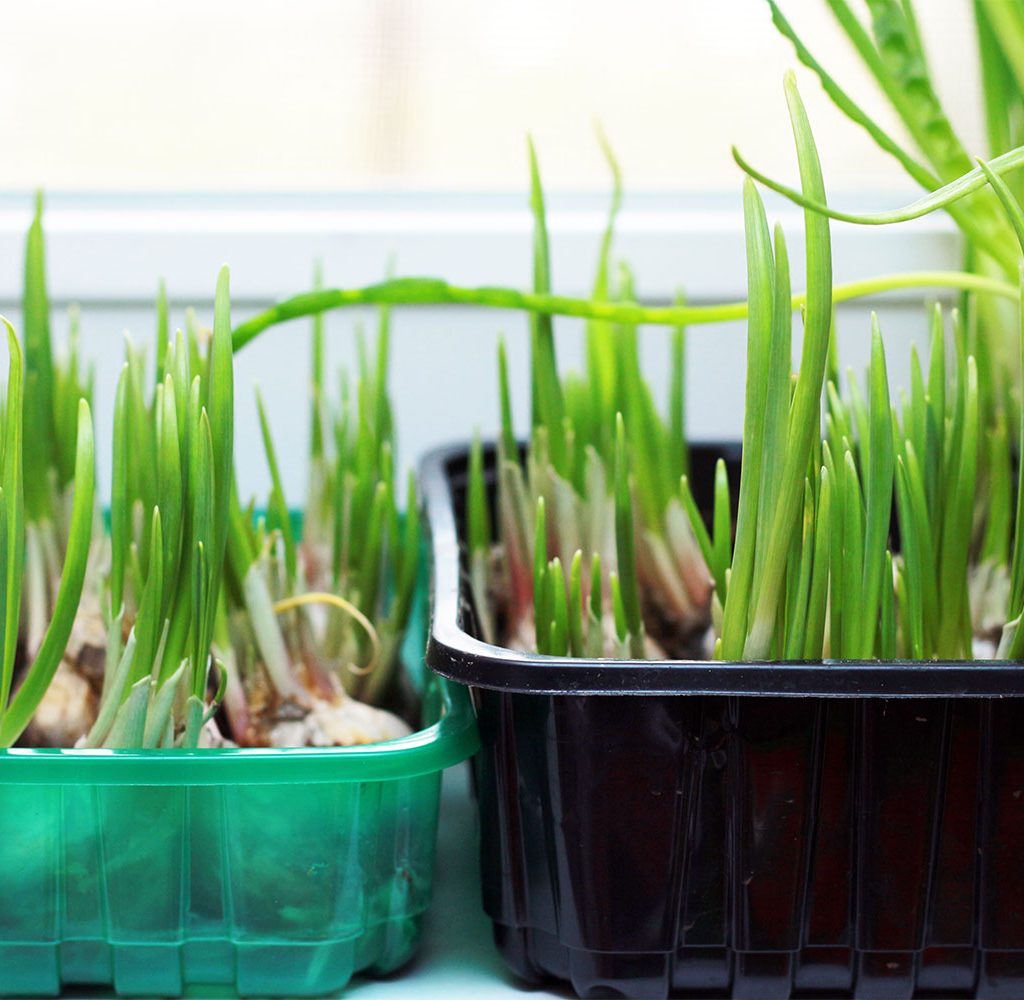
Growing garlic, of course, may take a bit of time. Ideally, you should start when it’s relatively cold outside, around autumn or winter. You won’t need to worry about frost, as garlic is a cold-hardy plant that can even tolerate subfreezing temperatures. With garlic, the biggest hurdle is time. You might have to wait anywhere between seven to nine months before your garlic is ready for harvest, and this duration may be even longer if you don’t get enough light. While the bulbs themselves may take some time, that doesn’t mean you have to miss out on the garlic greens. As soon as they grow a few inches, you can snip off the tops and use them to garnish your favorite savory dishes.
So, when can you actually grab the garlic bulb? Garlic bulbs should be ready to harvest when half the leaves turn brown. At this point, stop watering and let the soil go dry for a week. Then, you can dig the bulbs up and enjoy the fruits of your labor!
Growing garlic at home may take a considerable amount of time, but it’ll bring you a whole new appreciation for how much this plant goes through. As your garlic grows, keep on watering, feeding, and pruning it. If you can be patient for a few months, you’ll be rewarded with homegrown, garlicky goodness.


