
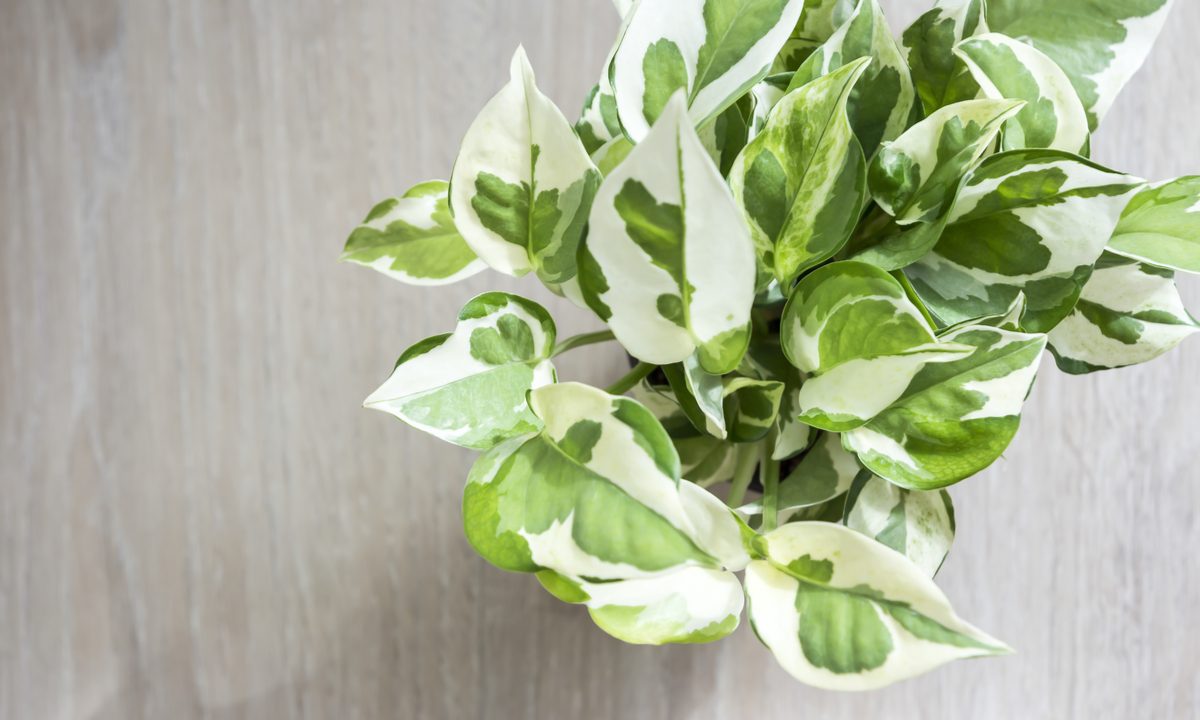
Pothos vines are easy to care for and are often recommended as starter plants for beginner gardeners. What's more, they're beautiful plants! Whether trained onto supports or in a hanging basket, a well-maintained plant can grow up to 30 feet long (though they're usually pruned to smaller sizes).
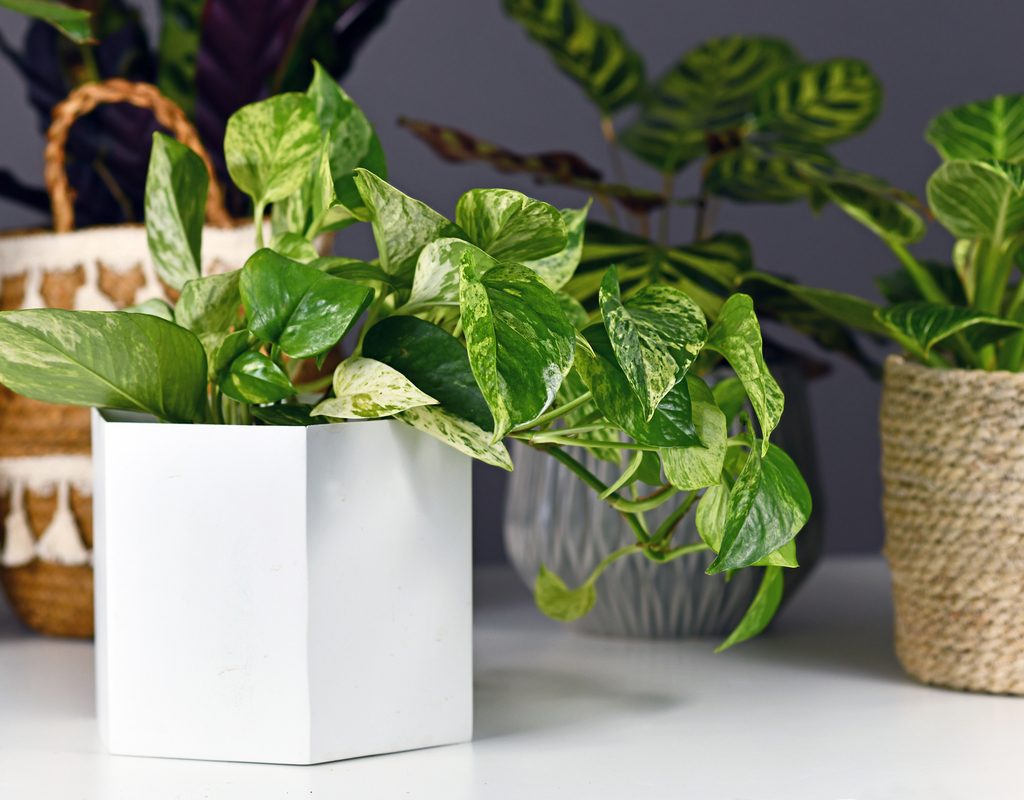
You might wonder how these massive plants fit in the small pots pothos typically come in. The larger pothos often need repotting a handful of times to reach their final destination, and it’s actually an important part of pothos care. Here's a comprehensive guide on how to repot pothos for flourishing vines.
Why it's important to repot your pothos
Repotting is often done for two reasons: the plant has outgrown the pot or the plant is having health problems. In the case of the latter, you’re most likely repotting to a pot of similar size that’s clean and free of contamination. So let’s focus on the former.
When your pothos gets too big for its home, repotting becomes a necessary part of care to ensure that it can keep living. In a small, cramped space, your plant won't grow due to overgrown, compacted roots. Moreover, your plant won't get the proper amount of water and nutrients it needs to survive. If you want to have a happy, healthy pothos for many years, it’s important to repot your plant (on average) once per year
When should I repot my pothos?
Here's how to recognize a pothos that needs repotting:
Step 1: Consider the time of year, as you'll probably want to repot your pothos during spring or summer.
It’s best to repot your pothos during the active growing season, usually in the spring or summer months. This will be when your plant is at its strongest. As it actively grows and absorbs nutrients, it will be able to better recover from and withstand the stress of being disturbed and moved to a new home.
Step 2: Watch for signs such as drooping leaves.
Note that leaf droop can be caused by several other things, too. You may need to troubleshoot some other problems.
Step 3: Carefully lift your pothos out of the pot to see if it is rootbound.
If it is rootbound, then it's time to repot it.

How to repot pothos plants
Repotting your pothos isn’t that different from repotting any of your other plants — you just want to make sure you’re being mindful of the vines. Make sure as you go through the process that you’re grabbing the base of the plant near the soil and roots as opposed to the ends of the vines. This approach will cause the least amount of damage.
You’ll want to have your new pot on hand before you take the pothos out of the old one. Then, grab a bag of fresh potting mix and follow these steps:
Step 1: Use a clean pot with a drainage hole and fresh soil.
The fresh soil will help provide more nutrients to your plant, and the clean pot ensures that there’s as minimal contamination or disease transferred to your plant as possible. The drainage hole, on the other hand, is your key to helping minimize the risk of root rot and soggy soil that can harm your pothos.
Step 2: Use a pot that is slightly larger than your pothos' roots.
In most cases, you can use the old pot as a reference. Your new pot should be an inch or two larger than your last one.
Step 3: Remove the pothos from it's pot by tipping the pot on its side and sliding the plant out.
If needed, you can use a rubber spatula to work around the edges of the dirt. Just make sure you don’t pull on the plant, or you could damage the roots and stems.
Step 4: Fill the new (clean!) pot with an inch or two of soil to create a buffer between the roots and the bottom of the pot.
Step 5: Set the pothos upright and centered in the pot.
Step 6: Add more potting mix around the sides to close the spaces, leaving about 2 inches of space at the top.
Be sure not to pack the soil down so that the roots have room to breathe.
Step 7: Water your newly potted pothos.
Potential pothos repotting issues
After you repot your pothos, you may encounter issues such as yellowing or drooping leaves. In many cases, your pothos is simply adjusting to its new environment. However, you can check a few things to see if you need to troubleshoot anything.
Step 1: Check your container size.
Your new planter should not be any more than 2 inches bigger than your previous pot. If the new planter is too big, your plant may experience root rot due to too much water in the soil.
Step 2: Touch the first few inches of your soil to see if it's too wet or feels bone dry.
If your soil is too wet, you may need to repot your plant into drier soil to prevent further root damage. If it is too dry, you will simply need to water your plant.
Step 3: Evaluate your home temperature.
Are you leaving your pothos by any cold, drafty windows or drying heaters? If so, move it to another area.
Step 4: If your pothos is beyond repair, consider taking cuttings and propagating any parts you can to salvage it.
Once it’s happily settled in its new container, your pothos will continue thriving and growing to the best of its ability. To enjoy your trailing vine for a long time, care for it diligently and keep it tidy.


