
Repotting houseplants is an essential part of indoor plant care. And if you want happy, healthy, thriving plants for years to come, it’s a step you shouldn’t skip out on. Repotting is done for an array of reasons, whether it’s that the plant needs more space to grow or the pot has been damaged and isn’t a suitable environment. You’ll often find that when houseplants are ready to be repotted, they’ll thank you for the change. Knowing when the right time to do this, though, can be a bit tricky. To start, repotting should always be done in spring or fall to minimize the risk of shock. From there, it all depends on the plant.
Repotting houseplants and why we do it
Indoor and container gardeners repot their plants for a variety of reasons related to overall health, the most common of which is to give the plant a better growing environment. Usually when repotting, you choose a container that’s a couple inches larger than the one it was in. This gives the roots additional space to grow into (without drowning) and more nutrients to absorb from the fresh potting soil.
Whether the houseplant grows fast or slow, it will eventually outgrow its current container and it’s important you give it an upgrade to help it keep living happily. If a plant isn’t repotted in time, the roots start to compact and the pot becomes very crowded, leading to nutrient deficiencies and under-watering.
Repotting is also a great time to divide your plants if you started out with more than one per container or if you have a plant (like aloe vera) where the pups grow from the base of the parent. You don’t have to separate them if you don’t want to, so long as the new container has room for them all to grow; however, if you’re itching to get that baby plant in its own pot to promote strong, healthy growth, the best time to do it is when you go to repot the parent.
The process of repotting
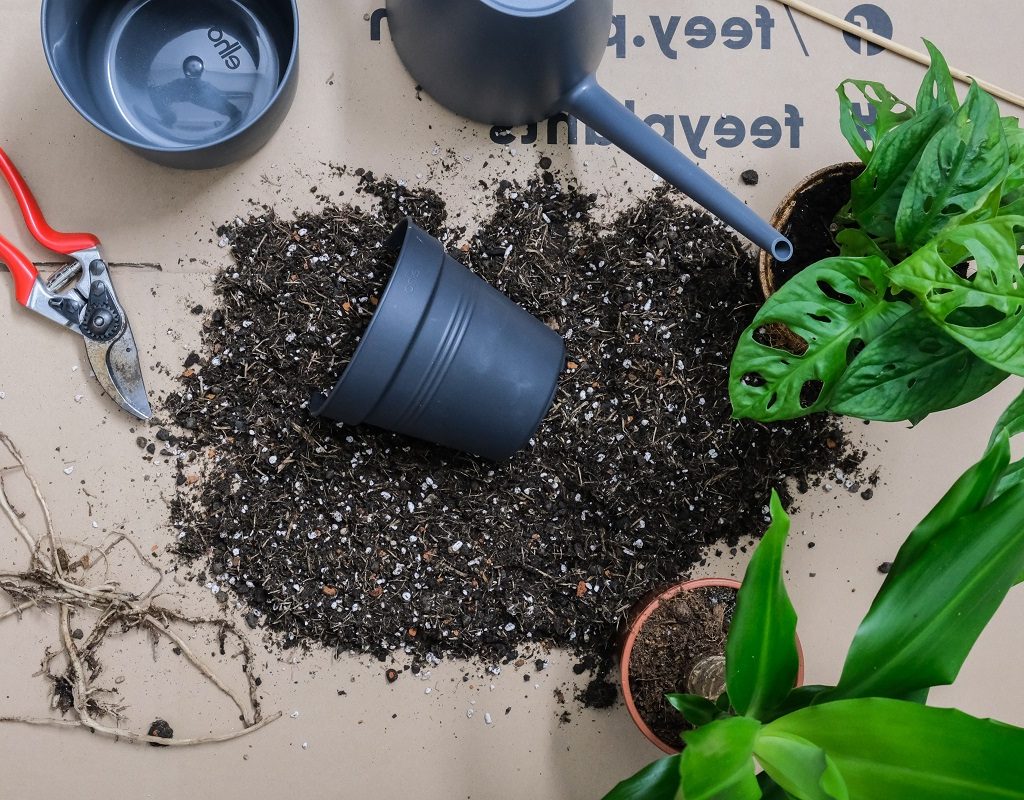
Before you start repotting your plant, make sure you have a new container, fresh potting soil, lava rocks (or similar) if the new pot doesn’t have a drainage hole, and of course, your houseplant.
You can follow this step-by-step process for repotting your houseplants:
- Take the plant out of its current container.
- Loosen the roots and remove old potting soil.
- If the plant is root-bound, untangle the roots as best and as gently as possible.
- Prune any straggly roots (ones that appear threadlike) but be sure to leave the thicker roots alone.
- If the pot doesn’t have a drainage hole, add some rocks to the bottom of the planter.
- Fill in a layer of fresh potting soil.
- Center your plant gently on top of the layer of fresh soil.
- Add potting mix around the plant until it’s secure and can stand up on its own. Don’t pack in too much, as you want the roots to have breathing room.
- Water as usual.
How to know when plants should be repotted
There are some tell-tale signs your plant is ready to be repotted, so you don’t have to go taking it out of the container every so often to check how the roots are doing. If the container has drainage holes, you may notice roots are starting to grow out the bottom. Or maybe the roots are starting to grow up and out of the top layer of soil. Occasionally, roots may even start pushing the plant up and out of the pot if it’s gotten too crowded.
Aside from odd root behaviors, there are other physical signs that your plant is in need of a larger container, including:
- Growth that’s slower than normal (outside of winter dormancy)
- Top-heavy plants start falling over
- Soil dries quicker than usual and/or the plant needs to be watered more frequently
- Leaves and stems take up more than three times the space of the pot
- Build-up of salt and minerals on the plant or pot

Not all plants will be ready at the same time
It’s important to note that, like general plant care, not all plants like to be repotted at the same time. Although many prefer to have a bit more space to grow, there are some that prefer to be a bit cramped and root bound before moving to a new pot.
Alocasia (likes to be root bound)
Alocasia varieties are some of the plants that actually grow better in cramped environments; however, this doesn’t mean that it can thrive with roots growing out of the soil. A plant that likes to be root bound is one that doesn’t mind the roots taking up a lot of space in the soil. Root-bound plants like alocasias are ones in which the roots growing out of the top of the soil or the bottom drainage are a good indicator for when they’re ready for a new space. If you’re ever unsure, you can always take the plant out of the pot to see how it’s doing before putting it back with some fresh soil; however, this should be a last-effort attempt as it does disturb the plant’s environment.
Light needs: Ranges from full sun to shade, depending on variety
Water needs: Water enough to keep soil moist but not soggy
Soil needs: Loose, well-draining potting mix
Monstera deliciosa (likes to have space)
On the flip side, the beloved monstera deliciosa plant prefers to have a little bit of room to grow as it reaches bigger sizes. Having a root-bound monstera could result in wilting leaves, and since the leaves grow to such large sizes, it’s likely the plant will start falling over quite easily when it’s ready for a new home. Until the monstera has reached a mature age, you’ll find yourself wanting to repot it once a year to a larger container for optimal growth.
Light needs: Bright, indirect light
Water needs: Water regularly, allowing soil to dry out between waterings
Soil needs: Well-draining, moist soil
Other times you’ll consider repotting
Aside from when your plants outgrow their pots, there may be other scenarios in which repotting needs to be done. In these situations, it’s usually because something is wrong with the dirt or current environment or there’s an issue you’re trying to solve. For example, a plant that doesn’t like to be too moist is sitting in soggy soil and starting to die. The best course of action here is to repot the plant in a container of the same size that’s filled with fresh, dry soil. This takes the plant out of the unhappy situation it was in, and gives you time to clean the old pot (removing any traces of rot, fungus, or disease) before putting another plant in it.
You’ll also find yourself wanting to repot plants for safety purposes when moving long distances. To get your plants safely from one spot to another, repotting them into shatterproof containers is an essential step. In both of these scenarios, though, you won’t be sizing up or sizing down. The new container should be the same size as the old one.
Whatever your reason for repotting, you should always take the utmost care when handling your plants. Be gentle and diligent, trying not to break roots or damage leaves. As long as you do your best and research the plant before moving it to a new container, you’ll be rewarded with healthy, beautiful growth.


