
Many houseplants struggle to bloom indoors for a variety of reasons. As plant enthusiasts, it can be refreshing and exciting to bring home a new plant and see it flower. If this is something you’re interested in, we recommend trying our plant of the week: the Aeschynanthus or curly lipstick plant. Here we’ll talk about all the things you need to know to grow this stunning, flowering plant successfully.

What is the Aeschynanthus?
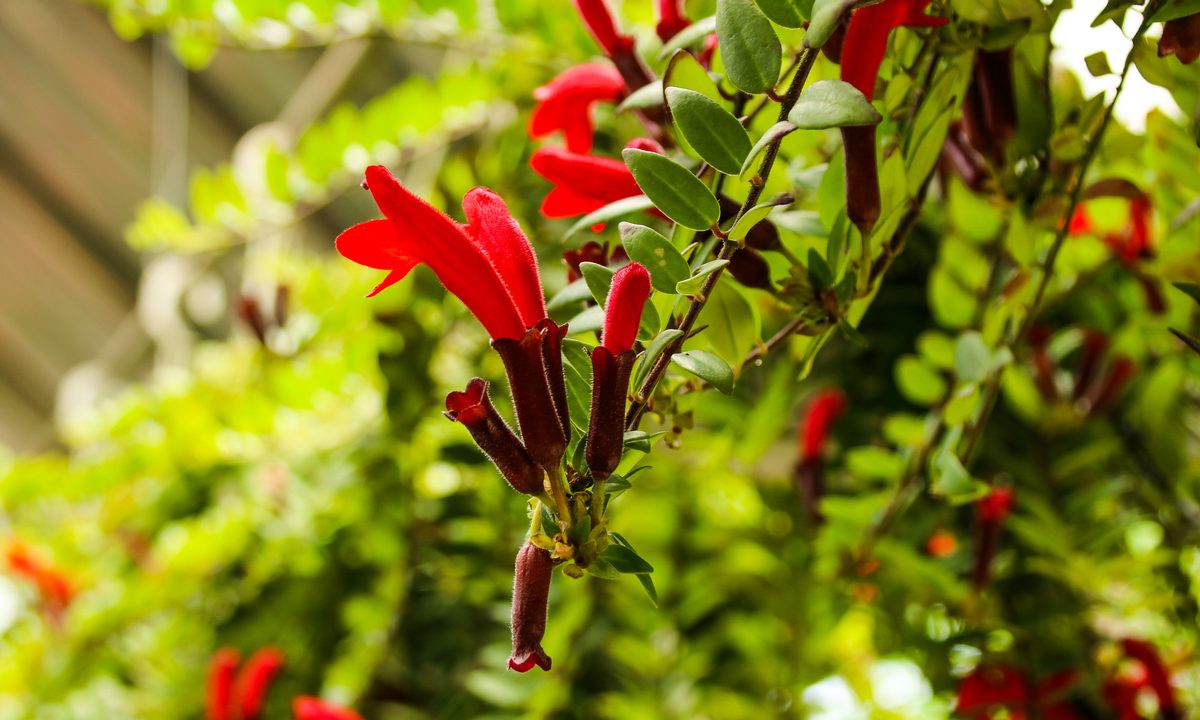
The Aeschynanthus, otherwise known as the curly lipstick plant, is an evergreen houseplant that blooms year-round. Native to Southeast Asia, this plant gets its nickname from the shape of its red flowers that resemble a tube of lipstick.
While they aren’t a vine, they grow similarly, with the flowers clustering around the waxy and pointy leaves. This growth pattern makes them ideal for hanging baskets or draping down the side of furniture. Although you’ll be able to enjoy flowers from this plant nearly all year round, you won’t get much in the way of fragrance. These plants don’t have a strong scent, which is probably for the best. Most gardeners report that the little scent they do have is not pleasant!
When cared for properly, they can grow up to 3 feet tall. Even though they’re native to tropical environments, they aren’t hard to care for and are even considered beginner-friendly.

Care tips for aeschynanthus
Since these are beginner-friendly plants, their care isn’t complicated. However, it’s always nice to have a clear idea of what a plant needs so you can be sure it lives a long and happy life in your home. Here's what you need to do:
Step 1: Keep the soil moist and do not let it dry out completely between waterings.
Step 2: Invest in a moisture meter or use your finger to test for dry soil.
If the top 2 or 3 inches of soil are dry, it's time to water your plant. A moisture meter will give you more accurate readings of your soil's dryness, which can be particularly helpful if you often overwater or underwater your houseplants.
Step 3: Soak the soil thoroughly when watering, but make sure the excess water can drain freely.
Typically, this is accomplished by lifting the pot out of the drip tray, watering it, letting it drain some, then placing it back in the tray. If your curly lipstick plant is in a hanging basket, you may not need to move it to water it, depending on what is below the basket. In a traditional garden, all you need to do is make sure your soil is well-draining.
Step 4: Place your plant in bright, indirect light.
Lipstick plants are sensitive to direct light, and their leaves can burn. While they will tolerate some shade, you'll see fewer flowers. Bright, indirect light is ideal for your plant's health and flower production.
Step 5: Feed your aeschynanthus monthly with a balanced fertilizer throughout the growing season, tapering off through the colder months.
Step 6: Keep the temperatures around your plant above 50 degrees Fahrenheit.
Step 7: Avoid exposing your lipstick plant to drastic changes in temperature.
This means keeping them away from drafty windows, heaters or ac units, or any type of ventilation.
Step 8: Invest in a humidifier if your aeschynanthus's leaves begin to look dry or cracked.
The average home's humidity is fine for lipstick plants, but if your home runs on the drier side, it can become an issue.
Step 9: Prune overly long or leggy branches with a sharp, clean pair of garden shears or scissors.
The lipstick plant is a stunning draping plant that will look great in any collection. We love the pop of red it brings to a space, and its easy care makes it even more appealing. Use these tips to grow an aeschynanthus in your home successfully!


