
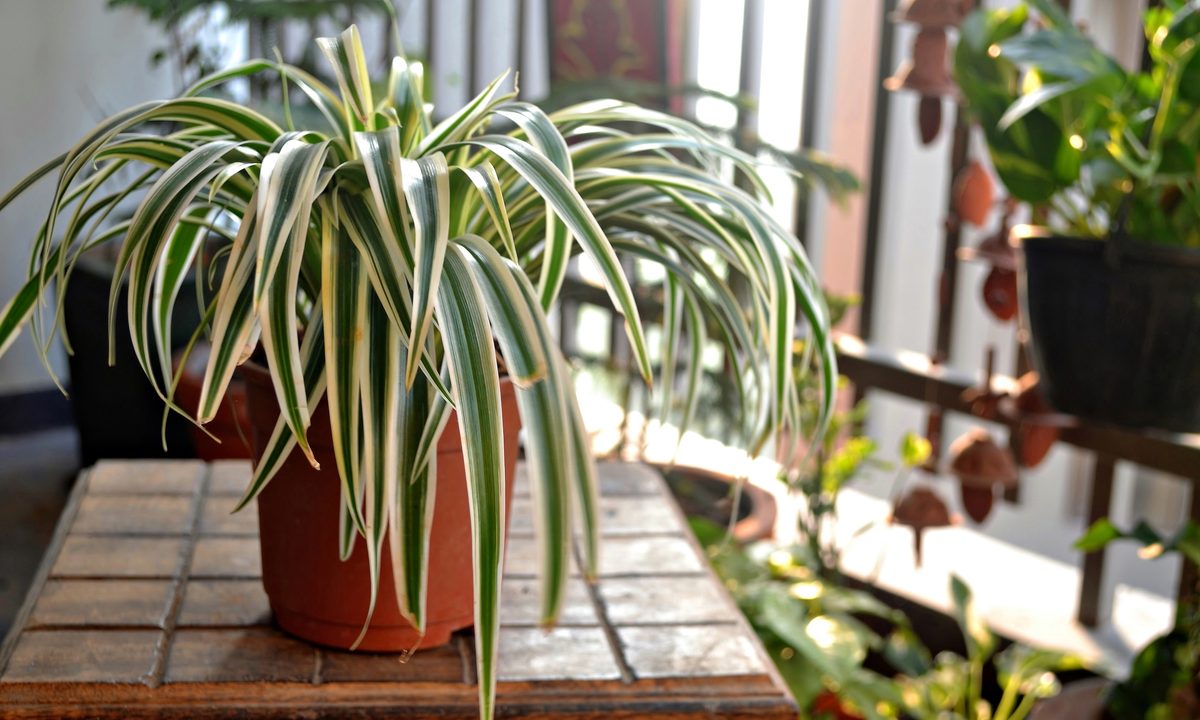
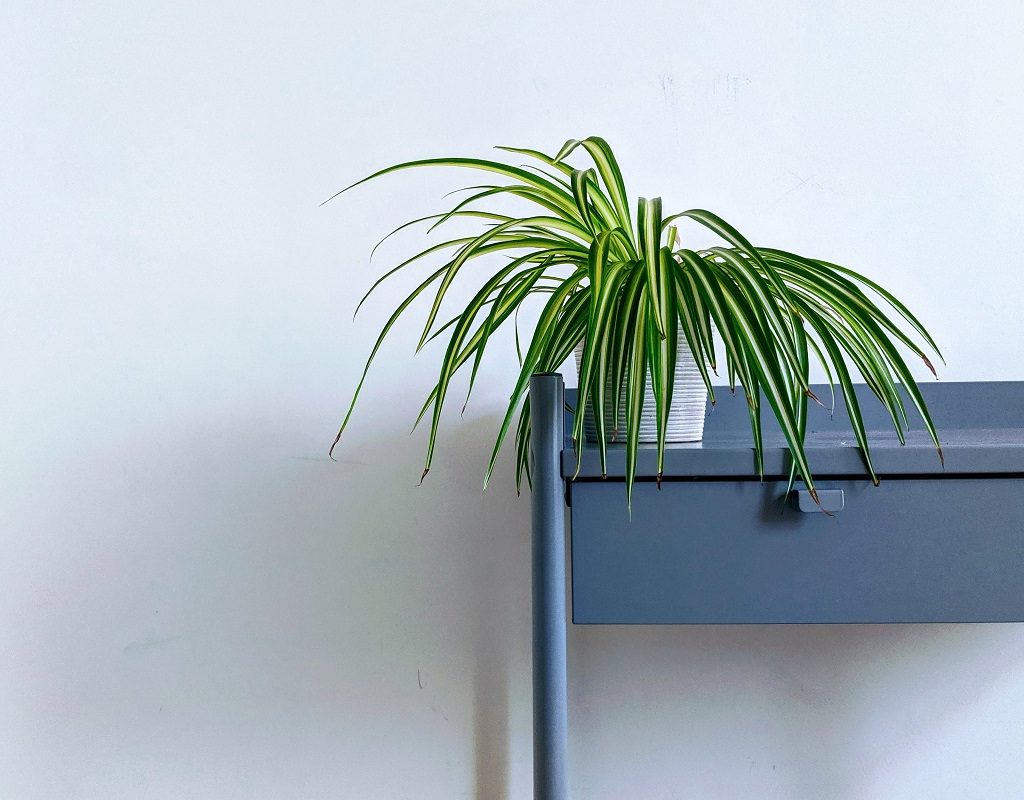
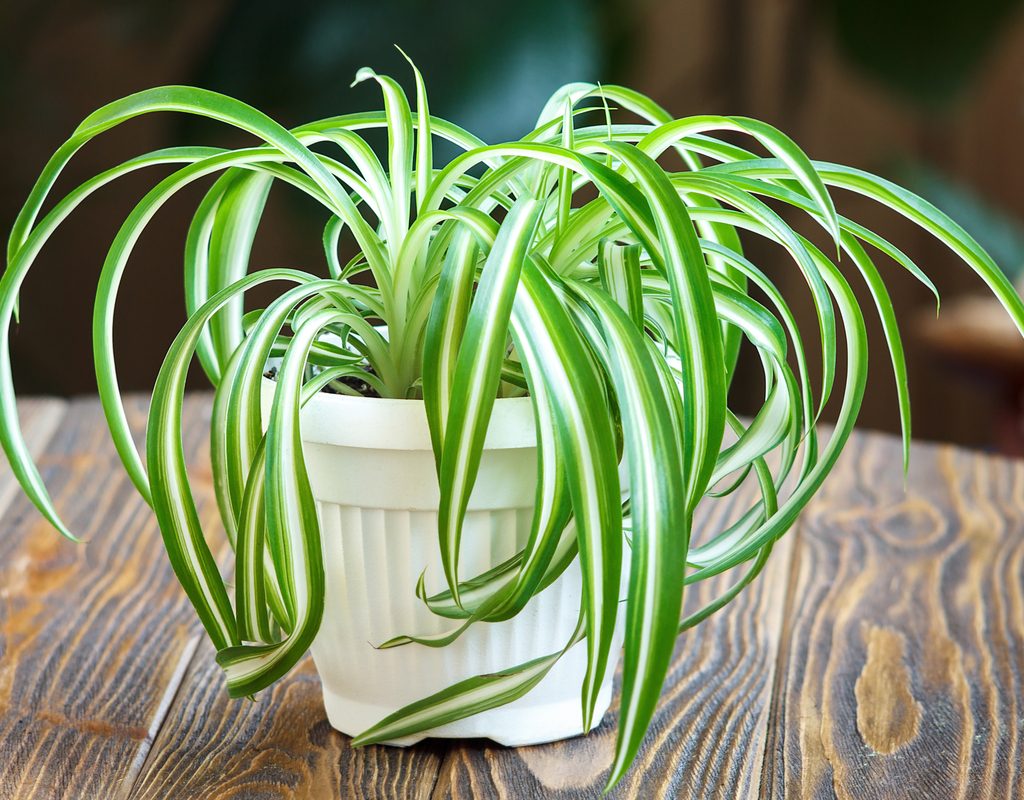
Spider plants are generally regarded as excellent starter plants. All spider plant varieties are aesthetically attractive, low maintenance, and easy to propagate. Additionally, they tolerate most soil types. You can use anything from regular potting soil to cactus blends for your spider plant, and you don’t need to make your own soil blend.
However, if you’re new to soil mixtures, spider plants can be a safe way to experiment with soil. If you want some low-risk experience creating a soil blend, this is the perfect opportunity.
What type of soil do spider plants prefer?
Spider plant soil needs are fairly relaxed, and they’ll grow in most soil. Spider plants thrive in moderately well-draining soil. Cactus blends drain too quickly, and while spider plants will grow in them, they need more frequent watering to thrive. On the other hand, heavy, clay-rich soils are dense and hold water for too long. This means your spider plant won’t need to be watered as often, but it has a higher risk of developing root rot. Most regular potting soils fall into the range of moderately well draining.
Additionally, spider plants prefer soil in a neutral pH range. They’ll grow in slightly alkaline to slightly acidic soils. In most soil blends, you don’t need to worry about the pH unless either the plant prefers soil that is outside of the neutral range or your base soil’s pH is already skewed. However, it is still good to keep in mind.
How to make sure your soil is right
Starting from either your garden soil or potting soil, here’s how to make sure your soil blend is right for spider plants:
Step 1: Sterilize your soil.
This is only necessary if you're using outdoor soil for an indoor plant. Potting soil should already be sterilized, and garden soil that is exposed to the elements won't stay sterile for long, so it isn't generally helpful to sterilize it.
Step 2: Check the pH of your soil.
If your soil is above a 7.2 or below a 6 on the pH scale, you need to add additional ingredients to even it out. Potting soil often lists the pH on the bag or product packaging, while your garden soil can be tested with a home kit.
Step 3: Add garden sulfur/sulfate or peat moss to make the soil more acidic or limestone to make the soil less acidic.
Step 4: Check the drainage of your soil.
The best way to do this is to dig a 1-foot-by-1-foot hole in the soil and fill it with water. Once that water completely absorbs into the soil, fill it again and time how long it takes to drain. Generally, you want a time around 10 to 30 minutes, with 15 to 20 minutes being ideal.
Step 5: Add compost, sand, or shredded leaves to make the soil drain faster, or clay to make it drain more slowly.
Step 6: Test your soil mix again after adding new materials to it.
Spider plants aren’t picky about their soil, so feel free to experiment a little. If you’re hoping to learn about soil types, making multiple soil blends and planting a spider plant in each can actually be a fun science experiment! Spider plants are remarkably forgiving, so don’t worry too much if your soil is a little off.


