How to use soil conditioner to cultivate beautiful plants and rich soil

Gardeners know that one of the essential parts of having a healthy and flourishing garden is excellent soil. There are many ways gardeners improve and alter their soil to increase the production of fruits and veggies or even the amount of blooms in their flower gardens. So it’s no surprise that things like compost, soil test kits, and soil conditioners have become increasingly popular. With so many options, how do you know which one is right for you? Here we’ll be discussing soil conditioners, what they are, how they’re different from compost, and when they’re ideal to use in your own garden.
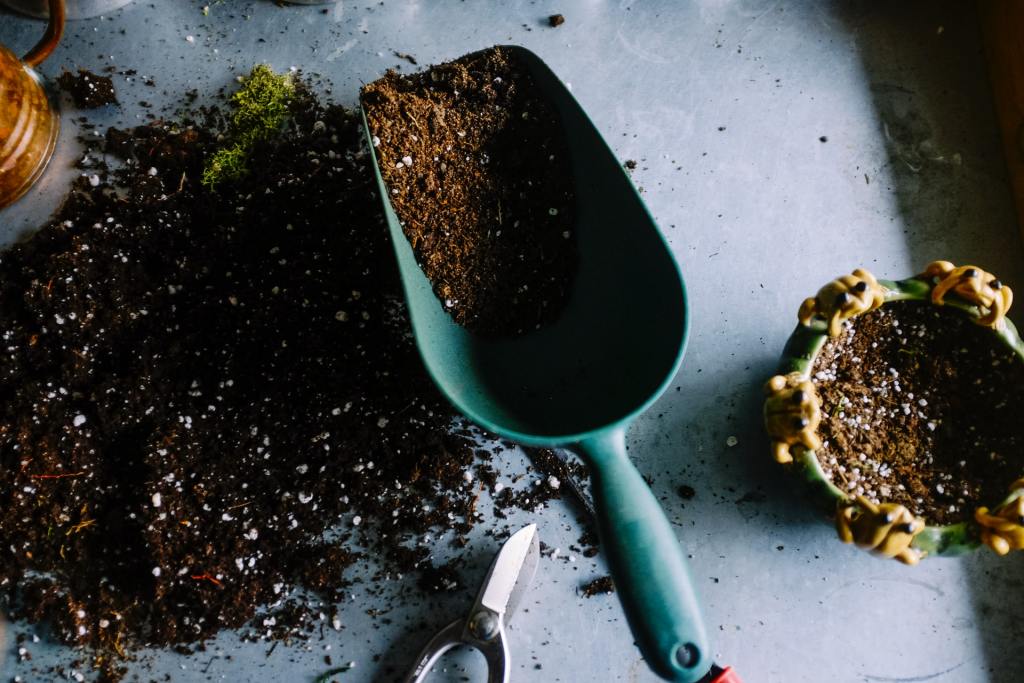
adding soil amendments
Photo by Neslihan Gunaydin on Unsplash

What is a soil conditioner

There are many different kinds of soil conditioners that solve a wide range of soil issues. Some can improve drainage and aeration in hard or clay soil; others are designed to add nutrients and texture to worn-out soil. So what is the difference between a soil conditioner and compost? Nothing! Compost is actually a type of soil conditioner. As we said before, a soil conditioner is any material that improves the soil’s physical structure. However, there’s a difference between soil conditioners (including compost) and topsoil. Gardeners can purchase topsoil at garden centers all over the country, and while many are screened and shouldn’t have any weeds, rocks, or other debris, the soil isn’t guaranteed to have a high quality of nutrients. Topsoil is often an excellent choice for lawns where grass will be planted, but it’s almost always better to use a soil conditioner in gardens.

Types of soil conditioners

There are two main types of soil conditioners, organic and inorganic. This doesn’t mean one is better than the other. Organic soil conditioners are made with things like animal manure, compost, cover crop residue, sewage sludge, sawdust, or peat moss. These materials were all “living” and are the reason for their name. Organic soil conditioners are often used to improve nutrient content and water retention. These types of conditioners are almost always a fantastic addition to any kind of soil and will likely enhance it no matter what.

Inorganic soil conditioners are made with materials like pulverized limestone, slate, gypsum, and glauconite. These are, of course, “dead” materials. Inorganic soil conditioners are used to fix a specific soil issue, while organic conditioners are often an excellent addition to any soil type. For example, gypsum adds calcium, and pulverized limestone increases the pH and adds calcium. Depending on your soil’s specific needs, inorganic soil conditioners might be the best solution for you. However, if you add them without knowing the condition of the soil, you could be doing more harm than good.

To figure out which is best for your specific needs, it’s best to start by testing your soil with a soil test kit. You can purchase many online, or you can send a sample to the nearest college with a horticultural department. They’ll often test your soil for you and send you back the results.
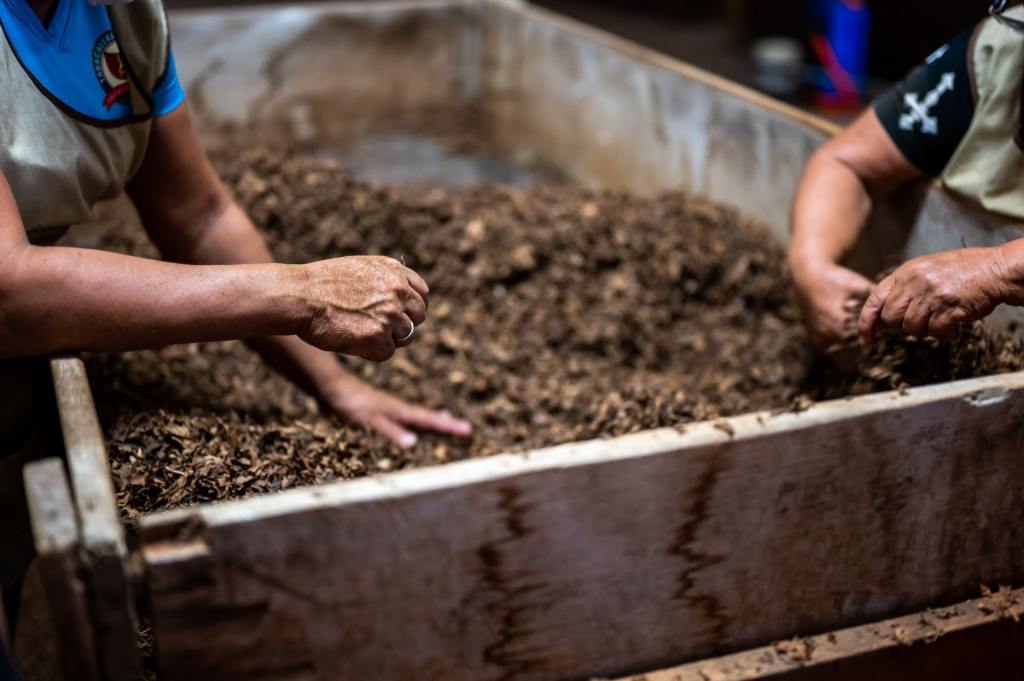
working the soil
Photo by Conscious Design on Unsplash

How to use it on flower and vegetable gardens

When preparing a bed for new plants, it’s best to begin by testing the soil. Once you’ve figured out what your soil may be lacking, you can then prepare the beds by removing any debris. This could be weeds, rocks, or other unwanted plants in the area. To add the soil conditioner easily, lightly till up the soil around 4 to 5 inches deep. Spread the soil conditioner over the tilled ground and use a rake to mix with the topsoil. Now your soil is ready for any plants you’d like to grow.

So now that we know compost and soil conditioners are the same thing and topsoil is best used for grass lawns, you can get to testing, amending, and planting your soil with all the correct soil conditioners. Your soil and your plants will be thanking you for the help!
Editors' Recommendations

Rebecca Wolken
Former Digital Trends Contributor
Rebecca's has written for Bob Villa and a Cincinnati based remodeling company. When she's not writing about home remodeling…
How late can you plant sunflowers and still see blooms? What you need to know about these beautiful giants
sunflowers in late summer

Sunflowers are an easy-to-grow and iconic late-summer, early-fall bloomer that's instantly recognizable. They can be cut to decorate your home or planted to add color and variety to landscaping. Not just that, but sunflower seeds can even be harvested as a tasty snack. No matter the reason you're in love with these flowers, it's common to wonder if you can plant them in late summer and still enjoy blooms. Keep reading for the full scoop!

Can you plant sunflowers in late summer?
Like most gardening-related questions, the answer is: maybe. It depends on which USDA zone you're located in, the variety of sunflower you wish to plant, and just how late in the summer you're thinking of growing them. In zones 8 and higher, you'll likely have success with a late-summer sowing of sunflower seeds. However, they may be shorter and produce fewer blooms because of the shorter days and decreased sunlight.

Read more
Spread the bromeliad love: How to properly propogate the plant
Bromeliad pups

Known as a resilient houseplant with a long-lasting bloom, the bromeliad is a fine addition to any plant collector’s home. Its flower spike will last three to six months, but your plant won’t likely bloom again. That said, bromeliads will form pups, which eventually bloom. So, how exactly can you divide these pups, and is there another way to get even more bromeliads? If you're wondering how to propagate bromeliads, read ahead for the details.

How do you take cuttings from a bromeliad?
When can pups be removed from bromeliad?
The easiest way to propagate a bromeliad is by taking cuttings of offshoots, or pups, from the base of your mother plant during spring. Before your bromeliad starts to bloom, it should begin growing pups. By the time the blooms fade, the bromeliad can put out as many as 10 pups.

Read more
Have more aloe plant than you know what to do with? How to propagate its pups
Aloe vera pots

The aloe genus consists of hundreds of plants, most featuring fleshy leaves that form a rosette shape. Within the aloe genus, the aloe vera plant is one of the easiest to care for and come by. Plus, it’s one of the easiest plants to propagate — and who wouldn’t want to create more aloe vera for its soothing gel that can be used to treat burns and skin irritations? If you want to learn how to propagate aloe vera, it’s not that hard. Ahead, here's what you need to know to successfully propagate aloe vera.

The easiest way to propagate aloe vera
The easiest way to propagate aloe vera is by division — that’s to say, taking an offshoot growing at the base of your aloe vera plant. You can simply pluck off a pup or use a clean knife to carefully remove it from the mother plant. The best time to remove the offshoot is when the leaves are fleshy and have formed a distinct rosette shape. It also helps if the pup already has roots connected to the mother plant. When propagating the pup, keep as much of the established root system as possible. Place your offshoot into a fresh cactus mix and allow the roots to settle after watering deeply. If you have an aloe with multiple pups, you can remove your entire plant from its planter for a better view of the roots.
How do you propagate aloe vera without roots?
It’s possible to propagate aloe vera without roots — in fact, you can even grow it from cuttings, which we’ll cover more extensively below. Propagating aloe vera pups without roots is very feasible, but you have to be careful with watering. If you find yourself with rootless aloes, you can place them onto your potting mix as usual and use stones or stakes to keep them upwards. Avoid watering them until about two weeks or whenever they have roots.

Read more