
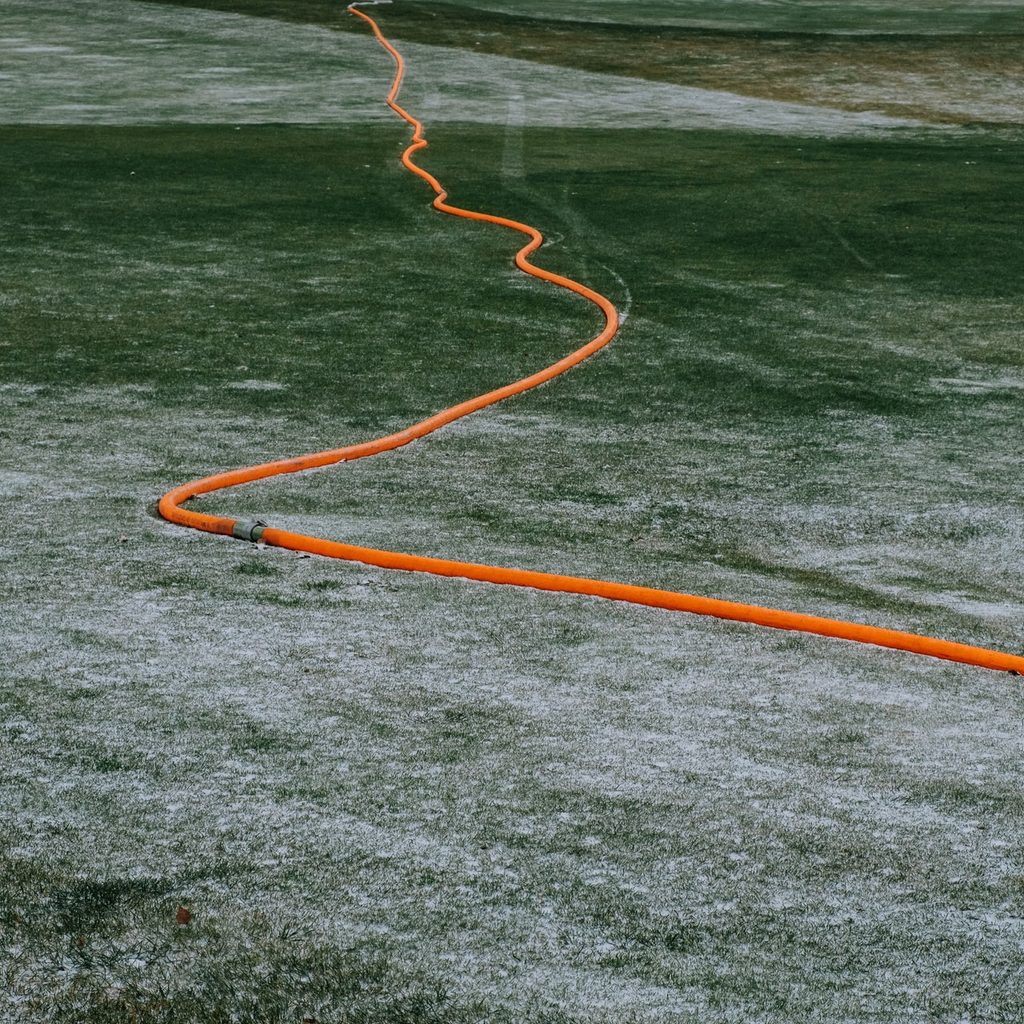
When the last of our garden harvests are beginning to disappear from our kitchens, and the once green and luscious garden is now droopy and sad, it’s probably time to start winterizing our outdoor tools. This doesn’t just mean putting the rake and shovel into the shed. It means winterizing out water sources as well. You might end up with a rusty hand rake if you leave that out all winter long, but if you forget to winterize the hose bib to your house, you could have a much bigger and more expensive mess to clean up.
Why you need to protect your hose during winter
Maybe you use the hose to get water to your backyard chickens, and the idea of taking off the hose and having to carry your watering systems further in the freezing cold sounds like a horrible idea. Unfortunately, it’s the best idea to keep your hose, water lines, and home safe during those frigid months. You might be wondering what happens if you leave a hose connected to the house. It can’t be that bad, right? Wrong. A hose that’s still attached to the hose bib can burst at the seams. Not only could it ruin your favorite hose, but the freezing water can go all the way into your home and burst a pipe inside the house. This creates a huge mess that could cost you thousands of dollars in repairs and damages. So no, it’s not worth it, don’t risk it; winterize your hose and take the extra steps to bring water to your animals.
When should you winterize hose bibs?
This will depend on where you live and when the average date for freezing temperatures is. You can find this information through Google or use this link to find your area and figure out when those dates are. Once you’ve found your dates, you’ll want to go back two weeks, and that’s when you should winterize your hoses. This will protect your water sources from a cold snap that might be a bit early.
How to winterize your outdoor water sources
Okay, so hopefully, we’ve scared you enough to convince you that you need to protect your hose and home from water-related disasters. So how do you go about correctly winterizing your hose? Luckily for you, it’s one of the easiest and least time-consuming home maintenance projects you’ll come across.
Remove the hose from the bib
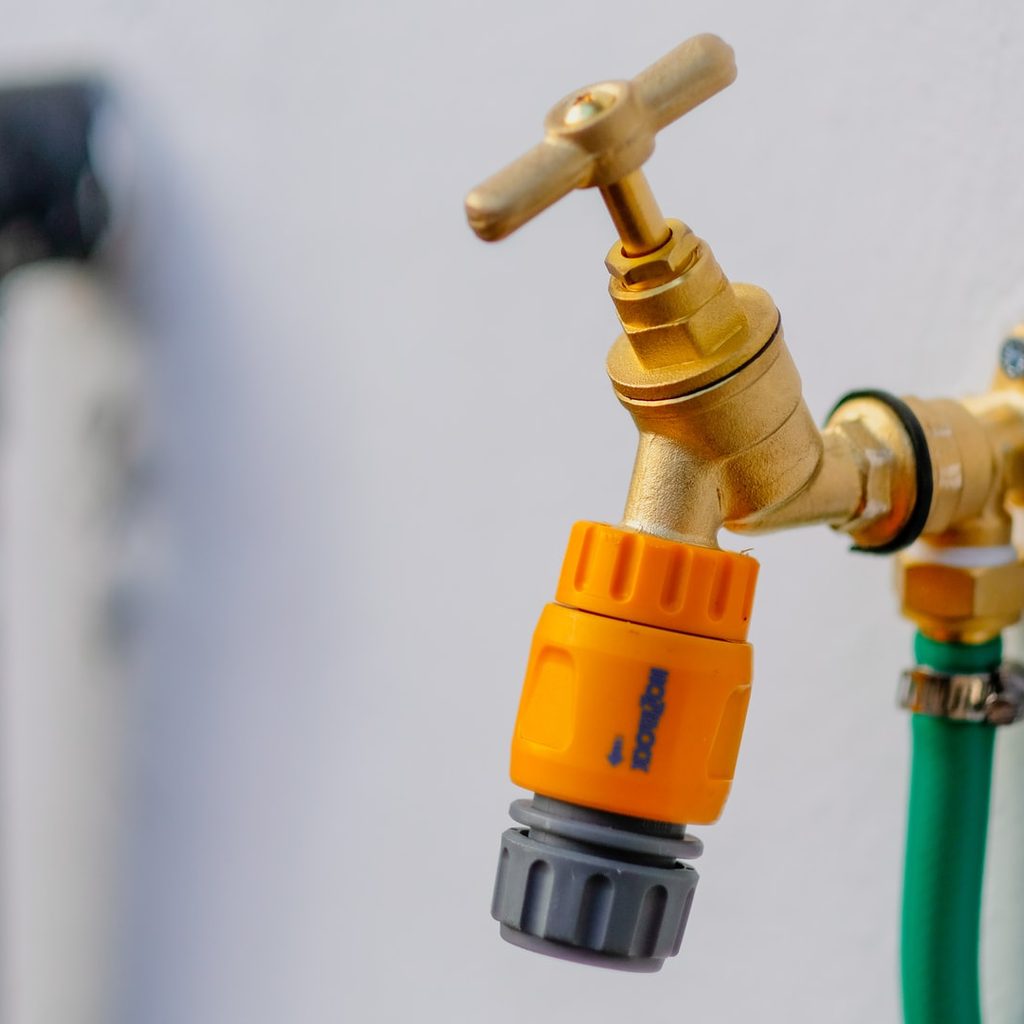
No matter how many you have, you’ll want to remove all the hoses from any hose bib around your home. To make life a little easier, we recommend turning off the water and letting the rest of the water flow out of the sprayer before removing the hose. This will allow the hose to be handled more easily later in the process and avoid getting your pants all wet when the hose inevitably leaks all the water out of itself.
Disconnect the sprayer nozzle
Now that the hose has been drained and removed from the bib, you’ll also want to remove the sprayer nozzle. Even though we’re protecting the hose by removing the pressure of the spicket, the sprayer nozzle could still be damaged by keeping it on the hose. So to ensure you don’t have to buy a new one every year, remove the sprayer and store it next to the hose.
Store the hose in the shed
You’ve now protected your home from disastrous water leaks, but hoses can still be damaged and broken by sitting outside all winter long. It’s best to coil up the hose, allow the water to run out of it as much as possible, and store it in a shed, garage, or basement until next season. This will make your hoses last longer and perform better next year. You could make life even easier and invest in a retractable hose!
Drain any sprinkler systems
Some of you might be lucky enough to have a sprinkler system for your lawn, garden, and landscaping. If you do, it’s vital to winterize them as well. You might have a professional set up to do this, but if not, you’ll also want to disconnect the sprinkler system from the water source and drain them. The last thing you want to deal with next spring is a broken pipe in your system that you have to find. This likely will result in you needing to dig up a portion of the system, ruining your perfectly manicured lawn.
Consider an insulated cover
Now that everything is safe, winterized, and ready for even the harshest winter, you might want to consider one last thing. This step is optional, but if you’d like to be extra safe or live in an area with extra harsh winters, it might be a good idea to invest in an insulated cover for your hose bib. These are simply an extra layer of protection around the bib to reduce the risk of a burst pipe.
You can now cozy up with a chunky sweater, a cup of tea, and a good book, knowing your home is safe from a frozen burst pipe. Still not convinced you need to winterize your hoses? Check out this gallery of what burst frozen pipes can do.


