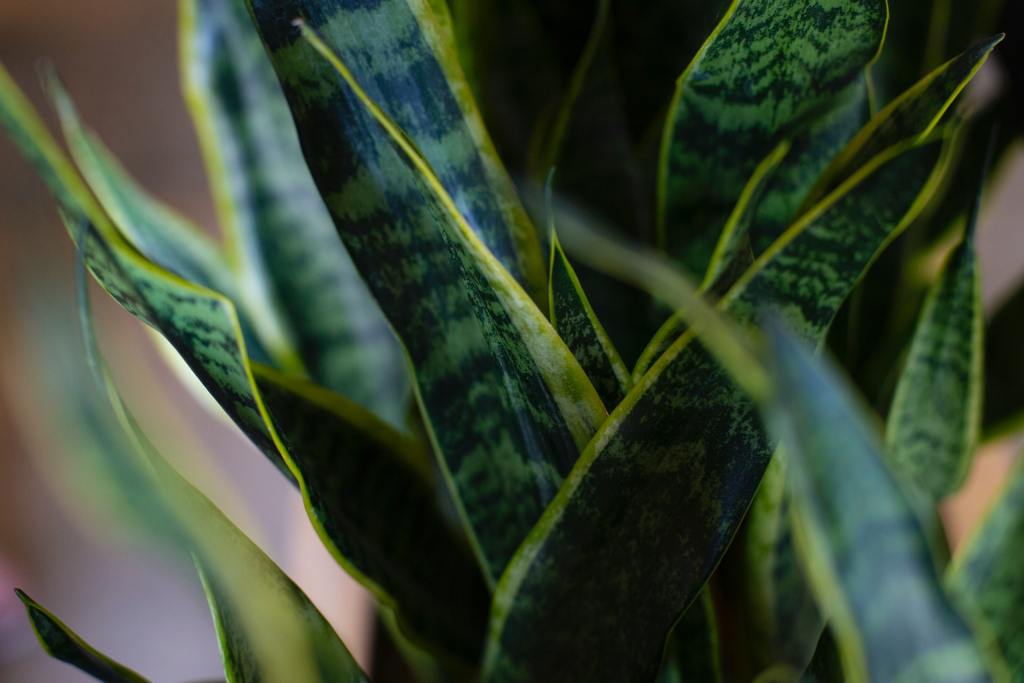
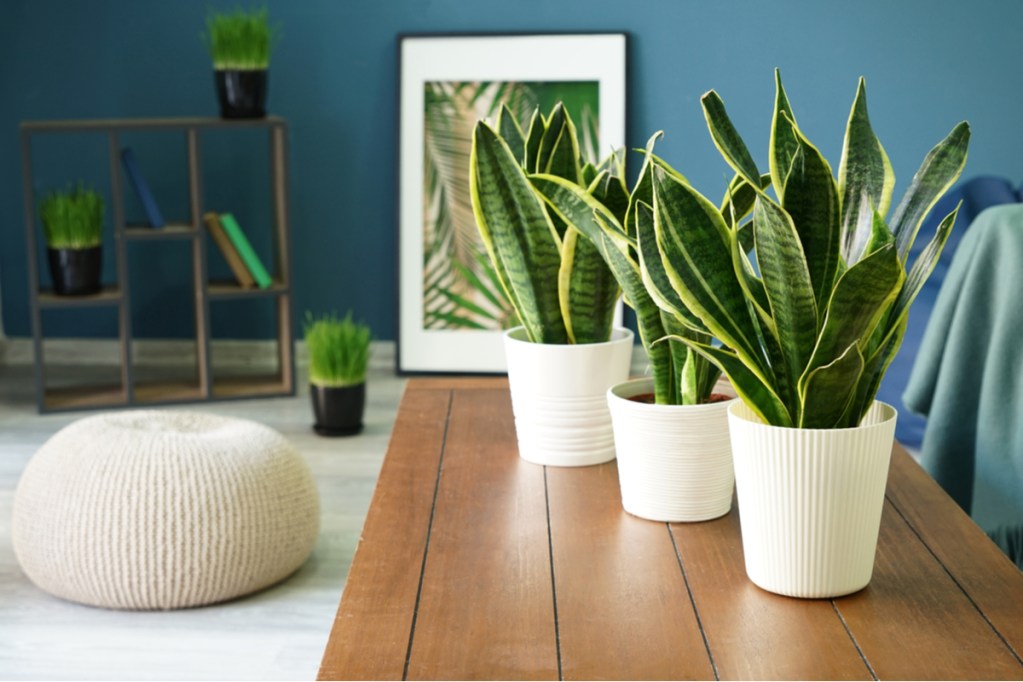
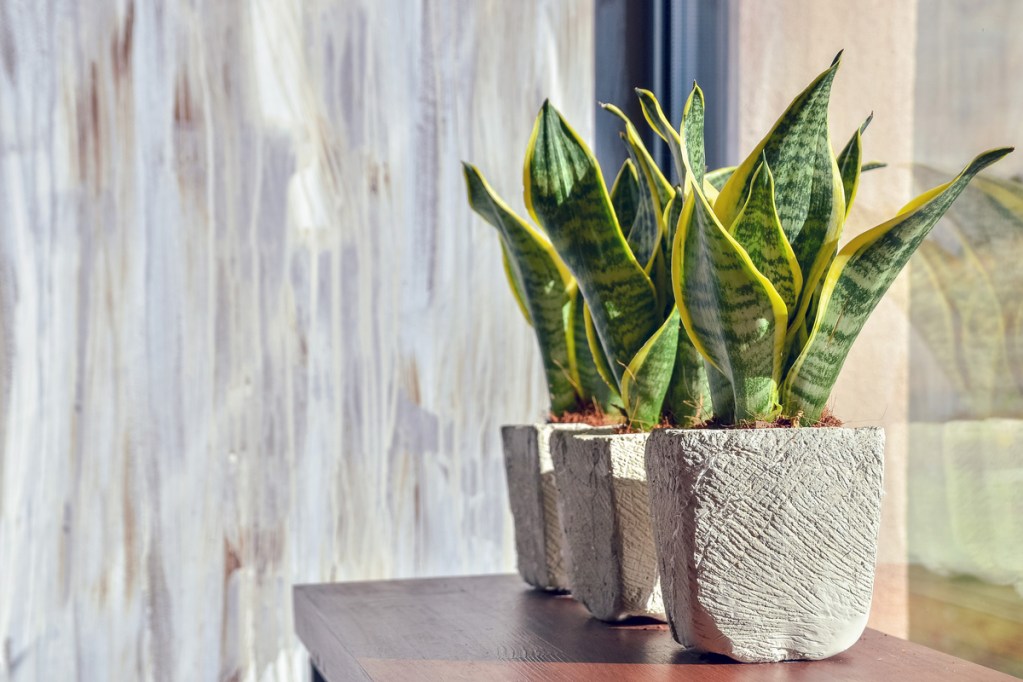
Snake plants are beautiful and easy to care for, making it one of the most popular houseplants in the U.S. With more than 90 species of snake plants, there is sure to be a variety to please everyone. You can find them in most plant stores listed as either Sansevieria trifasciata or Dracaena trifasciata. Both names are used for the same plant, so don’t panic if you see one and not the other! Once you have a snake plant in your home, it might inspire you to grow more or share them with your friends and family. The easiest and cheapest way to do this is to propagate snake plants.
There are three ways to propagate snake plants: root a cutting in water, rooting a cutting in soil, and root division. While all these options will work, there is one thing to note. Snake plant varieties with colorations can not be propagated with leaf cuttings. Their variegation is stable, but it will revert if propagated with a leaf cutting. In these cases, use the division method to keep the coloration.
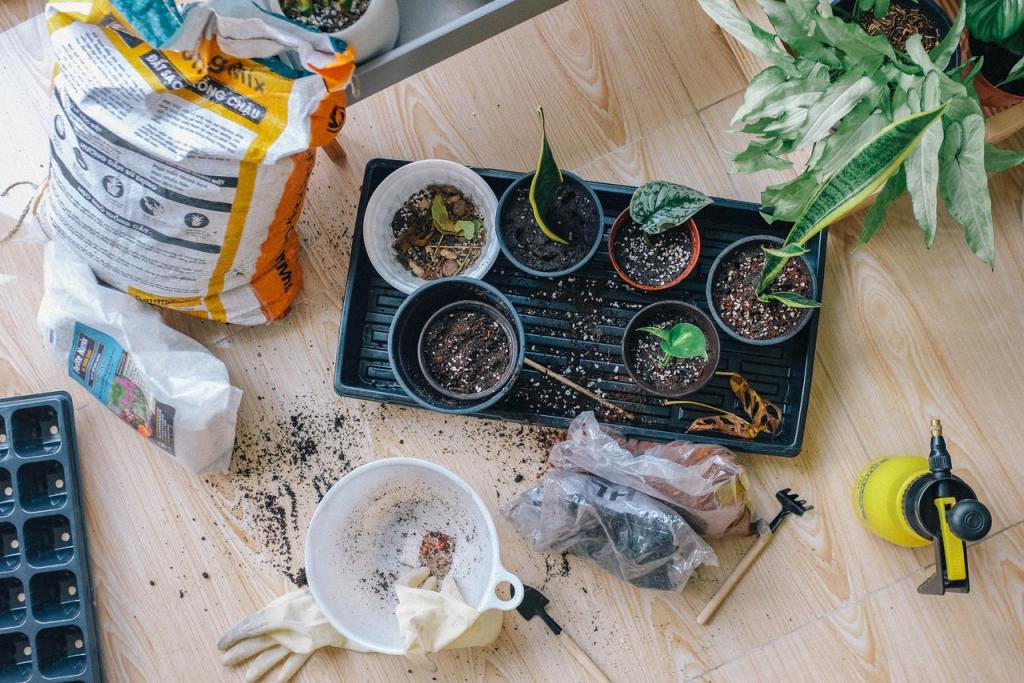
Propagating snake plants using water
Water propagation is a fun and easy way to grow your snake plant population. However, water propagation can make it harder for the plant to switch back to soil. The plant will get used to being in the water, and then when it has to move to soil, it has a higher probability of failing than a cutting rooted in soil. Follow these steps to propagate snake plants using water.
Cut the leaf at its base
Before you begin, start by cleaning your tools. Snake plants are prone to bacterial rot, so it’s vital to sanitize your scissors or shears. Now find the leaf you want to cut, follow it down to its base, and cut as close to the soil as you can with cleaned scissors or shears.
Whole leaf or sections?
From here, there are two options. You can take the whole leaf and propagate it in the water, or you can chop the leaf into 2- to 3-inch sections to try and grow multiples. This is also a great option to ensure you’ll have a successful propagation. Just be sure that the bottoms of the leaf sections are going into the water. If they aren’t, they will not grow roots.
Allow the cuts to callous over
You need to allow the cuttings to callous over for three to four days before placing them in the water. If this step is skipped, there is a much higher probability that the cutting will simply rot.
Place into a vase with clean water
When the cuttings have calloused, it’s time to place them into a case or jar of clean water. Change this water every week to ensure the cuttings have fresh nutrients. Create a little tent with a plastic bag to help keep moisture in the pot and help that snake plant to hold water until the roots begin to grow.
Next is the hard part — waiting. Roots can take up to three or four months to grow, and sometimes longer, to be ready for soil.
Watch and wait
After about 21 days or three weeks, you should see small white nubs at the base of the cutting. These are tiny roots and are a good sign that your cuttings are healthy and will eventually grow baby plants.
Ready for soil
Once the roots of the cuttings are about 2 inches long, it’s now time to plant them in soil so they can grow out their lives and become big and beautiful snake plants.
Propagating snake plants using soil
Soil propagation is another easy way to create lots of little snake plant babies. They also have a high success rate due to the cuttings already being used to soil when they are eventually ready to be potted up.
Cut the leaf at its base
Again, starting with clean shears, cut the leaf as close to the base as you can get.
Whole leaf or sections?
From there, you can cut the leaf into 2-inch sections or leave it as a whole and pot it in the soil. Put the sections bottom down into a shallow pot.
Allow the cuttings to callous over and plant
You can allow the cuttings to callous for three to four days, or you can place them in dry soil and wait to water them for three to four days. Either way, now the cuttings are in soil and ready to grow. Create a little tent with a plastic bag to help keep the moisture in the pot and help that snake plant to hold water until the roots begin to grow.
Watch and wait
With soil propagation, it’s harder to check on the roots than it is with water propagation. Putting out the cuttings and planting them again can risk breaking off those new baby roots. Be careful and cautious when checking the roots.
Ready for their own home
When the new baby roots are about 2 inches long, it’s time to move them into their own home. Use cactus soil mixed with standard soil to be sure it drains well.
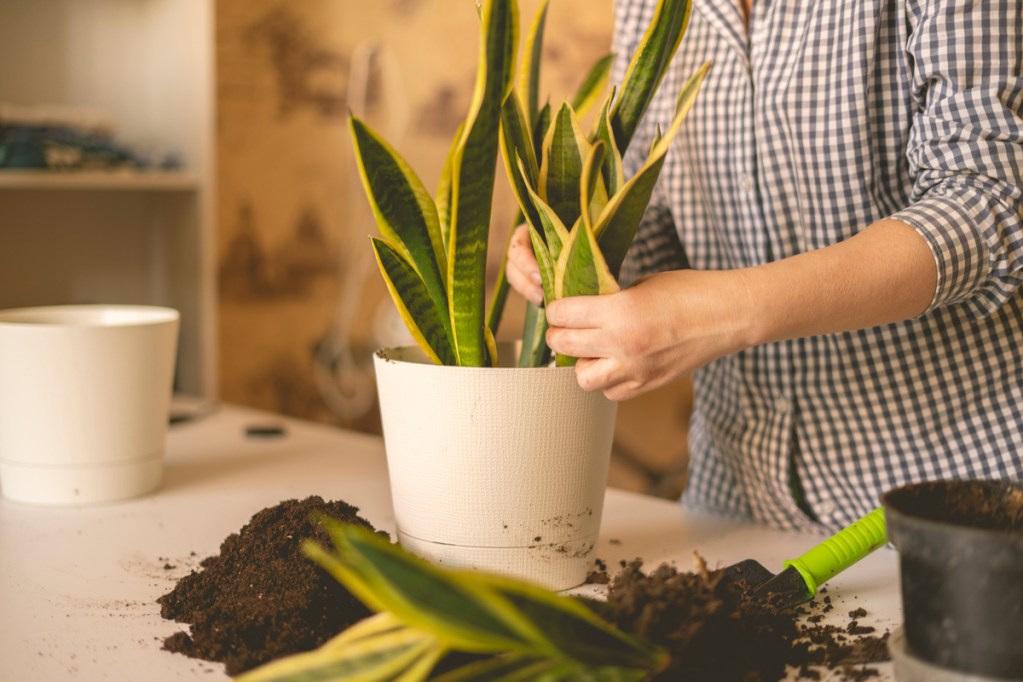
Propagating snake plants using division
Dividing a snake plant is the quickest way to get multiple plants. If the plant is getting too big for its pot, dividing is a great way to bring it back to a reasonable size while still getting more plants in the process.
Remove the plant from its pot and massage
Start by removing the plant from the pot and massaging the roots. The goal is to remove as much of the soil as you can to get a feel for what the roots are doing. Remember that the least amount of root damage is ideal. Keeping the roots intact will ensure a much higher success rate when dividing a plant.
Work with the roots
Work around the roots using your fingers and gently massage the roots. You’ll get a feel for where the roots are growing, and you can slip your fingers around the roots. Try to keep as many roots intact as you can, but losing a few here and there is inevitable.
Start dividing
Once you have most of the soil removed and see how the roots are going, it’s time to start dividing. This can be heartbreaking as root breakage is almost inevitable. The number of divisions you make depends on how many new plants you want to make or how small you want the mother plant.
Watch for pups
Another version of division is removing the pups as they pop up. Pups are baby plants that shoot off and grow from the mother plant. They are typically near the outside of the pot and are tiny versions of the mother plant. These adorable pups have their own root systems and can easily be removed and replanted into a new pot.
Caring for your snake plants after propagation
After propagation, proper care is essential to keep your plants healthy and thriving. This is important for both the new plant and the parent plant. Make sure your plants are receiving bright, indirect light. Water them slowly with room temperature water, to prevent both overwatering and temperature shock. Keep a close eye on them for pests or mold. The wound left from taking a cutting typically heals quickly and does not cause any problems, but it is still vulnerable to pests and diseases.
Snake plants propagated through root division may experience transplant shock. Most plants recover from this quickly, but it’s important not to disturb your plant while it is recovering. Avoid moving it from room to room too often, keep it away from extreme heat and cold, and don’t transplant it again until it has fully recovered. Transplant shock can affect both the new plant and the parent plant, since both will have had their roots disturbed.
No matter which way you choose, propagating your snake plant is a fun and inexpensive way to get more plants for your own home or to gift others! Remember to always use clean tools, and keep a close eye on those plant babies. For cuttings in water, allow the cuttings to callous, and change the water every week. For cuttings in soil, you still need to allow them to be calloused over, but they can do that within dry soil for three or four days before you water. Lastly, division propagation is down and dirty but the fastest way to gain new plants — and it seldom fails!