
Pumpkins are essentially the universal symbols of Halloween, but you’re certainly not limited to them when it comes to spooky season foliage. If you’re looking for something a bit more quaint than the traditional pumpkin, try out the pumpkin on a stick plant (Solanum integrifolium) this autumn. Although it’s a tad rarer than your usual batch of pumpkins, the pumpkin on a stick plant is actually fairly common in nurseries and grocery stores around October and November.
If you happen upon a pumpkin on a stick plant and want to know how to grow it, you’ve come to the right place. Here’s all that you need to know about pumpkin on a stick plant care to integrate its spooktacular vibes into your home this fall.
What is a pumpkin on a stick plant?
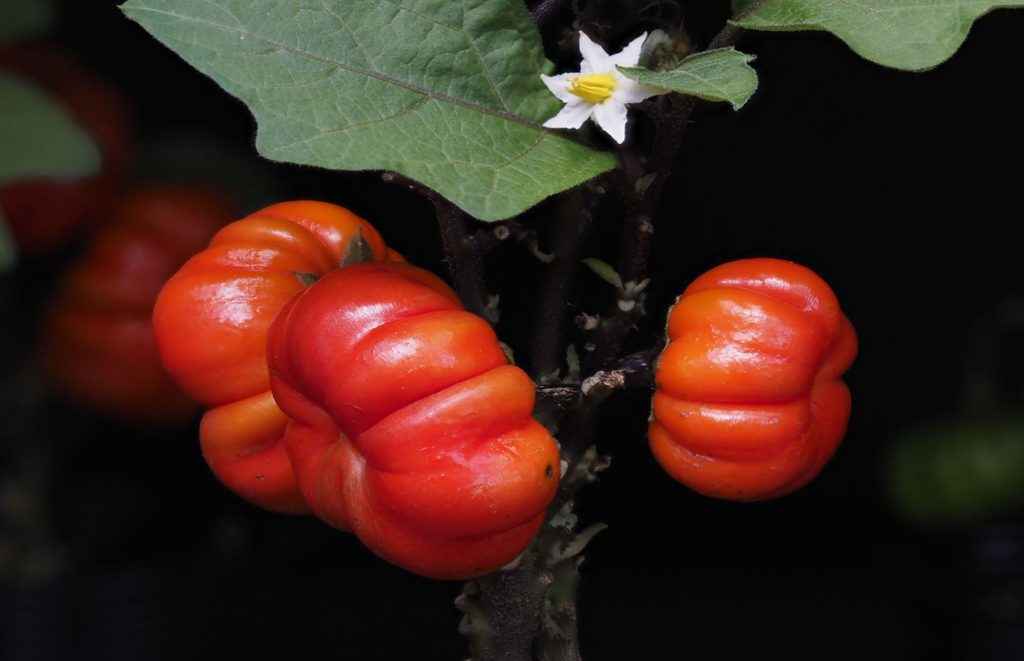
Though it looks like something straight out of Halloween Town, the pumpkin on a stick, also known as the pumpkin tree or pumpkin bush, is an actual plant. Native to tropical Africa, it’s also colloquially known as an ornamental eggplant, so it’s actually related to nightshades such as peppers and tomatoes, rather than pumpkins and squashes.
True to its name, this plant resembles pumpkins growing on sticks with its bulbous two- to five-inch red-orange fruits growing along brown branches. In terms of growth patterns, the pumpkin on a stick usually reaches around three to four feet in height and flowers before it yields fruit. A note of caution: the stems notably have thorns, so be careful handling them — consider wearing gardening gloves.
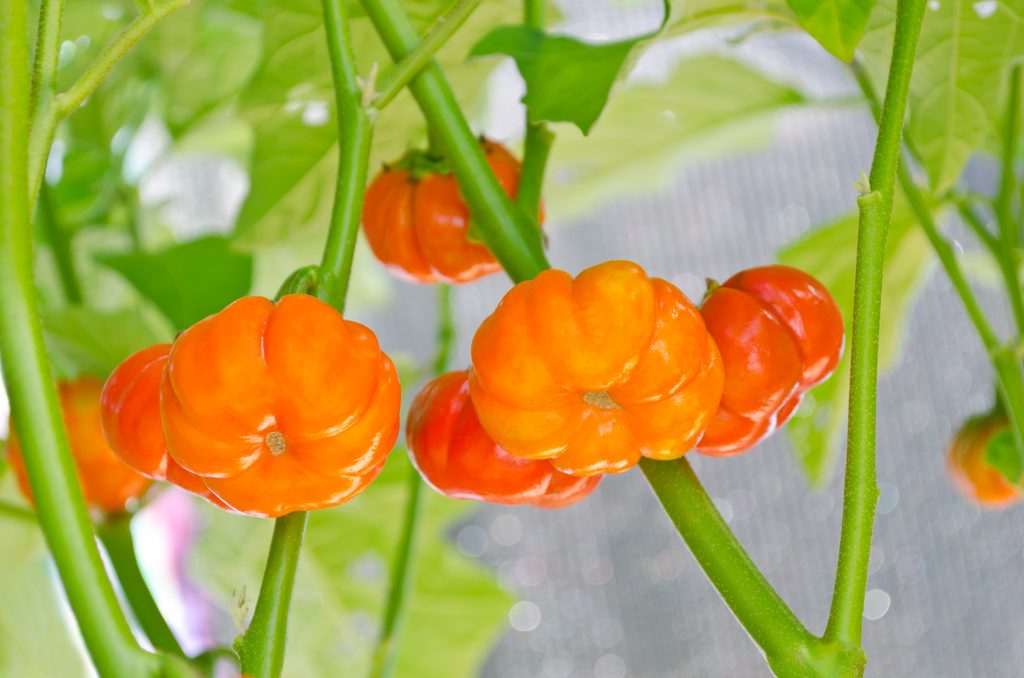
At the grocery store around autumn, you might see bunches of the pumpkin on a stick plant being sold for decorative purposes. When it comes to aesthetics, it’s a great addition to dry floral arrangements to maximize those autumn vibes. However, the pumpkin on a stick is also available as a potted plant, so you could grow it as a houseplant or a porch plant. If you’re growing pumpkin on a stick in soil, keep in mind that it’s edible, although the ripe orange fruit tends to be bitter. For the most part, people use the fruit in stir fries when it’s still green.
How do you grow a pumpkin on a stick plant?
Growing pumpkin on a stick by seed
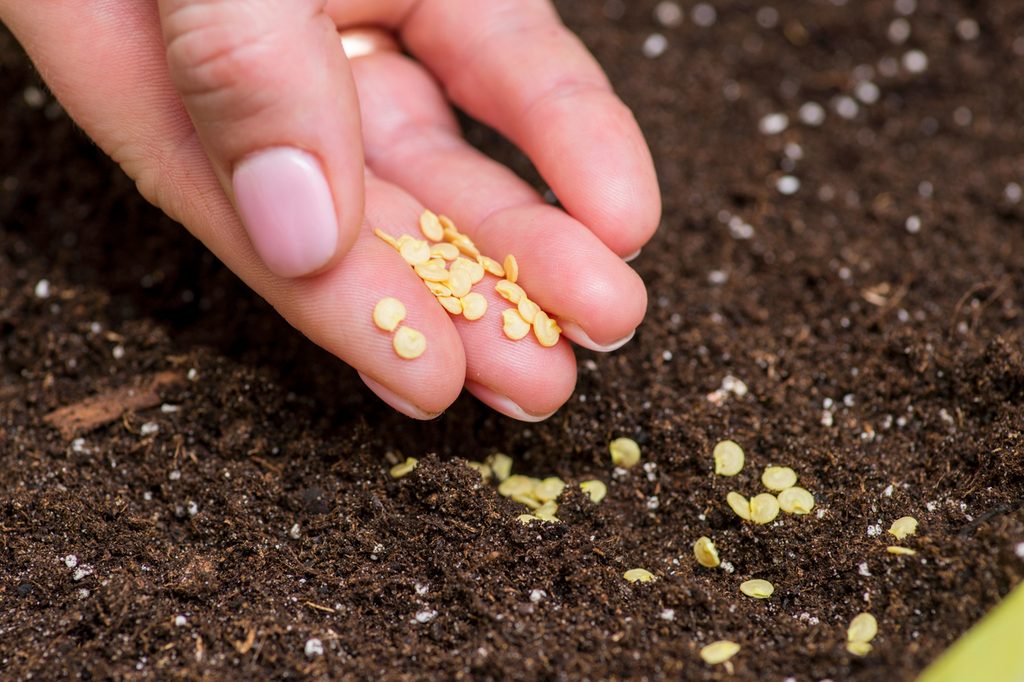
The pumpkin on a stick plant is simple to grow from seed — you’ll just want to pop seeds into a seedling mix and make sure to give them plenty of light, water, and humidity. You can buy seeds online, harvest from fruits, or check your local nursery. Germination can take anywhere between one to three weeks. If you’re starting your seeds indoors to transplant seedlings later, do this anywhere between six to eight weeks before the last frost. Bear in mind that it does take around two to three months for the fruits to fully develop.
Growing pumpkin on a stick by water propagation
You can also propagate a pumpkin on a stick by placing cuttings in water, although you want to do this when it’s warm — pumpkin on a stick really does best when it’s 75 degrees Fahrenheit or warmer. (This is why some gardeners overwinter it.) You’d simply want to prune off an offshoot from the base at an angle and place it in water for the roots to grow.
How do you care for a pumpkin on a stick plant?
Because pumpkin on a stick is essentially a nightshade plant, you’d want to treat it as one. It’s not particularly difficult to grow, but having certain conditions met will give you the healthiest plant possible come spooky season!
- Light: Because the pumpkin on a stick grows fruit, it needs full sun (or, at the very least, partial shade) in order to keep growing. If you plan on having it beyond the Halloween season, it’s a good idea to leave it outside or by a sunny window where it can get around 14 hours of light a day. This is how it will produce healthy flowers and fruits.
- Soil: Pumpkin on a stick does well in loamy, well-draining soil — it also thrives with ample space, so be sure to space out multiple plants at least three feet apart if you’re planting them directly outside. They can be container plants, but just make sure to use a large pot (20 inches deep or so) that fits their roots comfortably. Mulch your soil every so often so that it resists weeds. Also, remember to support your plants with stakes or tomato cages as they grow so that they don’t snap.
- Fertilizer: Fertilize your soil at least once during the growing season. You can use plant food with an NPK ratio, but search for a ratio with a lower nitrogen amount (like a 5:10:10 one, for example) so that your plant can focus on growing flowers and fruits rather than foliage.
- Water: The rule of thumb with giving a pumpkin on a stick plant enough water is to water it about one inch per week. The soil should be moist, but not especially soggy. Mulching should also help you with water retention.
How do you harvest a pumpkin on a stick plant?
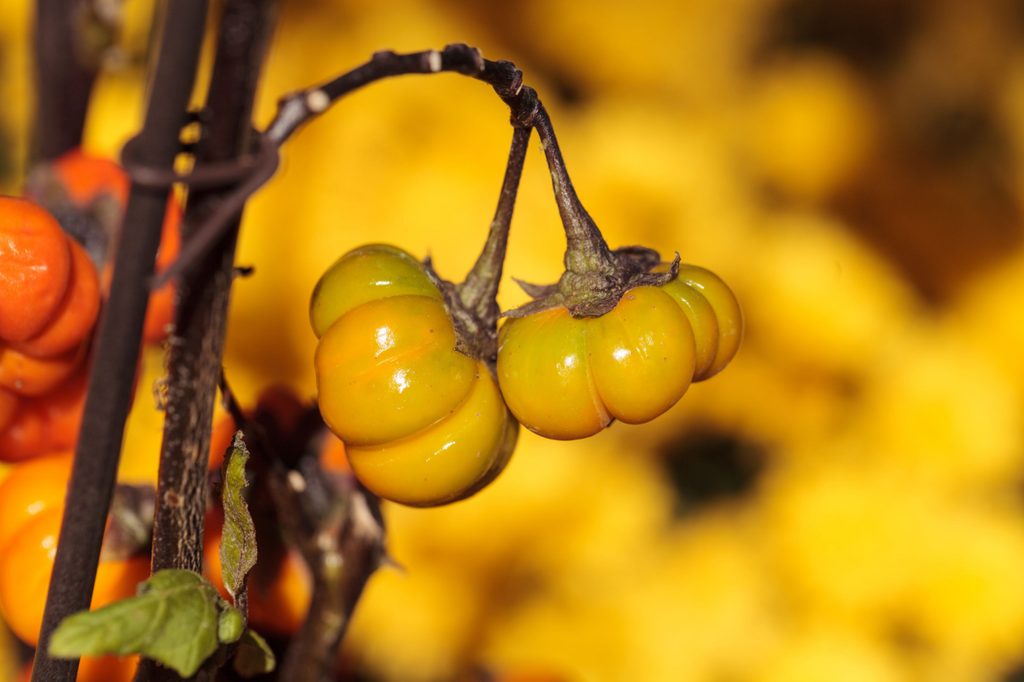
For eating, the ornamental eggplant should be ready to go around 70 days after germination. The fruit should be a green color when you pick it for consumption. You’ll want to use a pair of garden shears or scissors to remove each fruit so that the plant can keep yielding healthy harvests down the line.
If you’re using pumpkin on a stick plants for autumn arrangements, pick them when the fruits display a dark orange color. The “pumpkins” should stay the same color for around two to three months. You can cut out an entire branch at the base, then hang them so that the branch, foliage, and fruits become dry enough for decorative purposes.
For autumnal flair this Halloween and Thanksgiving, you can’t go wrong with a charming pumpkin on a stick plant. With some care and dedication, you can actually get future fruit yields from a potted plant. Don’t shy away from other Halloween-worthy plants with scary foliage, either — the more, the spookier!


