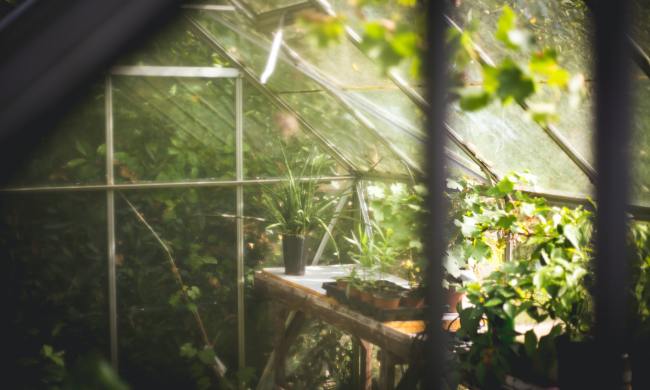
Even though greenhouses provide you with a year-round indoor space to grow your plants, they’re still susceptible to pests. Greenhouse pest control is often something not thought about until it happens, but it’s good to know the types of common greenhouse pests, the basics of greenhouse pest control, and some effective methods of prevention in the future.
The types of greenhouse insects
Because greenhouses are an indoor growing environment, pests often make their way in as carriers. They can come in on new plants or even be tracked in on your clothes or shoes. The most common pests you’ll see in your greenhouse can be broken down into three categories: Caterpillars and slugs, pollen-feeding pests, and sap-feeding pests.
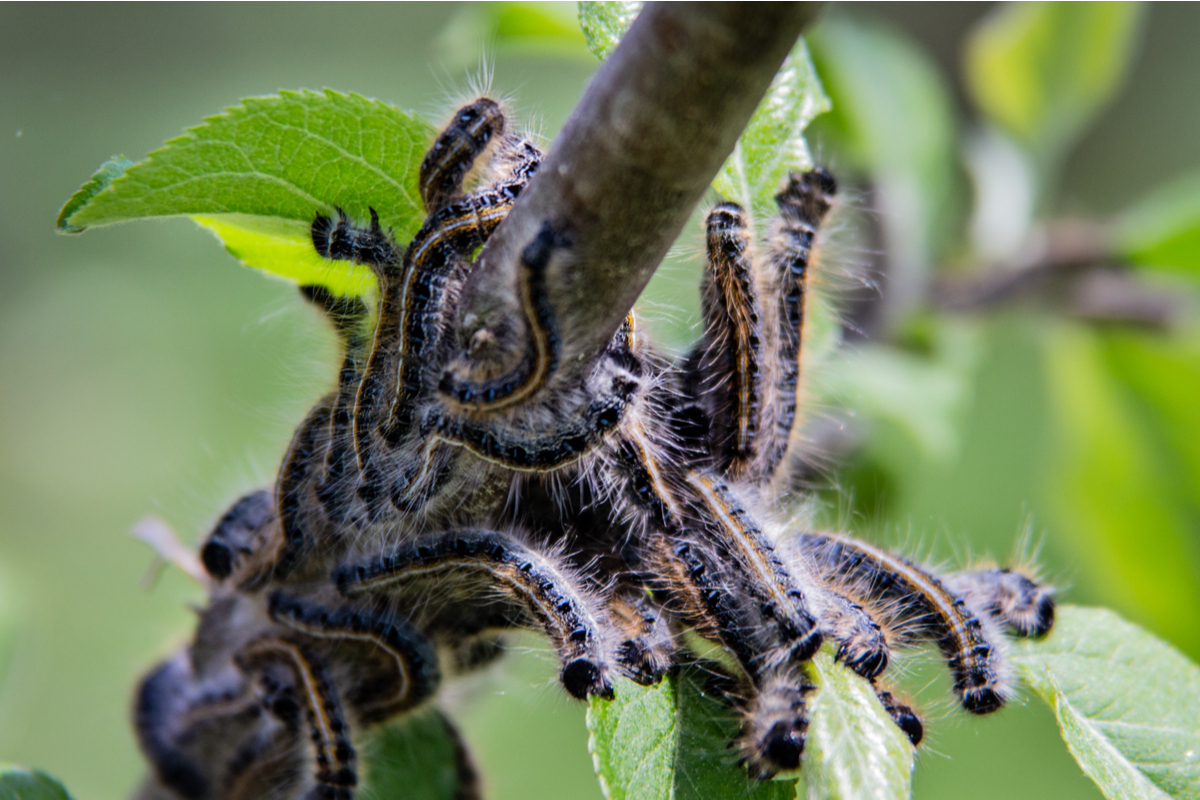
Caterpillars and slugs
These are the ones you’ll (hopefully) see the least in your greenhouse, if at all. Unfortunately, although rare in the greenhouse environment, caterpillars and slugs are very serious pests. They’re attracted to young growth and will fervently consume plants. These pests are best identified by skeletal leaves and leaves that are chewed from the outer edge.
Pollen-feeding pests
In the realm of pollen-feeding pests are thrips, fungus gnats, and shore flies. Thrips are no bigger than ants and can be identified by the small fecal specks they leave on plants. They damage plants by scraping at their leaves and fruits, and once the damage is done, the leaves turn pale, silvery, and die.
Fungus gnats and shore flies are quite common for greenhouses and are mostly just a nuisance as adults; however, the larvae will feed on any of your plants that are overwatered. You’ll be able to identify a fly or gnat infestation if/when you see them hovering around the bases of your watered plants. For these specifically, having a good watering system and schedule, as well as paying attention to your plants’ needs, will be a good preventative measure.
Sap-feeding pests
Under this umbrella we’ll find aphids, mealybugs, and scale insects. They’re slow moving, producing sticky honeydew that coats the underside of plants as they move. They tend to group up on the bottoms of leaves and on stems, so if you find one, there are likely a bunch more somewhere on the plant. One of the biggest indicators of an infestation by one of these bugs is yellow, distorted leaves.
Mites and whiteflies also fall under the category of sap-feeding insects and can pose problems for your greenhouse environment. Mites, because of their small size, are nearly impossible and often need a magnifier to see. Although you can’t see them, their damage is similar to other sap-feeding insects sans honeydew. As they travel in groups, they leave behind silk. Whiteflies are flying sap feeders that resemble small white moths. When disturbed, they’ll fly briefly before landing on another feeding site.
Getting rid of greenhouse pests
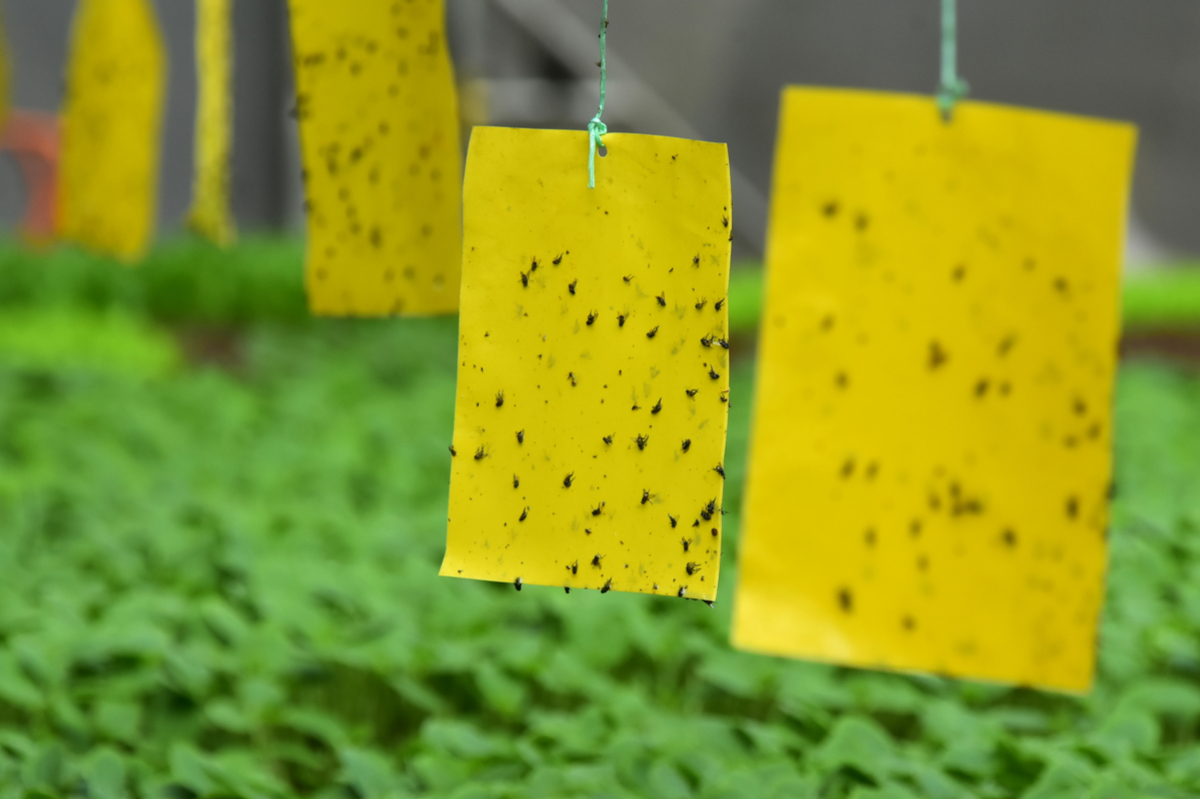
As far as ridding your greenhouse of an infestation, most pests can be killed with insecticidal soaps or Epsom salt. If you have some plants that are sensitive, you may want to opt for sticky cards you can replace once a week instead of spraying them with soap. For the others, giving the leaves (tops and bottoms) and stems a nice coating of insecticidal soap and wiping them down will help clear up most infestations. You should spray with soap every five to seven days until the pests are gone.
Some insects may need stronger control methods, so you may need to try smothering the infestations with neem oil. Similar to insecticidal soap, you’ll use the neem oil once a week until the insects are gone. Caterpillars and slugs can be easily picked up. You can fill a bucket with soapy water, toss them in, and that’s it. Be sure to check anywhere in the greenhouse they may be hiding, including under leaves and rocks.
Preventing pest infestations
As we mentioned earlier, due to the fact that greenhouses are enclosed environments, pests are often brought in on new plants (or, less frequently, on you). They can come in other ways, of course. Pests are small, so a fast one can sneak in when the door is open or travel through the vents, so you’ll have to be diligent about checking your plants for damage. As such, the best defense is a good prevention.
The most important thing you can do is to inspect new plants before bringing them into the environment. If you see any sign of damage or potential pests, leave the plant outside away from your crops for a few days to a week until you can clearly identify and destroy any pests. When there are none, it’s safe to bring it into the greenhouse.
Keep your greenhouse well-maintained — fix any broken vents or doors immediately, clean up standing pools of water, and remove damaged plants and plant debris both during and after the crop is done. As long as you maintain your area inside, and keep a well-trimmed area around the greenhouse, you’ll have luck in preventing any unwanted pest infestations.