
How to grow eggplant in containers

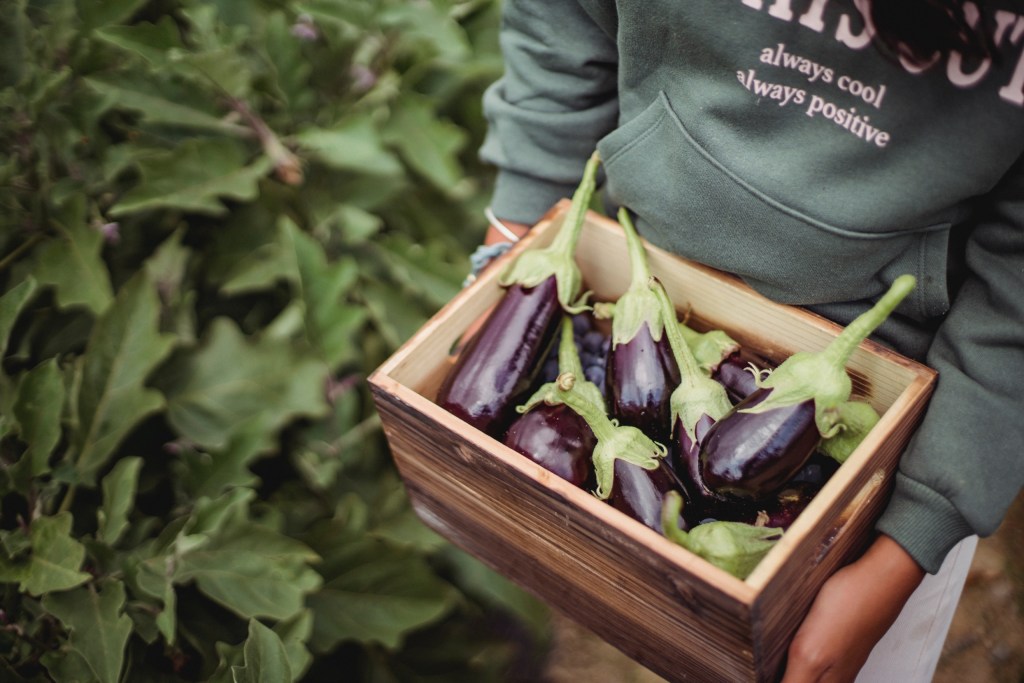
Eggplant is one of the easiest plants to grow. The flowers are beautiful (we think they’re pretty enough to be used as ornamental plants), and the fruit itself can even be thought of as a modern work of art. For the reasons above, some people like to grow eggplant in containers specifically because that makes it easy to carry them to different locations and view them from all sides.

Although it’s relatively simple to do, growing eggplant from tiny little seeds to plants requires a bit of care. There are a few types from which to choose, as well. In fact, if you buy them as seeds, you have the opportunity to grow some types that you wouldn’t be able to purchase from a nursery.
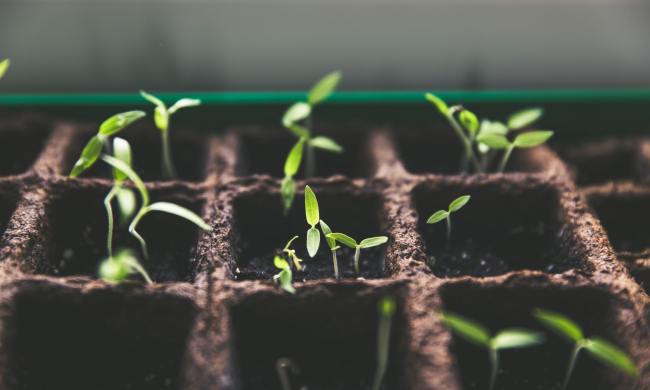
Box Full Of Eggplants
Image used with permission by copyright holder

Growing the seeds

Some people don’t intend to use their eggplants as ornamental plants and actually want to transplant their seedlings from their containers to the garden. If that’s you, then you’ll want to start the seeds anywhere from eight to 10 weeks before it frosts for the last time in your region. You’ll want to take as much advantage of the growing season as possible. That’s true even though you do have a bit of flexibility with container-grown eggplant.

Foolproof planting instructions

  • Take some cell packs or small pots filled with homemade or bagged, high-quality seed-starting mix.
  • Put a few seeds in each pot or cell and then cover them with about one quarter inch of dirt.
  • Water your seeds using a spray bottle to simply moisten the soil.
  • Put the containers in an area with a temperature of around 75° F. — the ideal degree of warmth for your seeds’ germination.
    • An easy way to maintain this temperature this is simply putting a layer of plastic wrap or a plastic bag over the top of the containers and then placing them on a heat mat.
  • Leave the containers like this for about one to two weeks. Check periodically to see if there is condensation on the underside of the plastic covering.
    • If there’s not, then you need to spray the soil with your spray bottle.
  • After you see the beginnings of sprouts, uncover the containers and put them in an area where they’ll get the maximum amount of sunlight possible.

When the plant is large enough, you’ll want to transfer it from the container it grew in as a seedling to a larger pot. However, you should fill the new pot with the same mix you germinated the seeds in. You can also move the plants outside and allow them to sit in the sun for a few hours as the days become warmer. Once the days are regularly 70° F., you can move the plants outside for good.

A woman watering a plant box
Cassidy Phillips / Unsplash

Care notes

While you don’t want the soil of your eggplant containers to dry out too quickly, you do want the soil to be fast draining. Remember that light soil tends to dry out pretty fast, so you may have to water more than once per day. If the soil dries out at all, it can mean that the eggplant’s fruit won’t grow to full potential.

To reiterate then, you need to check the soil and ensure that it’s kept moist. To keep it in that condition without overwatering, invest in mulch. That mulch can consist of wood chips or straw, just as long as it covers the soil and helps prevent it from drying out. Once your plants are no longer seedlings, you’ll want to feed them every other week during the growing season. Do this with diluted, liquid fertilizer.

Invest in a high-quality soil mix because eggplant is susceptible to certain types of wilting pathogens, and those disease causing organisms are common to regular gardening soil. Eggplants are also vulnerable to flea beetles. However, as long as you’re using sterile potting soil and are growing the plant in containers, this isn’t likely to be too big of an issue.

Large Eggplant And Mushrooms
Image used with permission by copyright holder

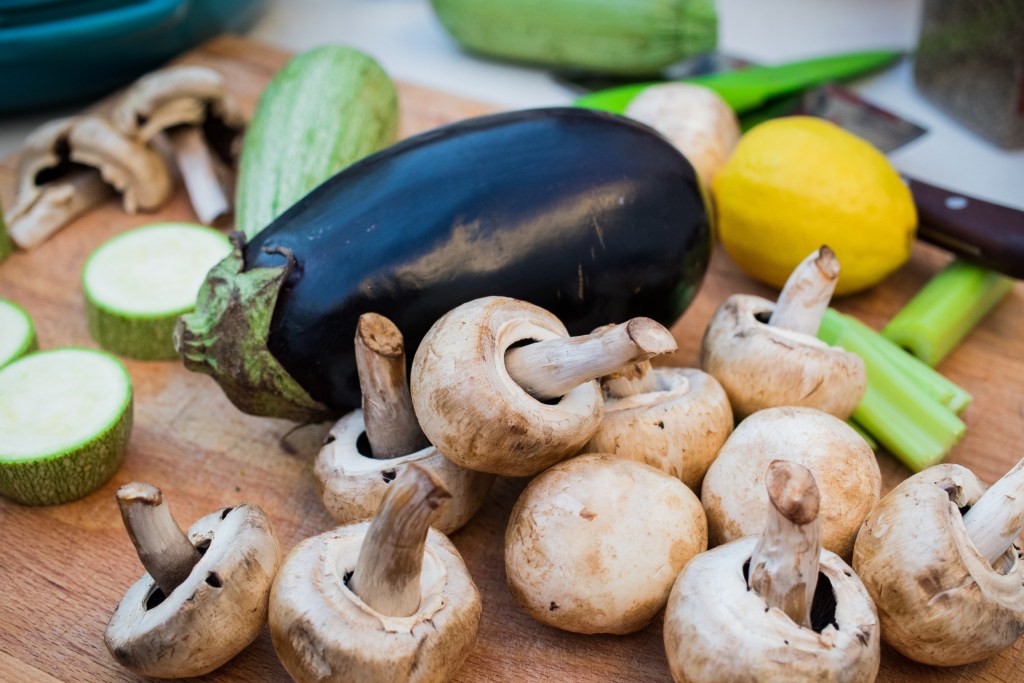
Harvesting and eating your eggplant

When the fruit of the eggplant is full, has little give to it when squeezed, and has a glossy skin … it’s time to pick it. In fact, pick it just a little before it matches the description above. As for eating eggplant, well … there are so many recipes on the internet you could likely sit for hours trying to read them all.

A great, simple way to eat eggplant that’s full of flavor is to roast it alongside some steaks! Cut the pieces into little squares and toss them on the grill. Throw on a dash of olive oil, salt, and pepper, and you’ll be good to go!

Growing eggplant in containers is a fun and simple way to insure a beautiful harvest that’s good enough to eat. With a bit of patience and a little know-how, you’ll have beautiful eggplant flowers and veggies in no time.

Editors' Recommendations

Will Blesch
Former Digital Trends Contributor
Will Blesch is a copywriter, content writer, and someone passionate about anything that lets him discover more about this…
When and how to transplant tomato plants for the best results
baby tomato plants

There's a time in every gardener's life when they try to grow their own veggie plants from seed. This is a gratifying process, and there are many benefits to growing your own seed starts. One of those benefits is bigger and healthier plants. By growing your own baby tomato plants, you can ensure that the plants are well cared for, never given anything you don't want them to have, and transplanted in just the right way at just the right time for optimal plant health. So how do you transplant tomato plants to ensure they're happy and healthy and live to produce lots of yummy tomatoes for your home?

How do you transplant a grown tomato plant?
If you've never transplanted tomatoes before, the idea can be intimidating. You have all these tiny plants that you've cared for over the last several weeks, and now it's time to pluck them out of their nursery pots and plop them into the outside soil where they're exposed to sun, weather, and critters. Luckily, you've cared for them so well that they're healthy and robust plants that will be able to handle anything nature throws at them.
Step one: Harden the plants
Hardening the plants is a term gardeners use when talking about the process of acclimating a greenhouse-grown plant to outside conditions. Typically it refers to sunlight, but it could also refer to wind and other weather that could harm the plant. About a week before you're ready to transplant, you'll want to harden your baby tomato plants by exposing them to sunlight at increasing increments each day. For example, day one should be about 30 minutes, then 45, then 50, and so on until the day of transplanting. If you don't do this, you'll risk your plant being burnt and killed when you transplant it outside.
Step two: Don't water the plants
Before you start pulling little plants out of their pots, you mustn't water the plants a few days before transplanting. Wet soil can make the transplanting process much harder on you and the plant. Dry soil falls away easier and is less likely to break off roots as you move the plants to their new home.
Step three: Prepare the new soil
The new location for your tomato plants will need to be prepped before you get all those babies out of their homes. Whether you are planting into the ground, a raised bed, or a pot, you'll want to amend the soil to guarantee that the plant has many nutrients to soak up. It also is easier if you dampen the soil right before transplanting. Damp soil is much more manageable and more easily manipulated around the plant.
Step four: Plant deeply
As you gently pull out the baby tomato plants, you'll want to shake off the old soil to expose the roots. This will ensure the plant has access to the new soil and nutrients you're about to provide it with. 

Read more
What you need to know about successfully growing summer squash in containers
container summer squash man cutting

You can roast it, you can sauté it, you can slice it, and you better believe you can dice it. Summer squash is chock full of important vitamins and minerals, so it’s delicious and nutritious. But if your garden is running out of real estate, have no fear. There’s no reason you can’t grow squash in a container. Although summer squash requires a not-insignificant amount of TLC, it’s more than worth it for lovers of this agreeable fruit (and yes, it is technically a fruit). Here’s a complete guide to everything you need to know.

Picking the right squash for the job
As many gardeners know, summer squash does not describe a specific species but rather the timing of the harvest. Yellow squash are harvested earlier in their life cycle, when the outer rind is still edible. No need to peel!

Read more
How to install solar lights to save on electricity and protect the planet
illuminated yard light at night

Tired of walking through a dark yard at night? Outdoor solar lights offer an affordable, convenient way to illuminate the landscape without the hassle of wiring. Best of all, DIY installation is beginner-level easy.

We’ve assembled these solar landscape lighting tips to help you decide if this is the best solution for you. Each brand and style of solar yard light differs somewhat on installation details, so it's important to read and follow all of the manufacturer’s instructions carefully. Just ahead, read the basic steps for installing these lights, along with key considerations as you plan your project.
How to install solar lights
For this project you will need:

Read more