
Asparagus is a delicious and nutritious addition to any garden. It's also a perennial, which means that year after year, you’ll be able to enjoy a bountiful harvest in the springtime.
There are plenty of varieties to enjoy, but no matter which one you choose, patience is key with asparagus growing. Despite its long growing time, asparagus can be quite rewarding to grow in your garden. If you want to give asparagus growing a try, here's what you need to know!

Why grow asparagus at home?
Growing asparagus at home can be one of the most feel-good crops for a gardener due to the amount of patience and care required. As with any crop, it enables you to have fresher produce in your home and is a more cost-effective way to get it as opposed to purchasing from a store.
Asparagus is high in nutrients and a good source of antioxidants, so adding this vegetable to your diet can help you get the vitamin E and vitamin C you need. It can also improve digestive health and is shown to help lower blood pressure — so there’s a lot more to it than "just another crop in the garden."
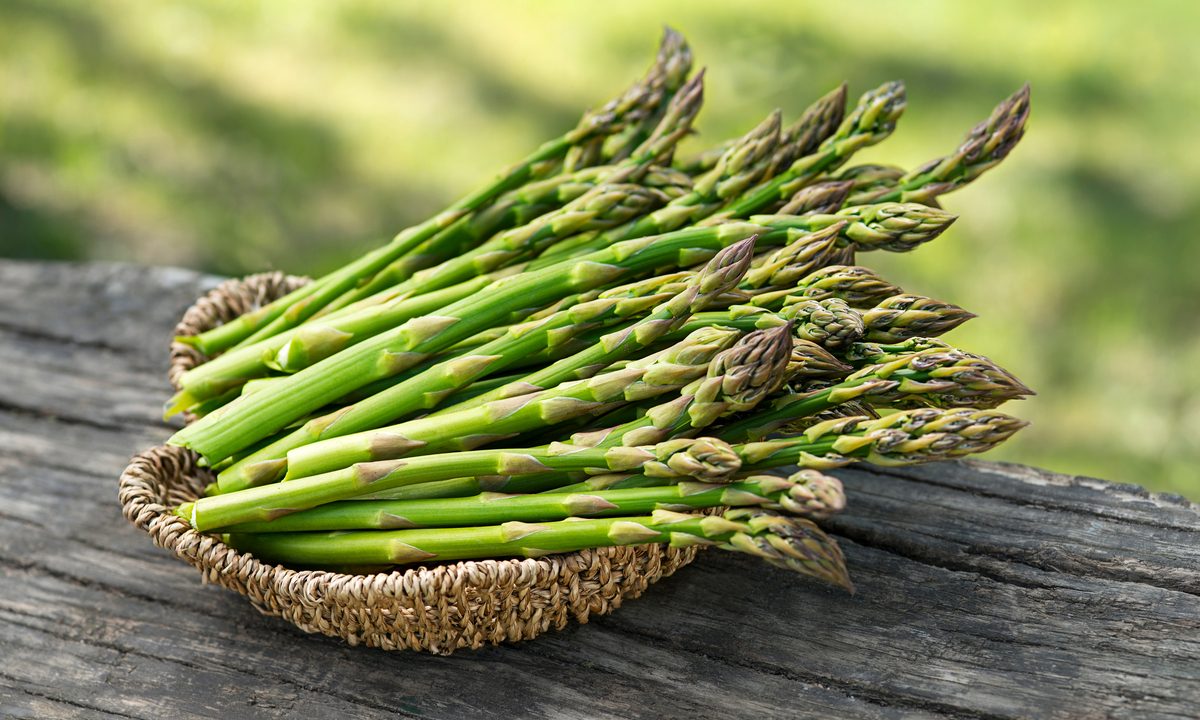
In addition to being nutritious, it's also delicious! You can find a wide array of dishes and recipes on how to season asparagus and what ingredients it pairs well with. This grilled asparagus and poached egg recipe not only has all the nutrients from the asparagus, but can even get you some protein from the eggs. It works as a healthy breakfast, a nice side dish, or even a light dinner!
It pairs nicely with dill, and can grow alongside tomatoes, so you can craft a delicious salad entirely from fresh, homegrown ingredients.
How does asparagus grow and thrive?
Proper asparagus care isn’t just key to keeping the plants alive; it also helps ensure that in three years, your established plants will be as healthy and as full as possible. As we said, it’s a long game, and if you want plants that are prone to few problems and give you a good harvest, you have to be diligent and mindful. Here's what to do:
Step 1: Plant your asparagus in an area that receives full sun during daylight hours year after year.
This allows your plants to establish themselves and grow strong root systems without the worry of how transplanting will affect them.
Step 2: Plant your asparagus in neutral, well-draining soil with plenty of organic matter.
Step 3: Water your asparagus regularly, giving it 1 to 2 inches of water weekly.
Step 4: Keep your asparagus between 70 and 85 degrees Fahrenheit during the active growing season.
Asparagus will grow at slightly cooler or warmer temperatures, but it will grow more slowly.
Step 5: Avoid overplanting your garden.
Asparagus plants fill in slowly. You won’t notice much spreading during the first couple of years, but don’t go planting more. When they hit the third year and a more established size, your asparagus bed will start to fill in (possibly quicker than you can handle!). If you get impatient and plant more, you’ll find yourself needing to thin them out more than you would have liked.
Step 6: Avoid transplanting asparagus until it's established.
If you’ve just planted your asparagus and it's working to establish itself and grow strong roots, then it’s best to leave it in the location so long as it has everything it needs. As long as it's surviving, give it the needed time to get to maturity.
Once the plants reach their mature size and start filling out, you can of course transplant them as needed or even gift plants to family and friends who want to try growing asparagus! A healthy plant with strong roots is more likely to survive transplanting than newly planted seedlings.
Knowing when your asparagus is ready to be harvested
Asparagus plants that have been established and well cared for have the potential to produce good harvests for around 20 or 30 years. As they grow, here's how to know when they need to be harvested:
Step 1: Keep track of when the asparagus was planted.
Since asparagus takes years to be ready for harvest, it can be easy to loose track of the time. A journal, calendar, or even just a phone reminder can help you keep track of what year your asparagus are on.
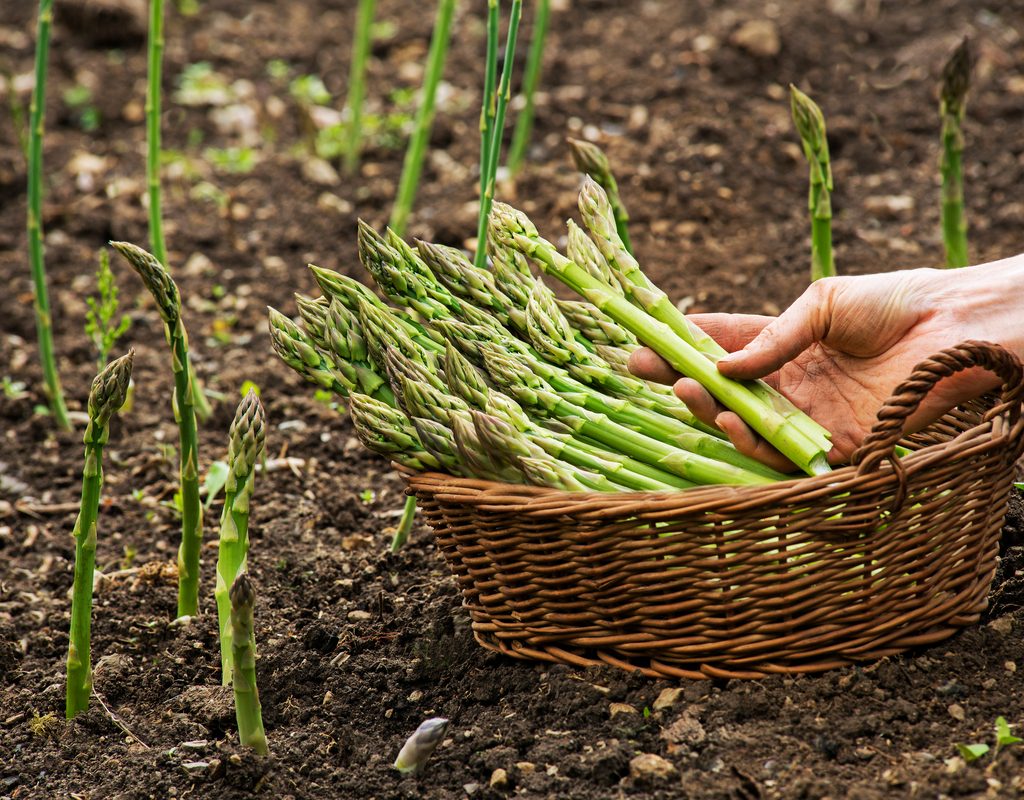
Step 2: Begin harvesting your asparagus in the third year after planting.
The asparagus spears may still be sparse, so this will likely be a small harvest.
Step 3: Harvest your asparagus for two weeks, leaving the rest of the crop undisturbed to continue growing.
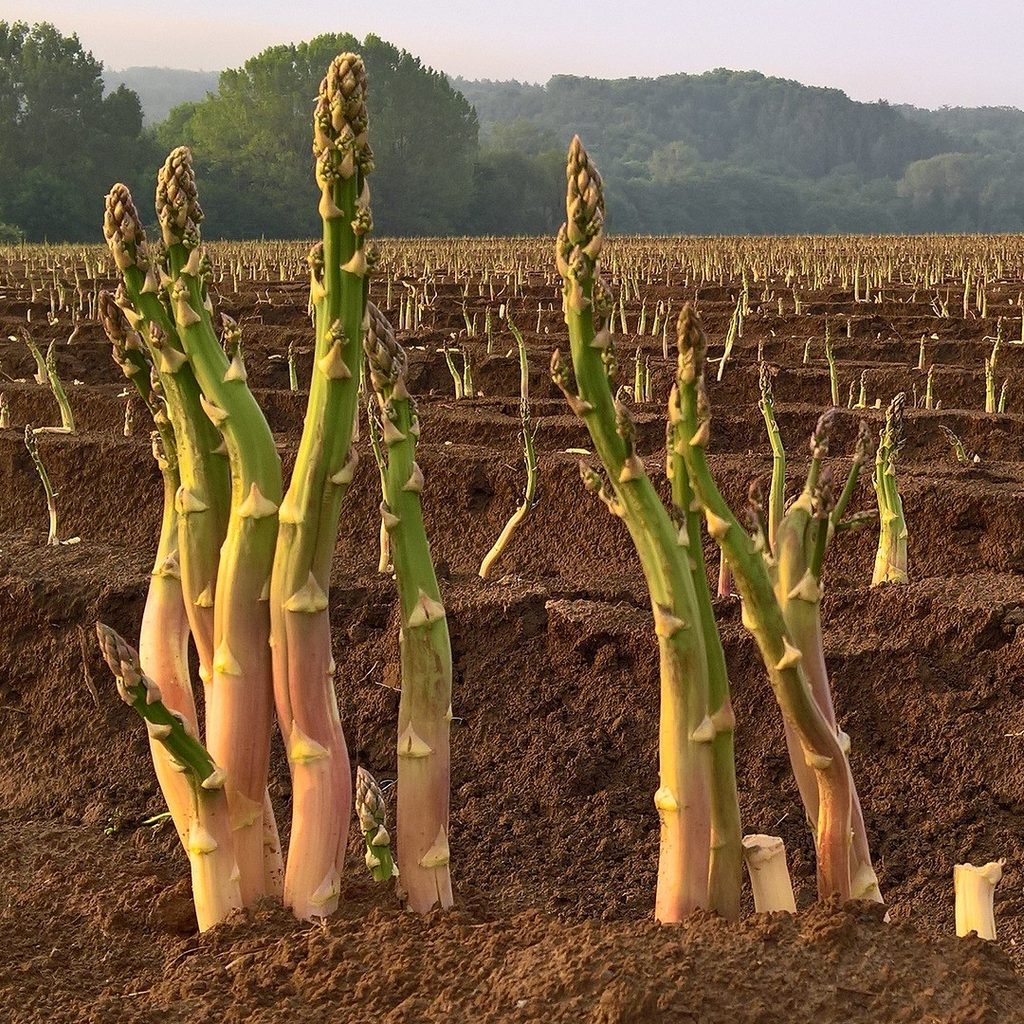
Step 4: Harvest spears that are 5 to 7 inches long beginning in the fourth year after planting.
Step 5: Harvest your asparagus for four to six weeks beginning in the fifth year after planting.
After this, you can harvest your asparagus whenever the spears are the right size.
Step 6: Avoid harvesting when the weather warms up and the spears become spindly and leafy.
These spears will nourish the roots for next years crop, so leave them.
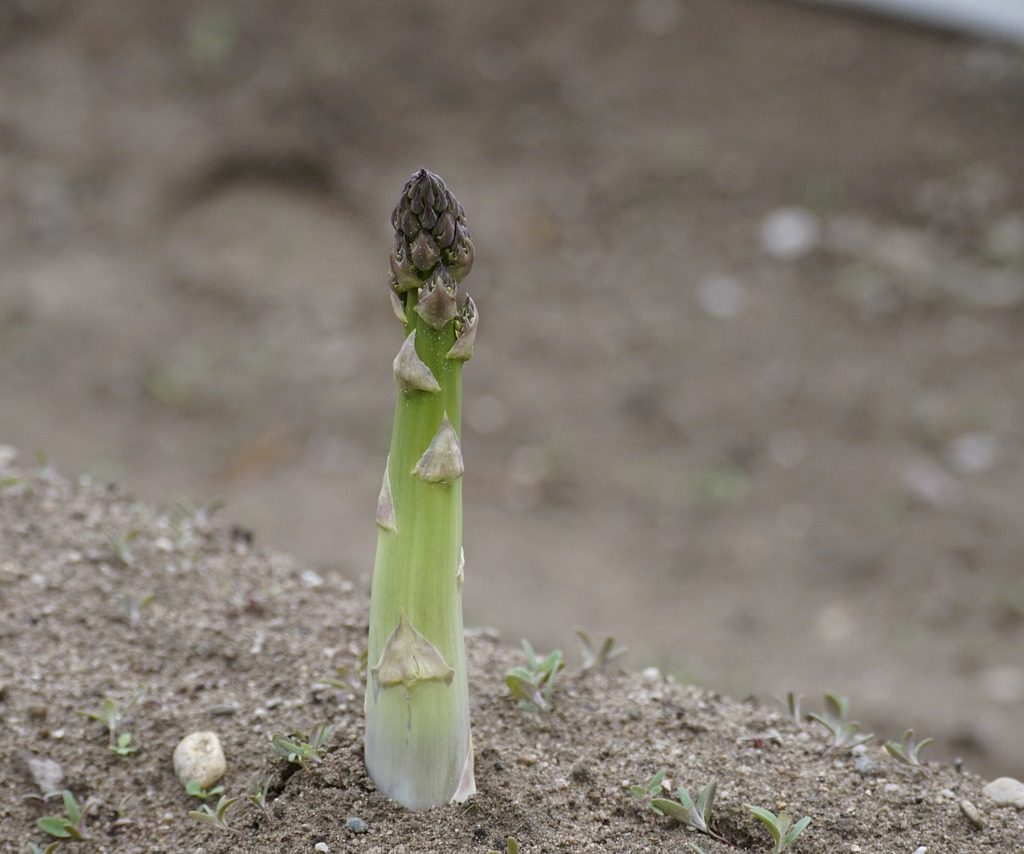
Step 7: Harvest asparagus spears by cutting or breaking them off as close to the ground as possible.
You can use your hand or a pair of garden shears.
Troubleshooting problems with asparagus
The most common issues with asparagus are discoloration from frost damage, rust, fusarium wilt, and damage from asparagus beetles. Here is how to identify, prevent, and treat these problems:
Step 1: Inspect your asparagus spears regularly for damage or disease.
Dark green, limp spears were likely damaged by frost. Red or yellow bumps or lesions are likely caused by the fungal infection rust. Stunted growth and yellow spears are caused by the fungal infection fusarium wilt. Spears that are brown and bent over were likely damaged by asparagus beetles.
Step 2: Remove damaged or diseased spears with gardening shears and dispose of them.
Do not compost the spears or leave them lying in the garden, as they could spread bacteria or fungal spores back to the garden.
Step 3: Protect your spears from frost damage with mulch or row covers.
Step 4: Plant asparagus varieties that are resistant to fungal infections.
This is especially important if your garden has a history of fungal infections.
Step 5: Use diluted neem oil to repel asparagus beetles.
Step 6: Remove visible asparagus beetles by hand and place them in soapy water.
Overall, growing asparagus isn’t all that complex. You just have to be patient and diligent and give the plants time to grow and thrive.


