
If you want to compost at home to reduce food waste or improve your garden's soil, then learning how to make a compost bin might be at the top of your list. There are many fun and creative ways you can build a compost bin, but one of the easiest ways is to start with a 5-gallon bucket. If you want to know how to make a compost bin for your home and garden, this guide will help you get started on a DIY compost bin.

Getting started
Before you can start your compost bucket, you'll need to make sure your materials are appropriate.
Step 1: Test your materials to make sure everything fits together snuggly. The lid for your bucket should fit securely, and the sticks, dowel rods, or old strainer should likewise fit in the bottom of the bucket.
Step 2: Drill air holes in the top, bottom, and sides of the bucket. You’ll want more holes on the top and bottom than on the sides, and the holes should be less than an inch in diameter. This is an important step to ensure your compost bin has proper drainage, which it needs to properly compost.
Step 3: Remove any thick handles with pliers. This isn’t necessary, but it does make it easier to roll your bucket.
Step 4: Fit the sticks, dowel rods, or old strainer into the bottom of your bucket. These are there to keep your drainage holes from getting clogged with compost. If the holes get stopped up, excess water can build up, which leads to mold.
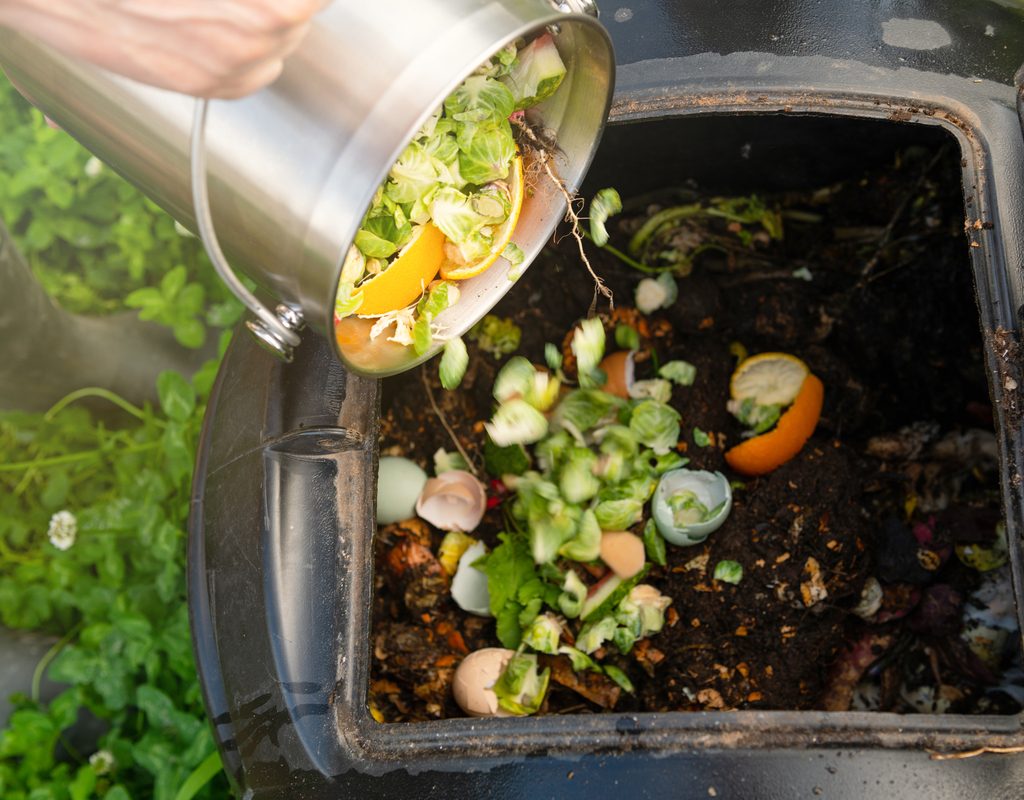
Starting the compost heap
Now that your bucket is set up, it's time to get started on the fun part: composting!
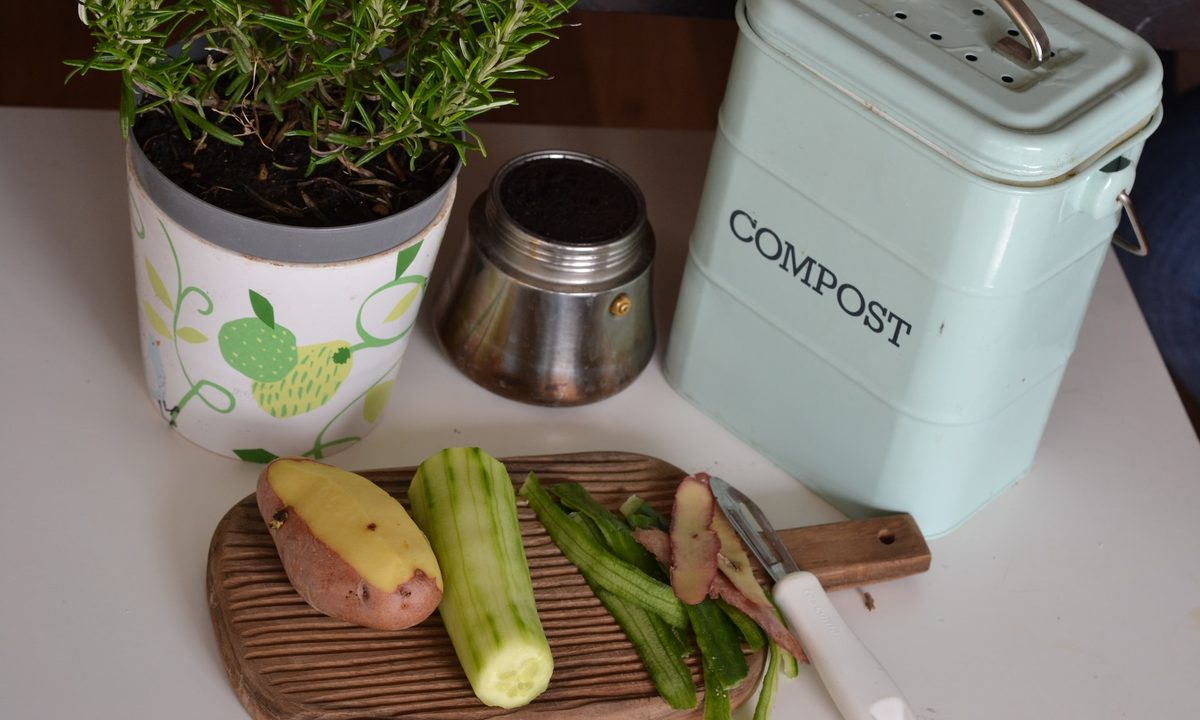
Step 1: Start with a layer of brown material. Dried leaves, straw, hay, newspaper, or even a little cardboard will work.
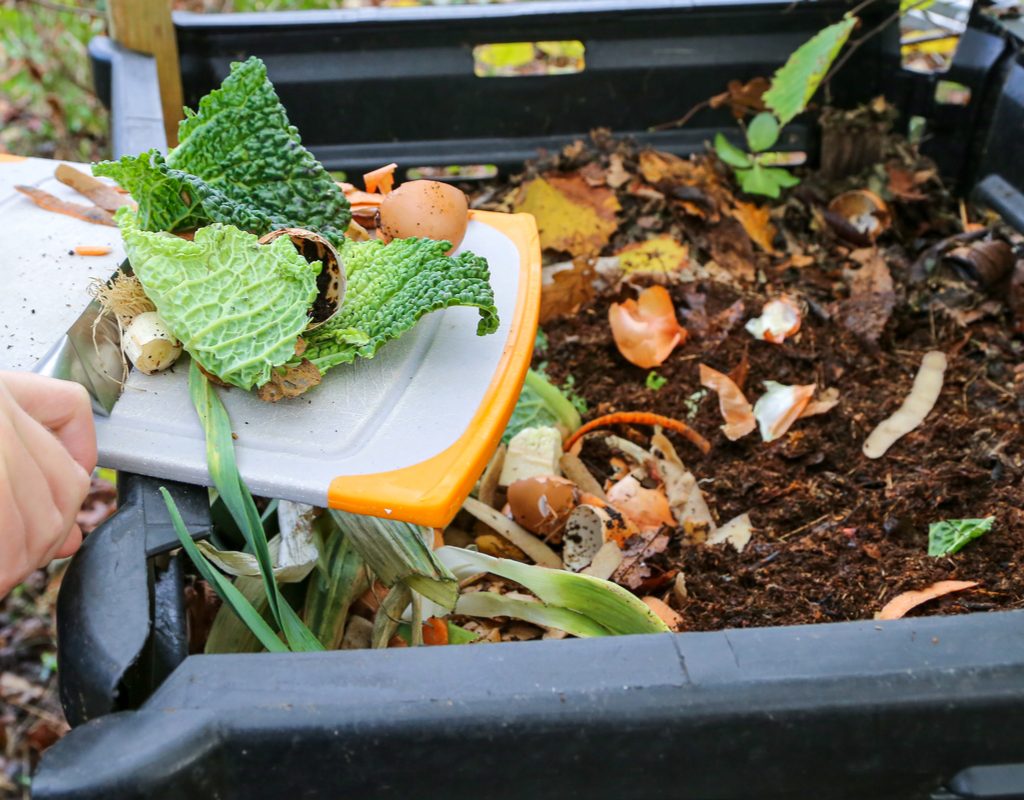
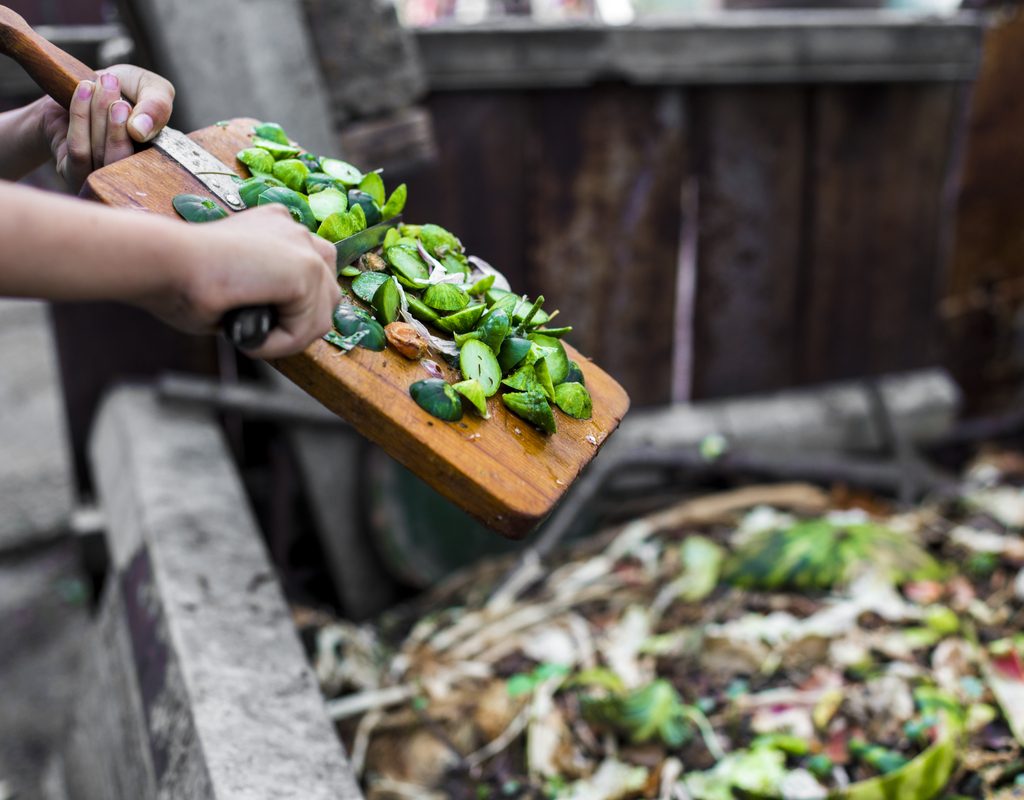
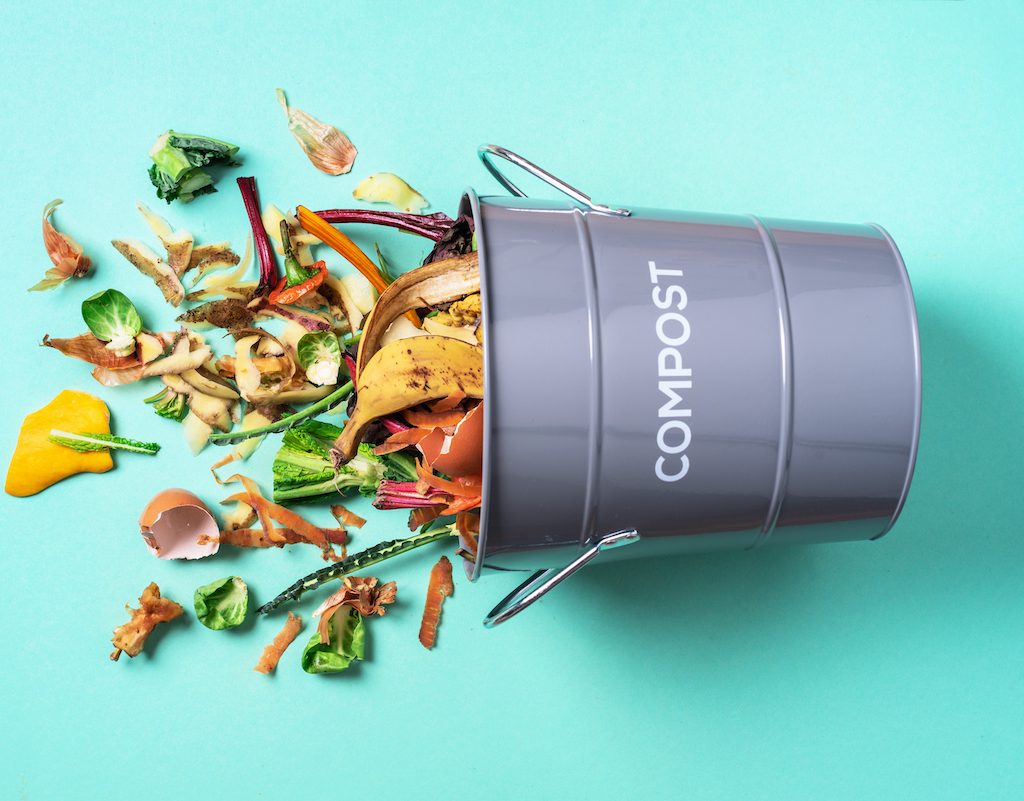
Step 2: Add a layer of green material, such as fresh lawn clippings, vegetable scraps, or even some fruit peels.
Step 3: Alternate brown and green layers until the bucket is half full and then add a light sprinkling of water.
Step 4: Continue alternating layers until either the bucket is full or you’ve run out of material.
Step 5: Secure the lid and roll the bucket across the ground after adding scraps. You don’t need to roll it far, just back and forth a few times. This mixes the compost, which increases airflow and helps to prevent excess moisture buildup. You can also mix the compost with a shovel or large stick.

Issues to be aware of
Your compost bucket will mostly take care of itself, but there are still some matters to keep in mind.
Step 1: Place your compost bin in the sun to speed up the process. It can be placed in either the sun or the shade, but if it’s in the sun, the compost materials will degrade much faster.
Step 2: Only add organic materials to your compost.
Step 3: Rinse vegetable or fruit scraps before adding them..
Step 4: Cook meat or fish before adding them to compost, or avoid adding them entirely. Fish and meat can be added to compost, but they smell when breaking down and often attract animals. Cooking them first reduces the smell and helps them break down faster.
Step 5: Break wood and bone into small pieces before adding to compost. Wood and bone will break down, but they take significantly longer to do so. Smaller pieces will break down faster than large ones.
What to do when your compost bin is full
Once you start using your compost bin regularly, you might run out of space to add more scraps. If your compost is ready to use, then you can apply it to your garden to free up more space. Here's what you should do if your bin fills up before your compost is good to go:
Step 1: Stop adding new scraps. While you might be able to fit more material into your bin by squishing the older material down, this will cut down on airflow. Lack of airflow in a compost bin can lead to many problems.
Step 2: Create a second compost bin or a compost pile. If you've run out of space quickly, then you may benefit from having multiple bins, a pile, or a larger bin.
Step 3: Cut your existing compost into smaller pieces and mix it thoroughly. This will help speed up the composting process, so that your compost will be ready to use sooner rather than later.
FAQs
Why is my compost drying out?
Most issues with compost bins are caused by an imbalance of brown and green material, a moisture buildup, or a lack of airflow. If your compost is drying out, decomposition will slow to a crawl. Add more green material or a light sprinkling of water and mix thoroughly.
Why does my compost smell like rotting food?
That typically means it has too much green material. Add brown material and mix.
Why is my compost wet?
If your compost is more than slightly damp, there is too much water. Add brown material and mix your compost. You may also need to check that all your air and drainage holes are clear.
Why is my compost tightly compacted?
That usually means there isn’t enough air and your compost needs to be mixed. Roll your bucket like you normally would, then check it again. If it is still too compacted, use a shovel, pitch fork, or a sturdy stick to mix it manually.
Should you make more than one bin?
Now that you know how to make a compost bin, you may be wondering if you should stop at just one. 5 gallons may seem like a lot of room, but some people find that it fills up rather quickly. If you find that one 5-gallon bucket isn't enough for the amount of kitchen scraps you produce, there are a few options you can choose from. You can make a second compost bin, but depending on how quickly the first one filled up this may not be enough.
You may need to dedicate some outdoor space to a larger bin, so that you can empty your kitchen compost into a larger space when it becomes full. You may also want to look into other ways to reduce food waste that can be done in addition to composting as a way to reduce the number of kitchen scraps you have. Another option is to empty your kitchen compost bin into bags and store your compost for later.
Now you’re ready to turn any bucket you own into a DIY compost bin. This is quite possibly the easiest way to make a compost bin, making it a great project for just about anyone. Be careful when using the drill, make sure all the parts fit together, and mix your compost thoroughly whenever you add something to it. It really is just that simple!


