Carrots give gardeners a bit of a hard time early on. From their extended and intermittent germination period to the tedious processes of weeding and thinning, it can get frustrating quickly. Luckily, harvesting carrots is much easier. Many gardeners even end up with a larger harvest than they expected.
This is good news for your taste buds! Garden-fresh carrots, especially the summer planted crop harvested after a light frost, have a fullness of flavor and crispy sweetness that far surpasses that of their grocery store counterparts. However, you also might see some carrots go to waste if your harvest is too big to use quickly. If you want to fully reap the rewards of a delicious crop, you’ll need to know how to store carrots from the garden.

When is the best time to harvest carrots?
The entire carrot plant is edible from the time the seed sprouts, so there’s no “wrong” time to harvest carrots. It’s also important to note that, as biennials, carrots store quite well in the ground. It could work to just harvest enough for immediate use. However, if you plan to store them for an extended period, there is an ideal maturity window.
Carrots planted for a fall harvest tend to store the best. These should be planted 10 to 12 weeks before the average first fall frost date. Here's how to find the correct harvest time for your carrots:
Step 1: Note the “days to harvest” on the seed packet, and count forward that many days from the date on which you planted the seeds.
Step 2: After 10 to 12 weeks, start sampling to see if they are ready to pull. Fully mature, storage-ready carrots have a blunted or slightly rounded tip and well developed flavor.

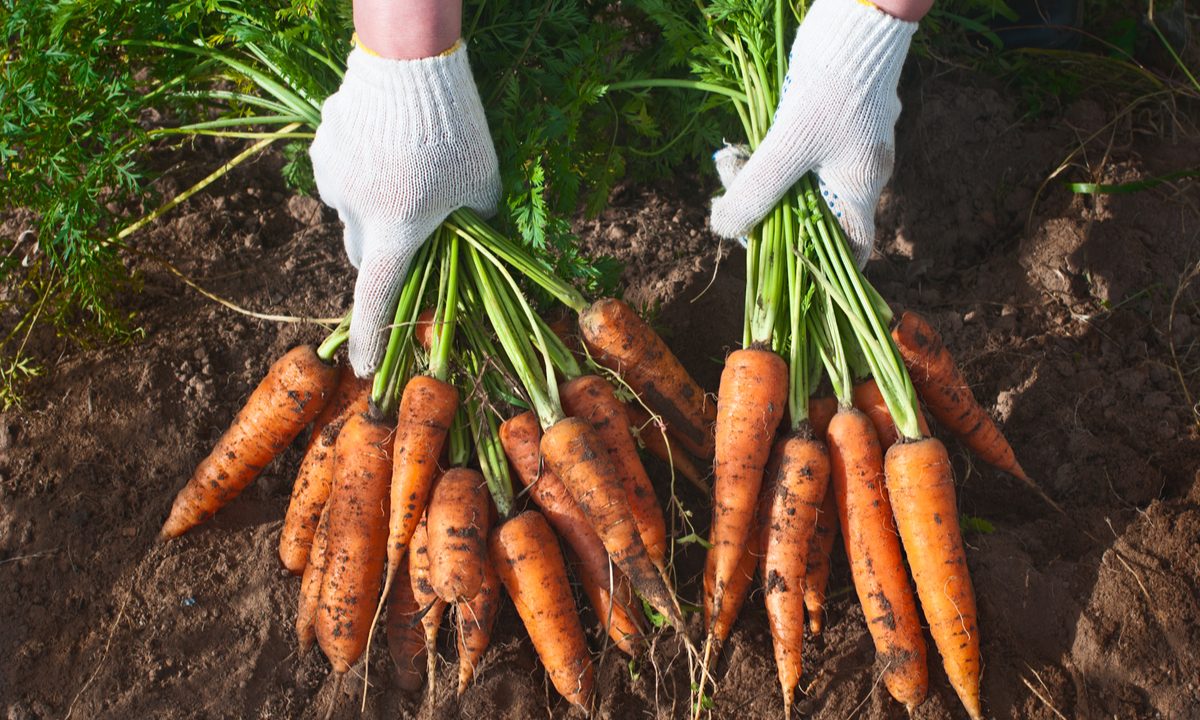
How to harvest carrots
Here's how to harvest your carrots:
Step 1: Carefully loosen the soil around the roots with a garden fork or spade, being careful not to cut or puncture the carrots. Insert the blade in the ground vertically, as deeply as it will go, a few inches away from the carrots, and gently rock it backward and forward.
Step 2: Grasp the carrot foliage near the ground and pull it straight out.
Step 3: Remove the foliage immediately, one-quarter to one-half inch above the crown of the root, and rub off any excess soil.
Step 4: There’s no need to wash the carrots at this point, and in fact doing so could lead to damage that may worsen during storage.
However if the carrots are really dirty, or if you just can’t stand the thought of not washing them, wash them with cold water and let them thoroughly air dry before placing them in storage.
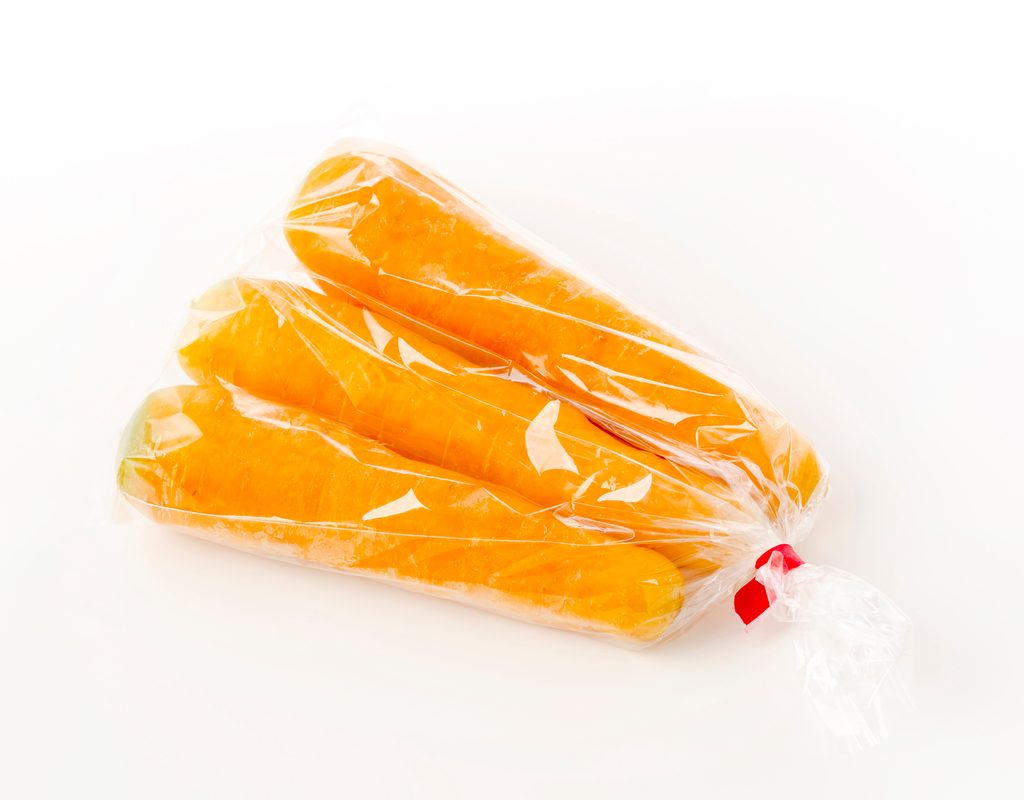
The refrigerator method
Carrots store best in temperatures between 32 and 38 degrees Fahrenheit, with a relative humidity above 95%. Small crops can store in the refrigerator for two to three months. Here's how.
Step 1: Place similarly sized carrots into zip-close plastic storage bags.
Step 2: Squeeze the air out of the bags and seal them.
Step 3: Store them in the refrigerator on a shelf or in the crisper.
Step 4: Use the smallest roots first.
Step 5: Check all stored carrots weekly, and dispose of any that begin to go bad.

The root cellar method
If you have a large crop that won’t fit in the refrigerator, and an unheated garage, basement, or shed that stays between 32 and 40 degrees Fahrenheit, you could store your carrots and other root veggies in sand. Here's how to do it:
Step 1: Make sure you have clean, damp sand and enough containers to hold your crop. Use 5-gallon buckets, plastic-lined crates, or wax-lined cardboard boxes.
Step 2: Fill the containers where they will be stored. They will quickly become heavy, making them difficult to move when filled.
Step 3: Put a layer of sand in the bottom of the container.
Step 4: Stand up a group of carrots (position them vertically, as they grow) so they aren't touching one another.
Step 5: Cover the carrots with sand.
Step 6: Alternate layers of carrots and sand until the container is full.
Step 7: Top it off with a layer of sand. Make sure no carrots are visible above the sand.

The in-ground method
In areas where the soil remains well above freezing, root quality will decline over winter, so this method is not really viable. In cool climates, where soil temperatures hold near or slightly above freezing, carrots can remain in the ground through the winter with no additional protection.
If your climate is compatible, here's how to store your carrots in the ground:
Step 1: Before the ground freezes, insulate the bed with 12 to 18 inches of straw or fallen leaves.
Step 2: Add a layer of plastic over the straw or leaves.
Step 3: Uncover the bed and sweep aside the mulch as needed to harvest throughout the winter.

Storing carrots by pickling them
When considering your storage options, pickling your excess carrots may not be the first thing that comes to mind. However, pickling has been the go-to preservation method for many cultures around the world, and it's easy to see why. The process is easy and effective, and there are plenty of spice and herb combinations you can use to flavor your pickled carrots.
As a storage method, pickling can extend the shelflife by months. If kept unopened in a cool place, they can last two and a half to three months. After opening, they can last one to three months in the refrigerator.
There are multiple recipes for making pickled carrots, but here are the basics:
Step 1: Wash, peel, and cut your carrots.
You can leave them in long spears, chop them finely, or cut them into chunks. You can pickle multiple vegetables together for enhanced flavor. Radishes, garlic, and peppers can all pair well with carrots.
Step 2: Select your jars and add your carrot pieces.
Any glass jar with a lid will work for pickling, but pint jars are the most commonly used. Trim any carrot pieces that are too long to fit fully in the jar.
Step 3: Boil vinegar, water, sugar, and salt together in a large pot.
The quantities will depend on how many jars you need to fill. Any type of vinegar will work for pickling, and you can even use more than one kind. White vinegar is the most common, but rice wine vinegar and apple cider vinegar are also frequently used.
At this stage, you can also add extra seasonings such as garlic, ginger, or peppercorn. Leafy herbs such as dill can be added during this stage or placed in the jars with the carrot pieces.
Step 4: Pour the mixture into the jars, over the carrot pieces.
Pour carefully to avoid splashing any onto your hands! Heat resistant gloves may come in handy.
Step 5: Let the jars sit and cool before placing the lids on them.
Step 6: Place the picked carrots in the refrigerator for between one day and one month before opening them.
After this, they're ready to eat.
Observe proper care in the way you harvest and clean and store your carrots, as this will affect their storage quality. Knowing how to store carrots from the garden properly can help you enjoy your harvest longer. Carrots can easily become soft and slimy, but if you handle them property, you can make your carrots last up to a month or more in storage.