
Irises are vibrant summer flowers that gardeners love for their perennial nature and rich colors. In addition to brightening up borders from spring to midsummer, they’re incredibly hardy and can thrive even when you inadvertently neglect them. That said, understanding how to grow them will ensure the most prolific blooms, so that’s why we’ve compiled this handy iris care guide for your reference.
What are irises?
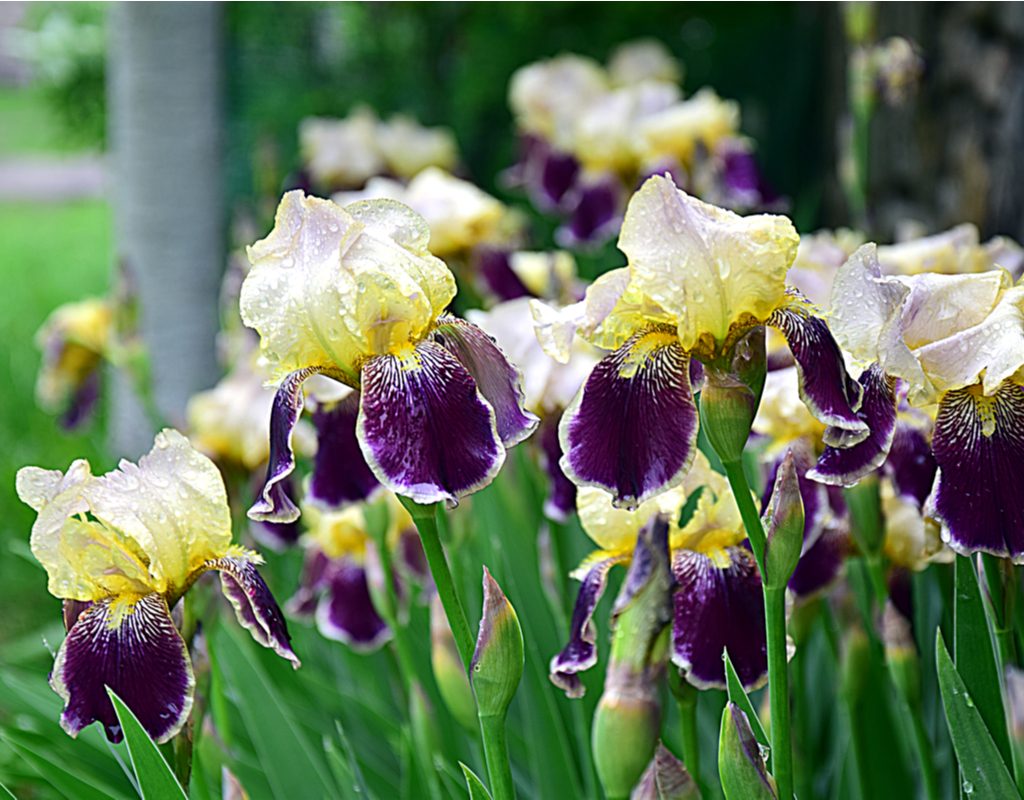
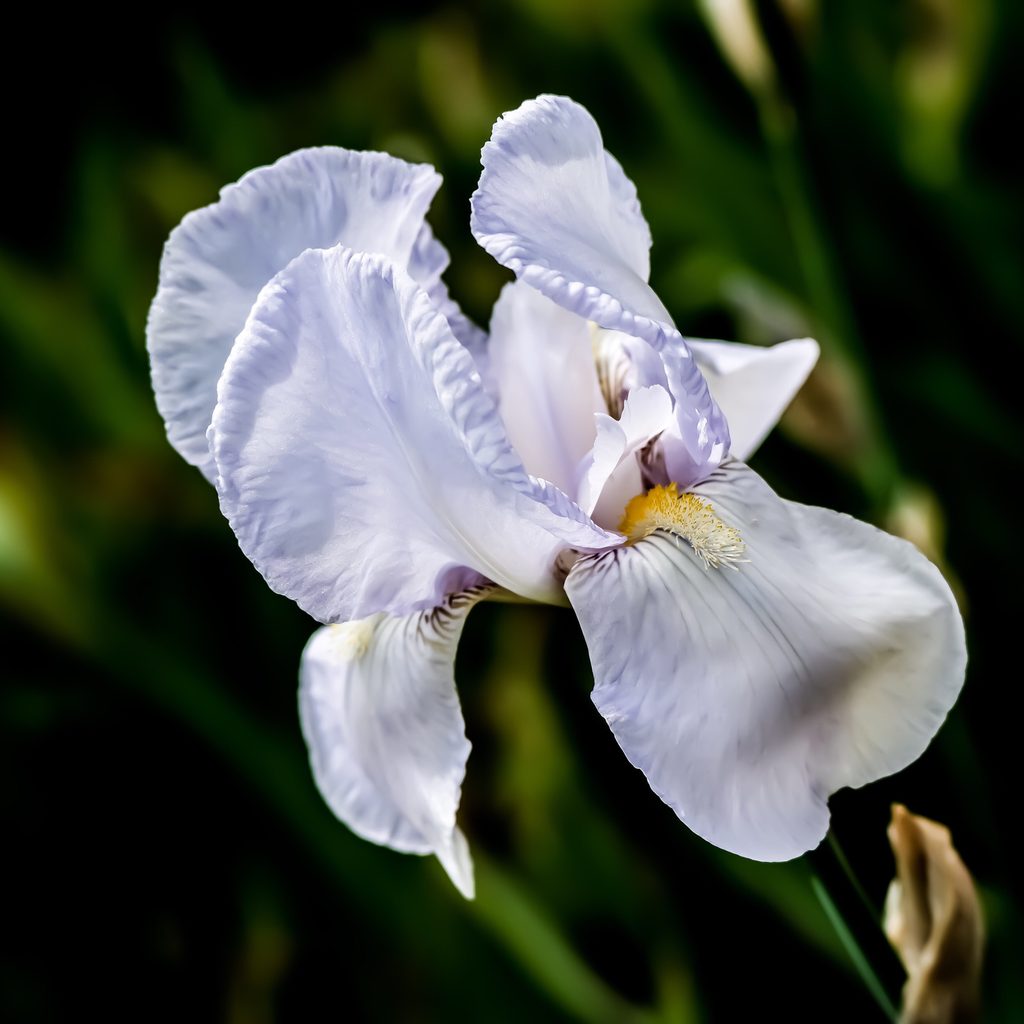
Typically hardy in climate zones 3 to 9, irises belong to a diverse flowering plant genus with 200 to 300 species. The sword-like leaves come in fanned arrangements, and the stems can grow up to anywhere from 1 to 4 feet tall. The showy, lightly fragrant flowers come in everything from solid to bicolor varieties in every hue imaginable, although most traditional colors are blues and purples.
If you’re shopping around for irises, common options include bearded irises, Siberian irises, and crested irises.
- Bearded irises are by far the most popular types of irises, and they feature spreading petals with fuzzy hairs on their downward-facing petals.
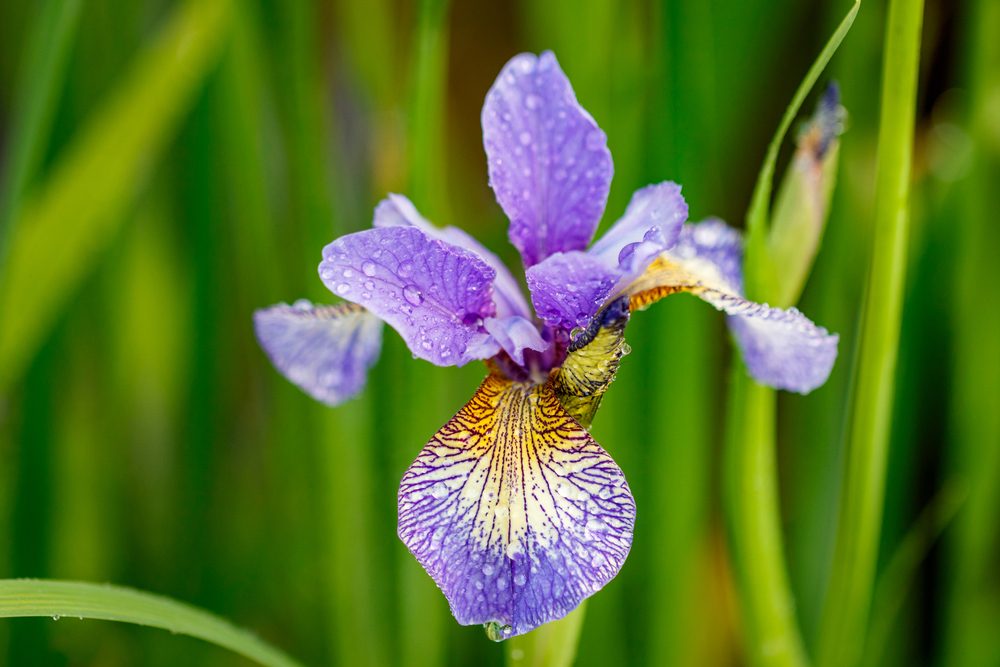
- Siberian irises are beardless, cold-hardy irises with blue or white flowers and grass-like leaves.
- Crested irises feature lavender petals with bright yellow or orange crests on their downward-facing petals.
Whichever variety you pick up, note that irises are toxic to pets, so keep an eye out for curious cats and dogs that like to dig plants up in the yard.
When should you plant irises?
Flowering in spring and summer, irises generally emerge from fleshy underground stems called rhizomes, although there are varieties that come from bulbs, too. If you’ve got a rhizomatic variety, it’s easiest to plant your irises during summer or fall between the months of July and October. You’re either going to be working with a rhizome clump with 4 to 5 inches of leaves or a full plant with the leaves and flowers in a nursery pot. In either case, the most important part of the equation is a healthy rhizome.
To plant your iris, dig a hole that will snugly fit the rhizome 1 inch beneath the soil — you can dig a hole around 12 inches wide and 6 inches deep. Create a mound, then place your rhizome on top of it and spread the roots to the sides. You want your rhizome to be at or just below the surface of your soil, as irises planted too deep may not flower and may be susceptible to rotting.
Keep each rhizome 1 to 2 feet apart. Then, all you have to do is water your soil deeply. Adding bark mulch is optional, but it may help eliminate your need to weed out competing plants. Just don’t go overboard, as you want some light exposure on your rhizomes.
How do you care for irises?
While irises are hardy plants, it helps to know what they need to ensure they not only survive but also thrive. Here are iris care tips to keep in mind when you introduce these lovely flowers to your garden.
- Light: For prolific blooms, irises do best in full-sun conditions. While bearded varieties require full sun, you can get away with partial shade if you’re growing intermediate or Siberian irises.
- Soil: Irises prefer sandy, gritty soil that’s slightly alkaline. You want them in a well-draining growing medium.
- Water: Because iris rhizomes are prone to rotting, you never want to let your iris sit in water. Irises appreciate about an inch of water per week, and you should take care to water them deeply throughout the growing season.
- Fertilizer: You don’t want to overfertilize your irises, especially if you use a nitrogen-heavy food that will contribute more to leaf than flower growth. You can give your irises a 10-10-10 or 5-10-10 plant food right when you plant them and a month after they bloom.
- Support: Short and intermediate varieties of irises don’t often need staking, but tall types may need support. A plastic or metal stake with ties can work well, although you can also use a trellis.

How do you divide irises?
While irises can take some crowding, they do appreciate space — if they don’t have enough room, they may struggle to flower. Generally, you want to divide your irises every three to five years, so you can definitely put off division for a period of time. When you decide to separate your irises, make sure to do so about one or two months after your flowers have bloomed.
To split them up, you want to use a sharp knife to separate the clumps. You can actually even pull the clumps apart, as irises aren’t very fragile. That said, each clump should consist of one growing point with at least several inches of rhizomes and a fan of leaves. You can trim down the leaves to about 5 inches to relieve transplant stress when you replant your clumps.
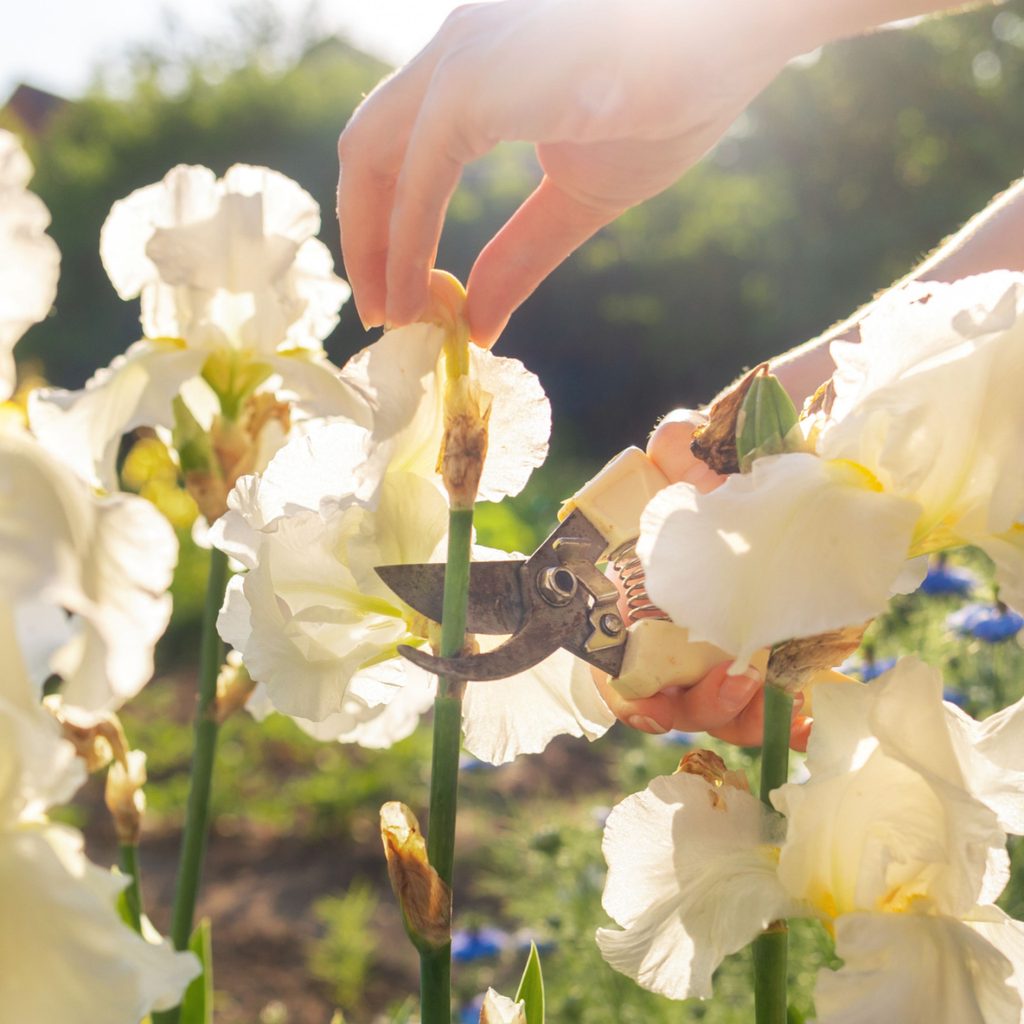
How do you deadhead irises?
You’ll know that it’s time to deadhead your irises when they look faded and wilted. Deadheading keeps your garden looking tidy and prevents your irises from self-seeding and taking over your garden. Luckily, it’s pretty easy to deadhead them. Remove the spent bloom right behind their flower heads, either by using your finger or a clean pair of scissors. Some irises may have two rounds of blooms, but if you don’t expect your irises to bloom anymore, you can cut the leaves down to around 4 to 6 inches.
Whether you’re a new or seasoned flower gardener, you’ll find something to love about irises. Not only are they incredibly easy to care for, but they also offer showy blooms for you to enjoy throughout the summer, if not the entire year. As long as you avoid overwatering them and give them ample light, you’ll be rewarded with a spectacular sight.


