

Roses make lovely additions to gardens, but they’re also great for bringing your craft projects to the next level. In most cases, you’re probably not going to be using fresh roses, so pressed ones are the way to go. Pressed roses can add a whimsical, elevated feel to many DIY ventures, and they’re pretty easy to make. If you’re wondering how to press roses, then read ahead to learn three different methods for preserving your treasured memories.
3 methods for pressing roses
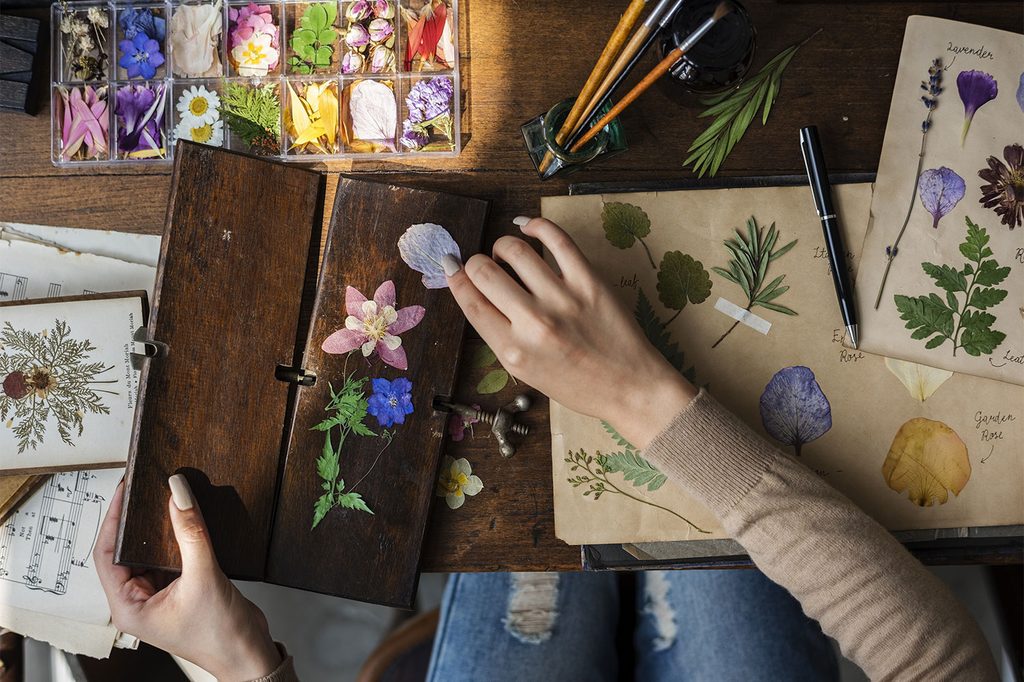
1. How to press roses with a book
Pressing your roses between a book is perhaps the most traditional and least hands-on way to go about preserving them. All you need is a heavy book, your roses, and two sheets of paper — you can use blotting paper, paper towels, or newspapers. Gently arrange your flowers as you wish, then place them between the two sheets of paper. For the heaviest weight on the flowers possible, choose a section toward the end of your book, and then put the covered roses in between the pages and close the book.
You can use additional books or weights to press down on your flowers further, but this step isn’t necessary. After about three to four weeks, your pressed roses should be ready.
2. How to press roses in the microwave
It may seem too good to be true, but one of the easiest ways to preserve your roses is by popping them in the microwave. With this method, start by cutting your blooms as close to the bottom as possible. Arrange your roses as you see fit, and then put them in between two paper towels. Place the covered roses in the microwave and put a microwave-safe dish or bowl on top of your paper, being careful not to crush the flowers.
Choose the defrost mode or the lowest heat setting possible — you want to take any measure you can to prevent your roses from burning. Microwave the flowers in 15-second intervals until they look flat and dry.
3. How to press roses with an iron
With the iron method, start by placing your roses between two pieces of parchment paper. Use a heavy object, such as a book, to press down gently and flatten the flowers. Then, place the covered roses on top of a bath towel or whatever you’re using as an ironing surface. Because using an iron can be an intense way to press roses, you might want to cut your flower buds in half before you press down on them.
When it comes to iron settings, choose the lowest heat setting and make sure not to use steam or water. Press the iron down onto the paper covering the roses and iron in 15- to 30-second intervals until the flowers have a papery quality to them. Leave your newly pressed roses to the side for about one to two days before you use them in a craft.

Tips for pressing roses
There aren’t hard-and-fast rules for pressing roses, and much of it is an art rather than a science. As you experiment with pressing and preserving your flowers, here are tips to consider.
- Choose fresh roses. It’s OK if they’re a little dry, but browning flower blooms may not look as great once you’ve pressed them, as the process removes some of the color as well.
- Bright roses, especially orange and yellow ones, tend to retain color best. In contrast, white roses turn brown in the process.
- Consider removing the stamens and other reproductive parts of the roses. These might stain your end result.
- Remove any flower parts you don’t like and experiment with arranging the flower petals. Some people remove the stems and leaves, while others keep them for aesthetic purposes.
- Press your roses gently. Applying pressure to your roses helps get rid of moisture, but pressing down too hard can crush delicate flowers. With flowers that have wide petals, like roses, consider cutting the buds in half before you press down. It also helps open up the petals from the center before you press them.
- Apply glue, Mod Podge, or some kind of sealant to your dried flowers to preserve them. A few coats of sealant can help your flowers last longer on the crafts that you make.
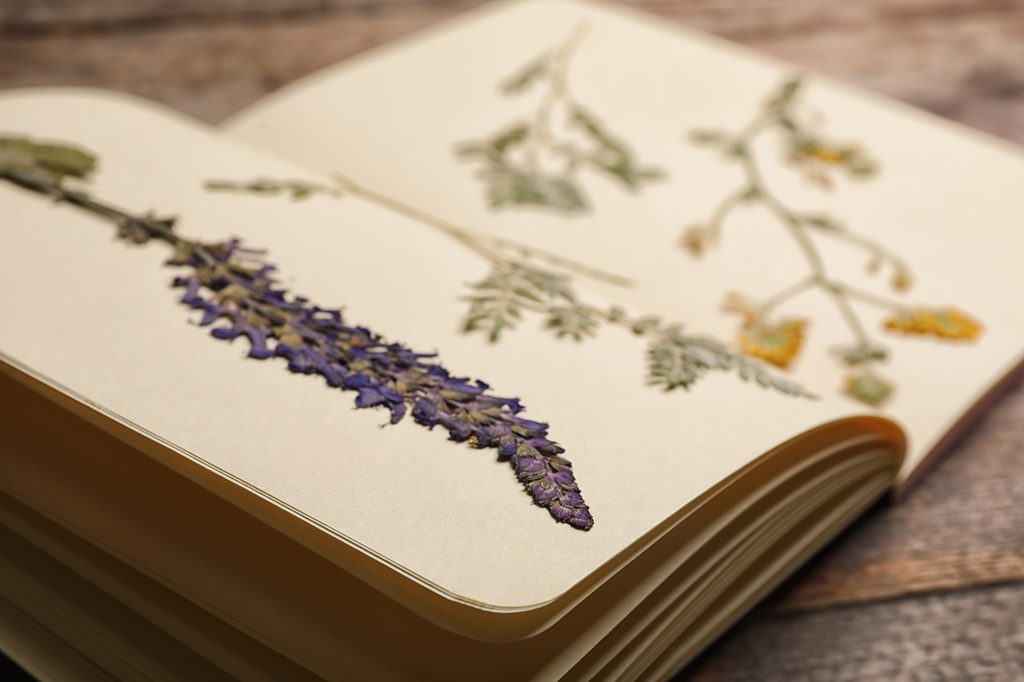
What to do with your pressed roses
The possibilities are endless when it comes to displaying your pressed roses. You can simply have them as keepsakes, applying a sealant over them to preserve them in pristine condition. You can also glue them onto various craft projects for a rustic, cottagecore-inspired vibe. Another way to display them is with glass — you can frame your pressed roses to create pressed flower art or place them between glass for a showy coaster.

How long do pressed roses last?
It’s not surprising to learn that pressed flowers are delicate, but they’ll obviously last much longer than fresh ones. Dried roses will generally last a few years. That said, there are instances of pressed flowers lasting several decades with proper care. To keep your pressed roses in tip-top condition, you want to avoid exposing them to warm, moist environments — this type of location can swiftly introduce mold that will degrade the quality of your dried roses. Direct sunlight, moreover, can also cause the colors to fade quickly. It’s best to keep your pressed roses in a dry, cool area away from a window.
Whether you’re using a book, microwave, or iron to press your roses, it’s a relatively simple process. Don’t be afraid to experiment with choosing different parts of the roses and arranging the petals. With some sealant (and a bit of patience), you can add your pressed roses to your keepsake collection for years down the line.


