
Spider plants have a reputation for being among the easiest plants to care for, making them popular with beginners and busy gardeners alike. Whether you’re trying to improve your green thumb by starting off simple, don’t have much time to invest in caring for a garden, or just think spider plants look nice, we’re here to help.
Spider plant care is simple, as these hardy plants can withstand a lot! If you want to make sure your spider plant is thriving, perhaps in the hopes of propagating it or seeing it bloom, then this is the guide for you. We’ll explain everything you need to know about spider plant care, from planting to propagating, and even answer some frequently asked questions to help you get started.
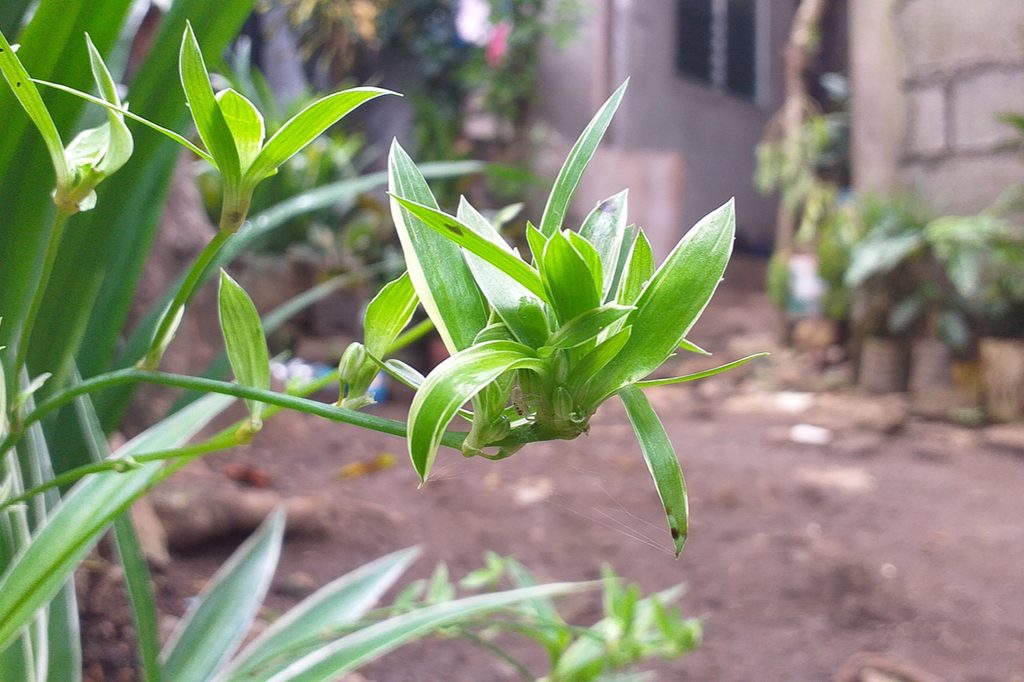
Planting your spider plant
Spider plants will survive in most soil types, but they prefer regular potting soil. Rich, well-draining soil provides nutrients and support for your spider plant. You can find this type of potting soil at any gardening supply store, as it is the default potting soil for gardening projects.
If you already have another type of soil on hand, you’ll likely be able to use it for your new spider plant. Cactus soil and orchid potting mixes are both fine to use; just be aware that you’ll need to water your plant more often. Clay-heavy soils drain more slowly, so you’ll need to either water your spider plant less frequently or mix compost or sand into the soil to improve the drainage. You can also mix your own soil blend using leftovers or partial bags.
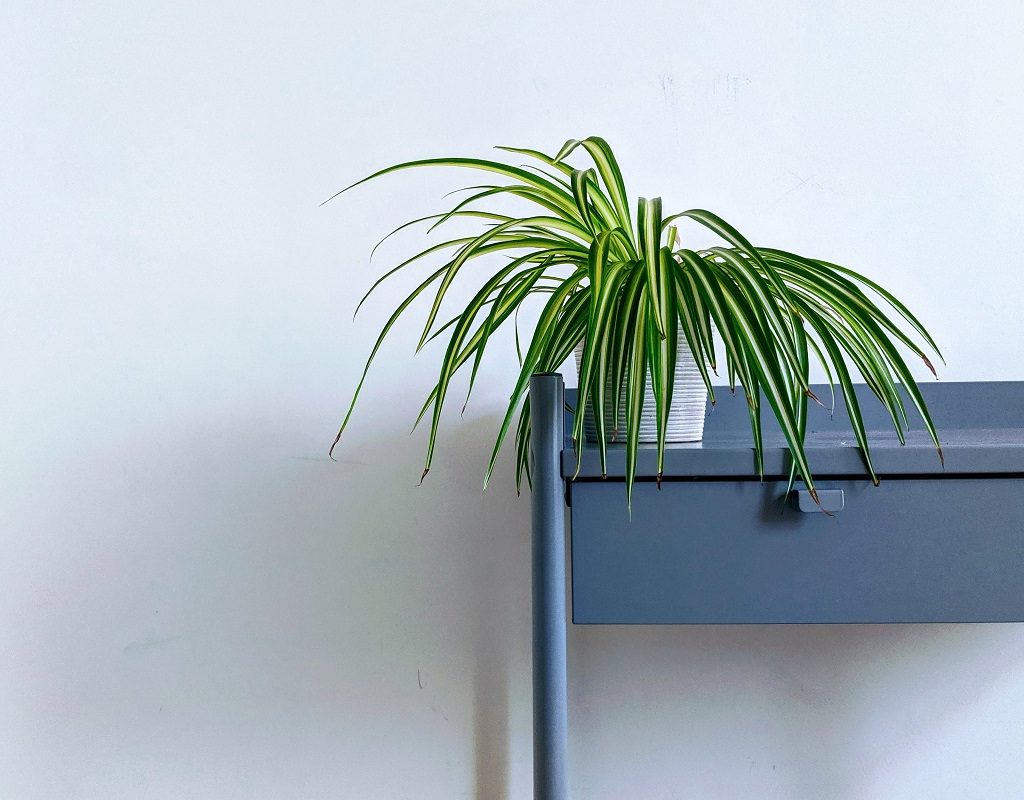
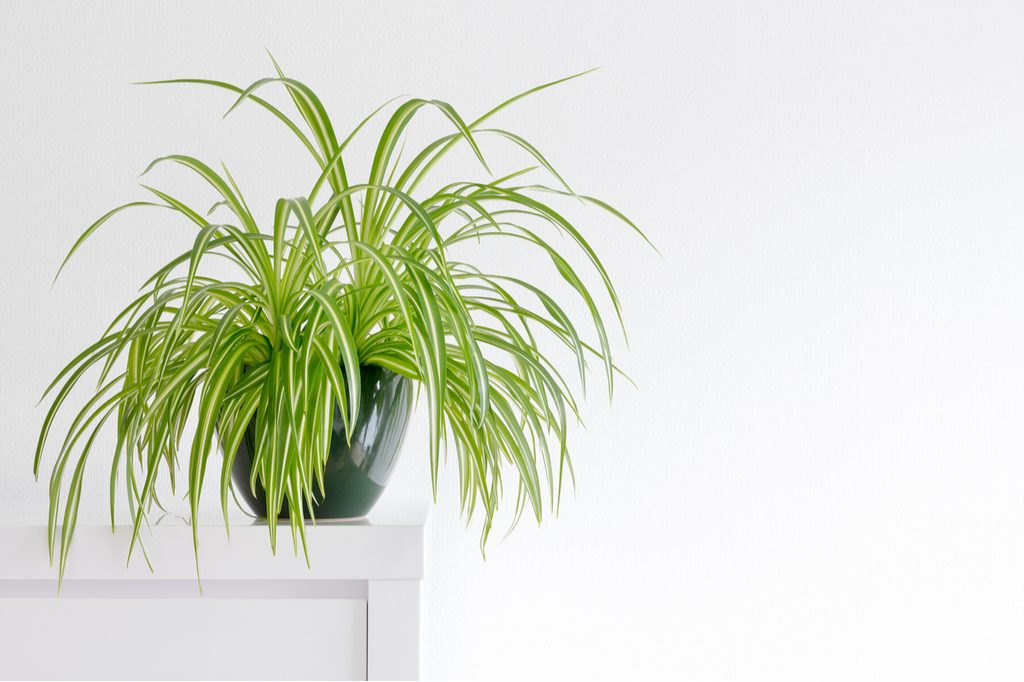
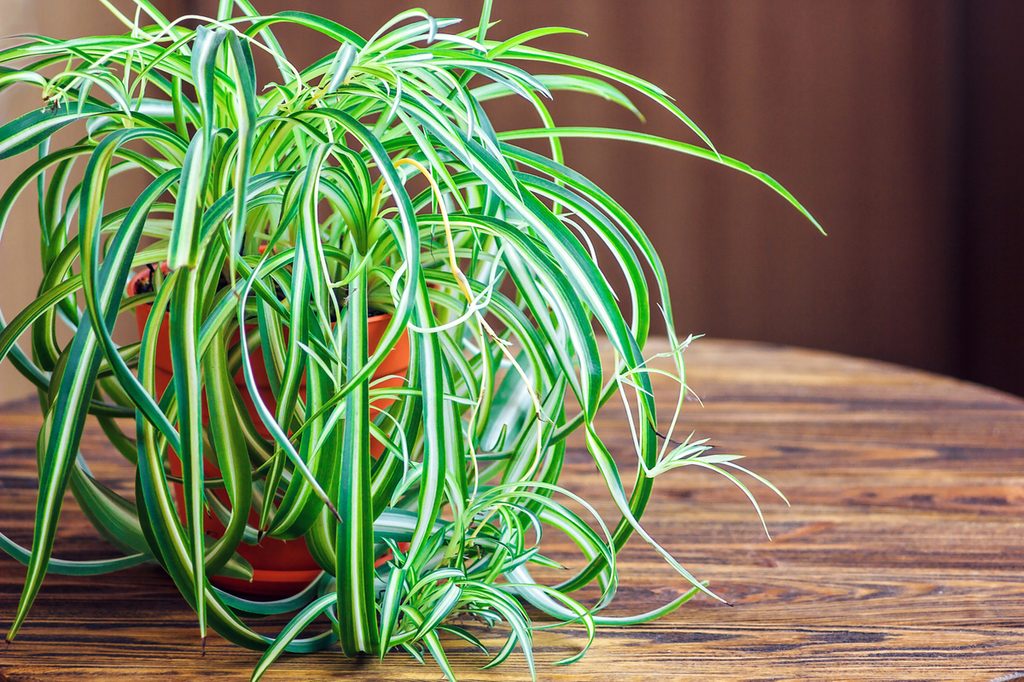
Choose a pot that is slightly larger than the roots of your spider plant, and make sure it has drainage holes at the bottom. Spider plants don’t need a lot of space, as they can tolerate being root bound quite well. Many gardeners enjoy growing spider plants in hanging baskets, which allow the long leaves of the plant to drape down. Spider plants will grow just as well in standing pots as they do in hanging baskets, though, so choose the pot you like the best.
Keeping your spider plant healthy
Water your spider plant when the top inch of the soil is dry. It doesn’t need a thorough soaking; just add water until the soil is moist throughout. On average, you should water your spider plant once every week to a week and a half. Use plain, room-temperature water.
In most cases, tap water is fine for spider plants. However, if you notice the leaves are turning brown or you live in an area with higher levels of chlorine in the water, then you should switch to distilled water. Spider plants can be watered from the top or the bottom, and most prefer a mix of the two.
Place your spider plant in bright, indirect light for the best results. Direct sunlight can burn spider plant leaves and should be avoided. Low light slows down growth significantly, meaning fewer flowers or offshoots. Similarly, keep your spider plant above 65 degrees Fahrenheit. They can tolerate colder temperatures, but will grow more slowly or not all. In addition to warm weather, these tropical plants prefer high humidity. Spider plants make excellent shower plants for this reason, but you can also mist them for the same effect.
Propagating spider plants
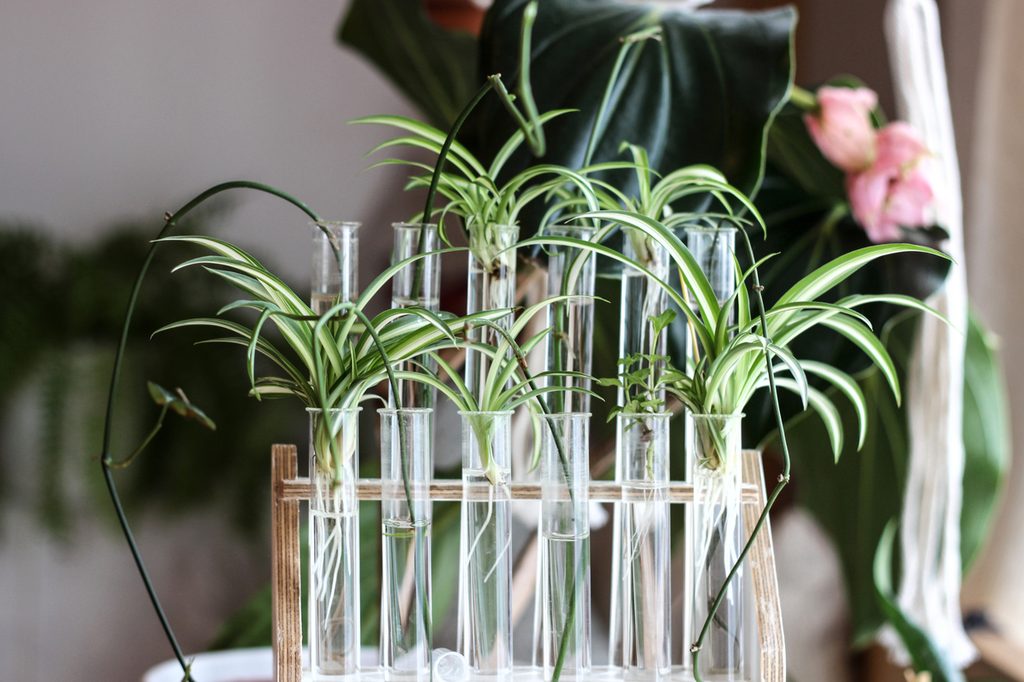
If spider plant care is easy, then spider plant propagation is effortless. Spider plants do most of the work of propagation for you by producing pups. These baby spider plants grow at the ends of stems after the spider plant has bloomed. They look like miniature spider plants, making them easy to recognize. If you don’t intend to propagate your spider plant, you can leave these attached or remove them. To propagate them, remove the pups once they have a few leaves that are about 2 inches long and place them in soil or water to root them.
You can also root the pups while they are still attached to the parent plant. To do this, set a small pot of soil underneath the pup. Lower the stem it is on until the pup is touching the soil and secure it to the soil so it will stay in place. Then, all you have to do is wait. Once the pup has grown roots, you can cut the stem and separate the two plants.
Outdoor spider plant care
Outdoor spider plant care is similar to indoor care, but there are a few considerations to make. Your watering schedule will be less regular, as you’ll need to adjust for the weather. Additionally, wind can damage hanging planters or knock over standing ones, so keep an eye out for wind advisories.
Outdoor plants are exposed to more pests as well. While spider plants are not bothered by most pests, small insects such as mites, mealybugs, and scale can affect them. Misting and dusting your plant will keep the pests at bay. During cold weather, bring your spider plant indoors or move it to a more sheltered location to keep it safe.
Spider plant care is easy to keep up with, and these plants are remarkably forgiving. They can bounce back from most problems and will tolerate many conditions. If you plan on propagating your spider plant, take care to ensure it is warm, has enough light, and is being watered semi regularly. Before long, you’ll have plenty of spider plant pups.


