
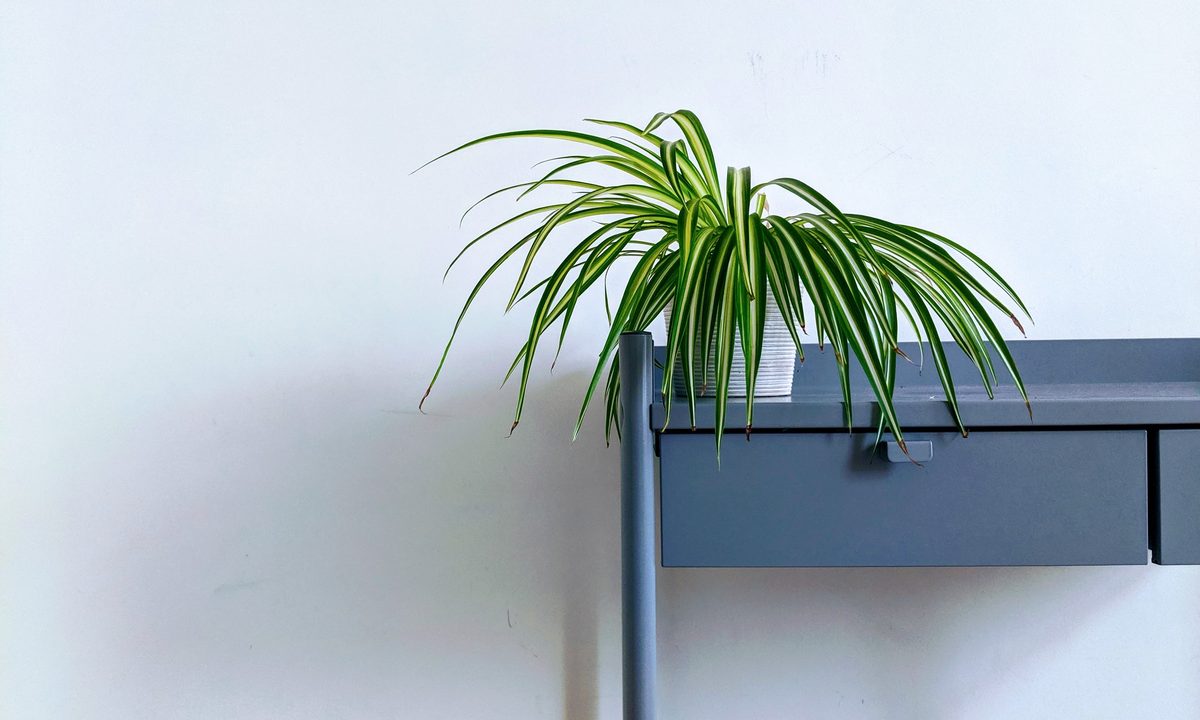
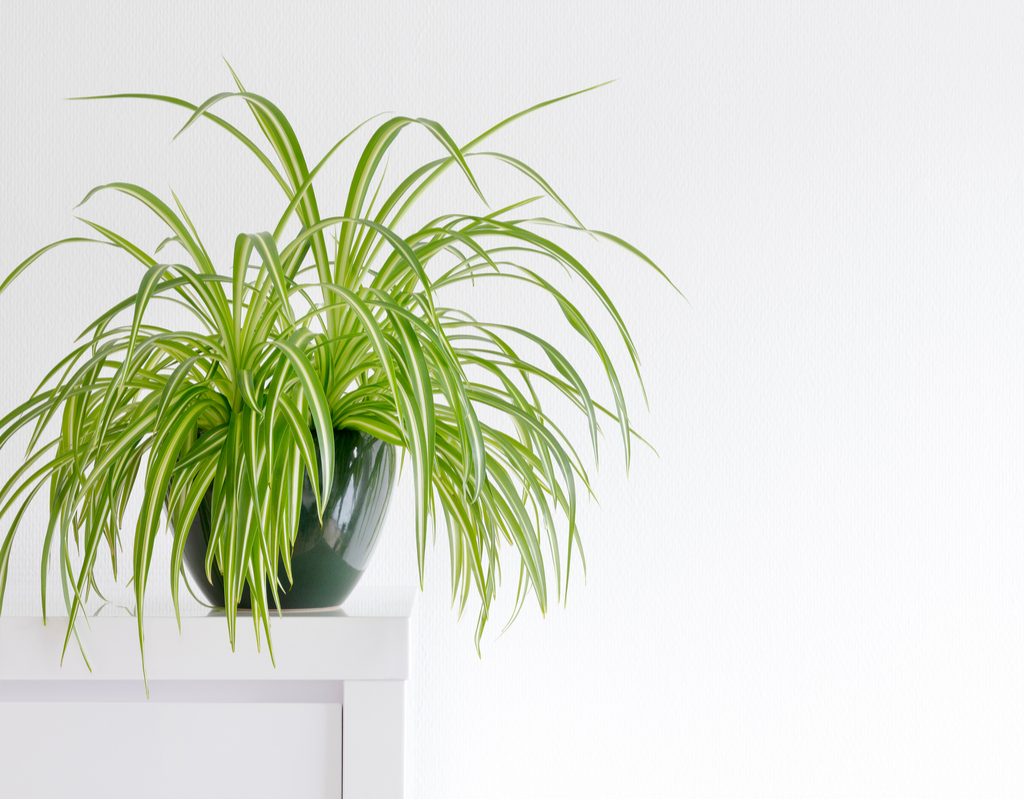
Spider plants are easy-care indoor plants that are perfect for beginner houseplant parents and seasoned foliage enthusiasts alike. These beloved plants (Chlorophytum comosum) have long, spindly leaves that sort of resemble a spider (hence the name), and they make for beautiful decorations in hanging pots or set on plant stands. Spider plants are also among the easiest plants to propagate, due to the way they produce plantlets! This guide will explain everything you need to know to propagate spider plants successfully.

Should I cut the babies off my spider plant?
The big question when any spider plant owner sees the babies hanging off the parent plant: Should I cut them off? Well, that depends. If you aren’t interested in propagating new spider plants, or if you want your parent plant to direct its energy solely toward its own growth, then yes. Cut off the spiderettes and dispose of them as you see fit. (But be sure to ask friends, neighbors, and other plant enthusiasts if they would like a starter of their own first!)
However, if you’d like to propagate them, either for yourself or as a gift to a friend, you may want to hold off on the old snip-snip. Those little babies are what will give you your new spider plants, so you’ll want to make sure the babies are big enough to thrive on their own before repotting them in a new planter. Although there are different types of spider plant, the process is the same no matter which you have.
Follow these steps with the spiderettes:
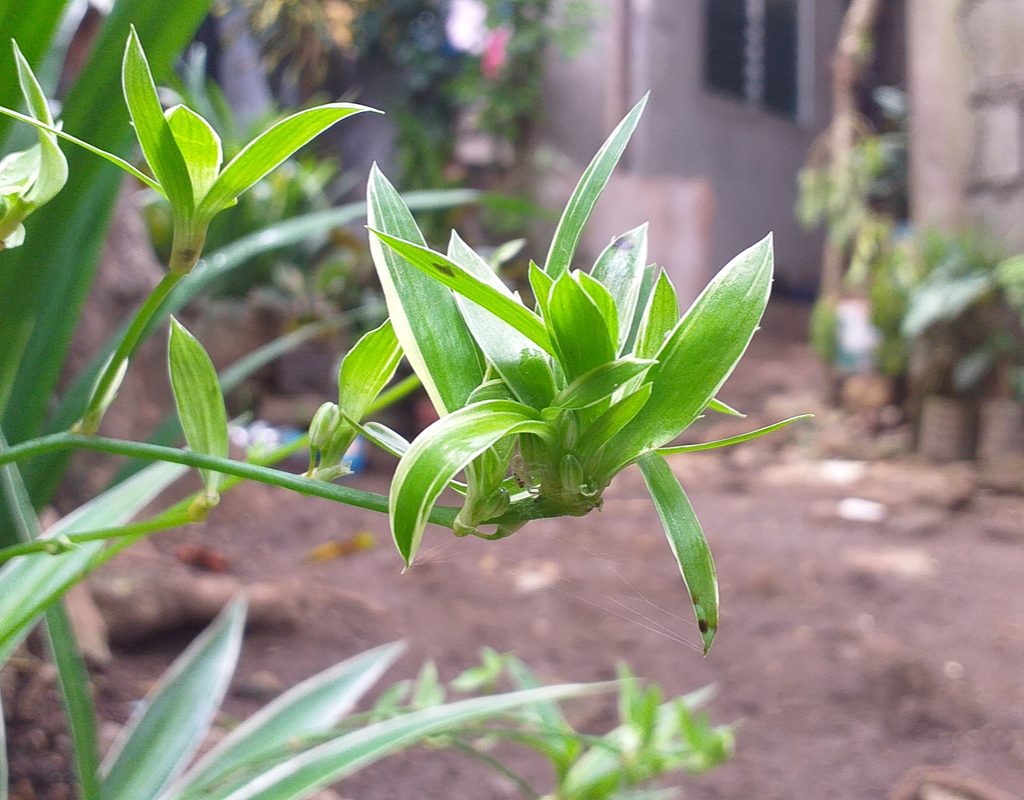
Step 1: Wait until the spiderettes have grown roots.
Once you see small knobs and roots on the bottom of your spiderettes, that’s when you’ll know they’re ready for cutting — either by snipping the runners or leaving them attached to the parent plant. If your spiderettes don’t have roots yet, or if they're tiny nubs, then wait until the babies are a little more mature.
Step 2: Cut the spiderettes away from the parent plant.
Once you believe the babies are ready for propagation, cut them away from the main plant. It’s possible that gently pulling them will help them come off on their own, so you might not have to cut them. If you do need to cut them, keep the cuts as close to the main plant as possible so there’s no unsightly stem sticking out.
To cut, you can use anything that you think will give a clean slice. However, if you want to be professional, you can use precision clippers.

How do you start a spider plant from a cutting?
Whether you trim the spiderette off the parent plant or not, starting the new spider plant from the spiderette is roughly the same. The only difference is that one is in a pot and attached to the parent, and the other is in a pot on its own.
Here are the steps for starting a spider plant from a cutting:
Step 1: Secure the cutting in the pot.
Because the spiderette won’t be too big, you’ll want to secure it in the soil as best as possible without causing damage. You can do this by pinning it gently with an open paper clip to ensure the roots stay in the soil.
Step 2: Water the soil (but don’t drench it), and be sure the plant is out of direct sunlight.
Within a few weeks, the spiderette’s roots should take hold and the plant will sprout new leaves. If it’s still attached to the parent plant, this is when you should remove it.
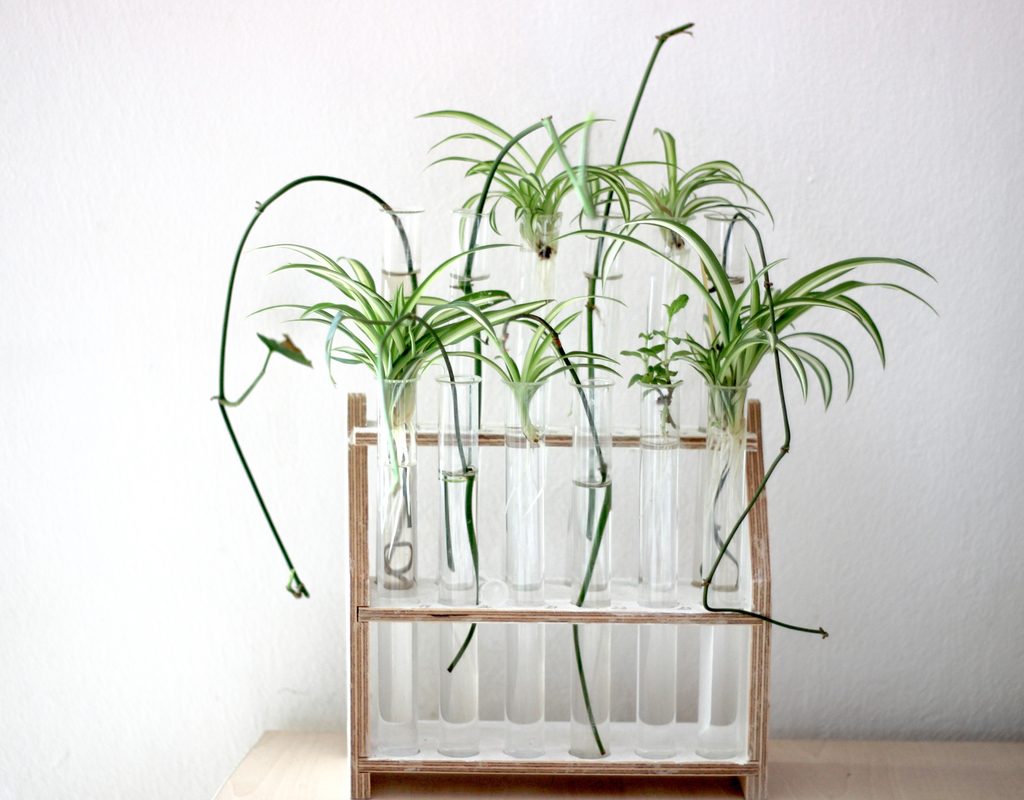
How long does it take a spider plant to root in water?
When rooting in water, there’s always the risk of the spiderette dying when you transplant it to soil. That’s because water-rooted spider plants tend to be weaker than soil-rooted ones, and it can take a while for them to regain their strength.
Step 1: Planting spider plant babies in soil is the quickest way to get them to take root; however, if you don’t have soil available (or you want to start your new plant in a way that causes less of a mess), you can place the spiderette in some water for one to two weeks.
Step 2: Be sure the container you use isn’t too big so you can avoid drowning the plant, and keep it out of direct sunlight.
Can you propagate a spider plant from a leaf?
Unlike other plants where you can take a leaf cutting and grow a new plant from it, spider plants can only be propagated via the spiderettes. If there are no spiderettes growing from your plant, don’t worry. Spider plants need to reach a certain level of maturity before they produce spiderettes, and even then, it could take years for one to grow. So be patient, care for your plant, and give it the best environment possible to encourage spiderette growth.

Can you propagate a spider plant in soil?
With soil propagation, everything is the same as starting a spiderette in water, except you’re potting the plant in soil immediately. It can take longer for the spiderette to grow roots this way, but this will also keep the plant from going through shock when it's taken from water to soil.
Step 1: Cut the baby plant from the shoot. To help the little plant grow roots as quickly as possible, apply a bit of rooting hormone to its base before placing it in a pot. This isn’t necessary, but it can be helpful.
Step 2: Fill a pot with seed-starting mix and create a hole for the baby plant using a pen or your finger.
Step 3: Place the plant in the hole and press down lightly with your fingers to ensure that it doesn't fall over.
Step 4: Water generously, but again, don’t soak it.
Step 5: No direct sunlight for these tender babies. Place them in bright but indirect sunlight. New roots will start to grow soon, and the plant might eventually shoot off new babies of its own.

How fast do spider plants grow?
Anyone who has owned a spider plant will know how prolific it is. While your propagated spiderette might take some time to establish itself, you'll find yourself with a lush plant in no time at all after the roots have settled. Within a 6- to 12-month time frame, you can expect your spider plant to grow well over a foot.
The spider plant's fast-growing nature makes it ideal as a lush hanging basket plant that you can show off in your collection. But you should keep in mind that vigorous and steady growth is only possible if you give your plant the best conditions possible — that's to say, bright, indirect light and thorough watering.
Do all spider plants grow plantlets?
Some plants are dioecious, meaning that each plant will only have male or female flowers, and only the female flowers will produce fruit or seeds. This is important information when it comes to propagating them (or growing fruit), but are spider plants dioecious? No, spider plant flowers are both male and female, and all spider plant flowers have the potential to become a pup. While not every flower will result in a new spider plant for you, any spider plant can produce plantlets.
Spider plants are beautiful plants to have in your home. Propagation is easy, and it’s a fun way to create homemade gifts for friends, family, and even yourself!


