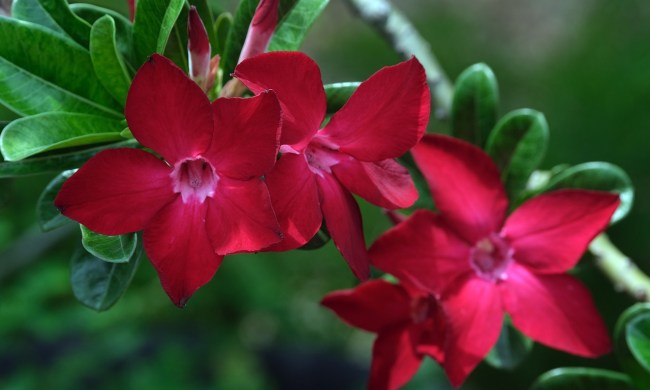
Whether you bought new deck plants this season or relocated some houseplants outdoors for the warm weather, it’s getting close to when they’ll need to be acclimated indoors. Unfortunately, helping your plants adjust it isn’t as easy as just putting them back in your home. By now, your plants have adjusted to the light and temperatures that come with being outside, and no matter how well-lit homes are, they pale in comparison. Here’s what you’ll need to do to ensure your plants are brought indoors smoothly and with as little stress as possible.
Prepping your indoor space
If you already have year-round indoor plants, you may not need to worry about this too much; however, it won’t hurt to give the space a little refresher before bringing your outdoor plants in. The goal here is to make sure that the area is as clean as possible, that light can pass through the windows, and that the room will be warm enough come winter.
Let’s start with the windows. These should be as spotless as possible, so that any plants placed near them can receive the sunlight they need during the day. As you think of where to put the plants you’re bringing inside, consider their sunlight preferences. Plants that love full sun will enjoy a south-facing window and plants that love partial sun will enjoy an east- or west-facing window. Be sure to place your plants a little bit away from the window to minimize their risk of sunburn.
Humidifiers can save your plants
Plants that love humidity and heat will benefit from a humidifier when brought indoors for the winter. Colder months are often drier, which can make your plants unhappy. Humidifiers will help raise the moisture in the room; however, there are alternatives if you don’t have the space or can’t afford one. Clustering your houseplants can help improve the humidity of their space naturally, as will setting out shallow trays around or under them that are filled with pebbles and water.
Slowly transition your plants to shadier areas
When cooler weather is on the horizon (and before temperatures reach below 45 degrees), it’s time to start moving your plants to shadier locations. This should be done before bringing them indoors so that they have a chance to slowly adjust to decreasing amounts of light. After all, they won’t have the same kind of light inside that they did outside — especially not in the winter.
This process should be spread out across a few days (which is to say, don’t move your plant immediately from lots of light to lots of shade). You’ll want to gradually move them to more and more shade, starting off with a small patch, and then at the end, bring them into your house.
At the same time you start this transition period, you’ll also want to check your plants for pests. The last thing you want is for any pesky bugs — big or small — making their way inside and not only infesting your home but your other houseplants, too! Check under every leaf, on every stem, and look up ways to help get rid of them if you notice any.
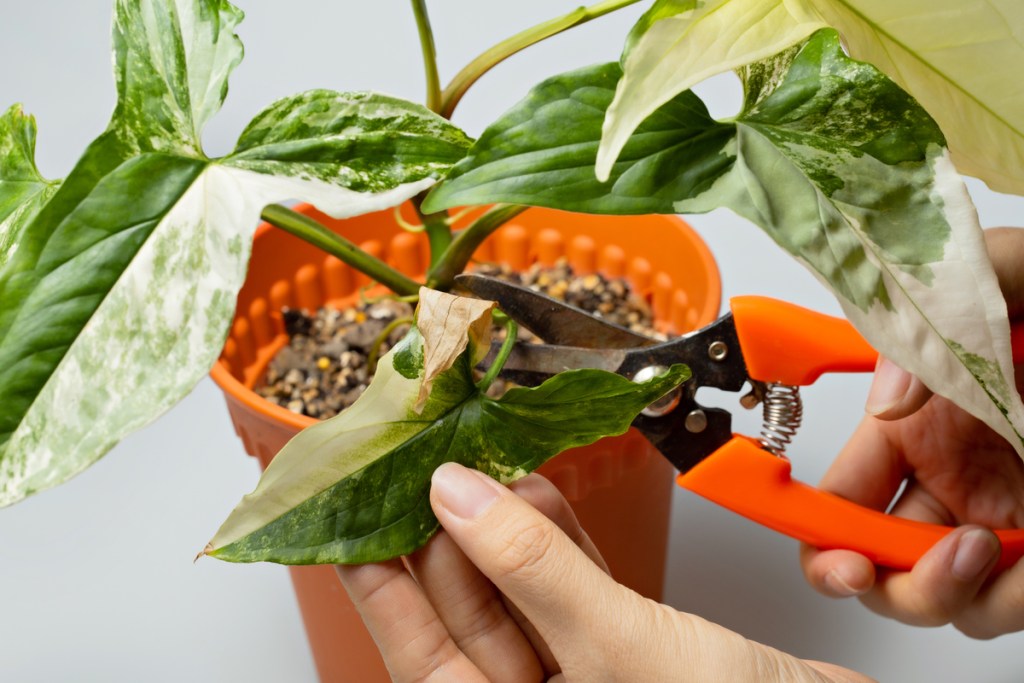
Give them a little trim (and check again for pests)
The last thing you’ll do to help transition your plants indoors is trimming off any dead or dying foliage. This lets you keep the plant mess outdoors and helps your babies divert their energy to sustaining current growth while also promoting new growth. This will also help keep the size of the plant manageable and allow any new growth to be better acclimated to the indoor environment.
When you bring them in, keep them separate
Similar to bringing a brand new houseplant home, you’ll want to keep your outdoor (now indoor) plants separate from any plants you have inside for a couple weeks. This will be a nice safety net to allow you to keep an eye on them and catch any pests you may have missed. It will be a lot simpler to remove them from a few plants than from your whole collection.
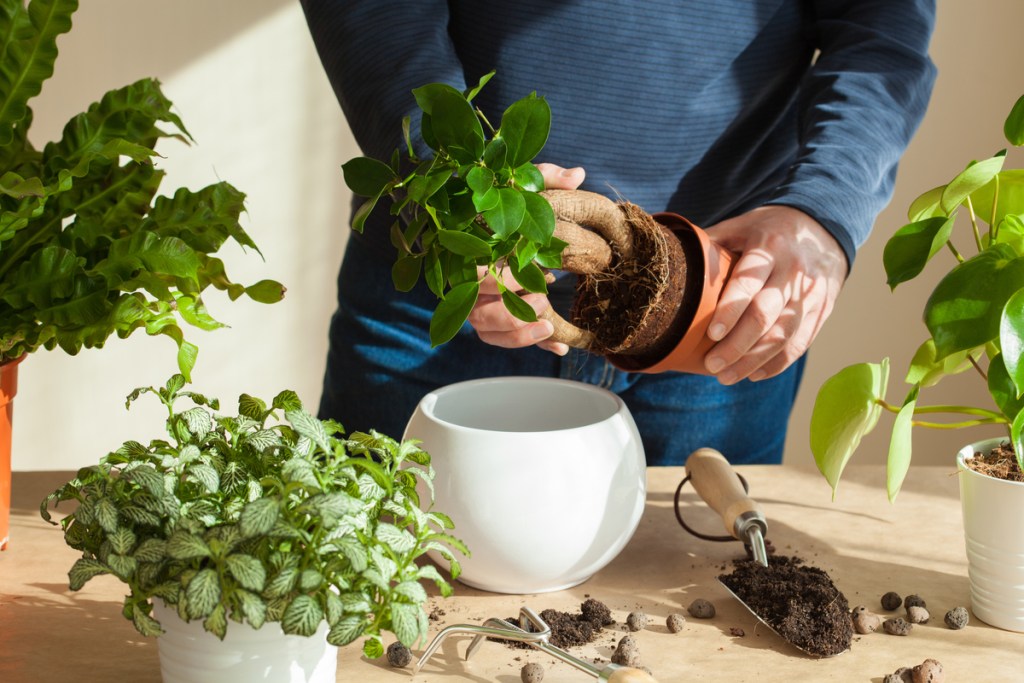
You may have also noticed while getting your outdoor plants acclimated that some of them have outgrown their containers and are in need of a new home. This is a great time to do it! They’ll be much happier throughout the winter if their roots aren’t pressed for space. And if any of them are being moved to a container from a garden bed, be sure to clean the garden soil from the roots as much as possible and use a houseplant potting mix in the new container.
Adjust to meet your plant’s needs
The most important thing to keep in mind as you begin to care for these “new” indoor plants is that you may need to adjust what you do to fit what they need. Winter is often a dormancy period for plants, which means lightening up on the amount of water and fertilizer you give them. Although they don’t go entirely dormant like trees, their growth will slow to conserve nutrients. You’ll want to be especially wary of overwatering during these months, so make sure they’re in a container with good drainage.
The one thing they won’t need less of, though, is sunlight! Follow their lighting requirements as close as possible in your indoor space. Keep in mind that days during winter are shorter, so you may need to supplement with a few grow lights or bulbs that simulate natural lighting in order for your plants to get the necessary nutrients.
If all goes well, you’ll have a batch of indoor plants ready to overwinter indoors. Once spring rolls around, you’ll be able to transition them back to an outdoor environment where they can thrive during their growing season.