
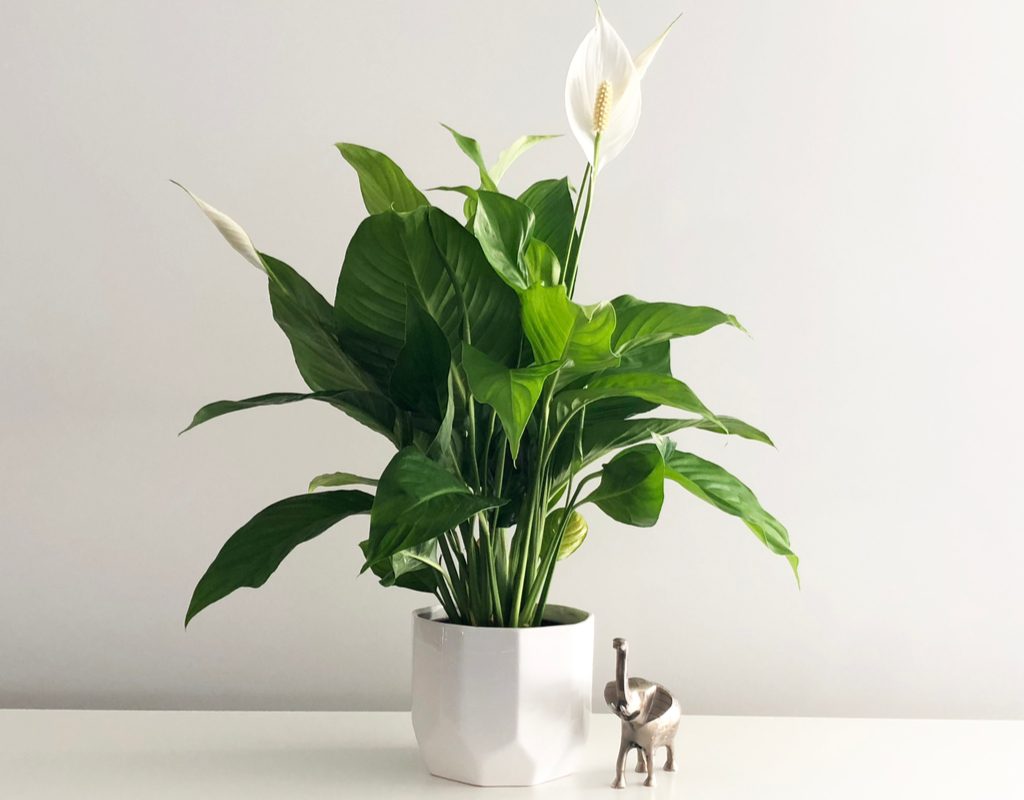
If you’re looking for a beautiful flower to brighten a dark corner of your home and improve your air quality, then look no further than the peace lily. Peace lilies make lovely additions to any home, unless you have a cat. If your peace lily has grown too large, or you're looking for an easy way to expand your collection, then you should consider propagating it. Peace lilies are easy to propagate, and this guide will explain everything you need to know about how to propagate a peace lily.

Choose the right time to propagate
Peace lilies aren’t propagated through cuttings, like many other plants. Instead, they’re propagated through division. These two methods have little in common, but one thing that does stay the same is the timing. Here's when to start propagating:
Step 1: Begin while the peace lily is warm. For outdoor plants, this means spring or summer. Indoor peace lilies can be propagated at any time, since you're in control of the temperature.
Step 2: Wait until the peace lily is mature. A mature peace lily should have at least one large clump of stems, surrounded by several smaller clumps.

Identify the mother plant and the crowns
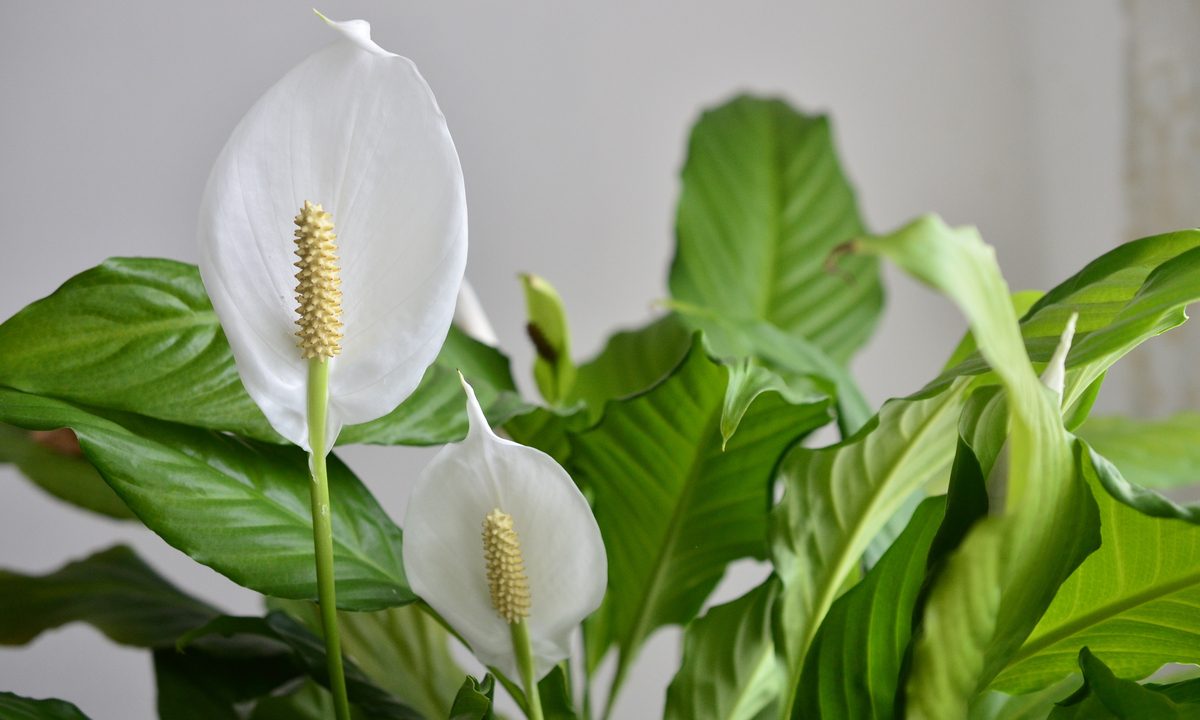
The mother plant is the largest mature stem of the plant. Typically it will be towards the center of the pot, and it will likely have flowered during the last blooming season. It probably would have been the first stem to grow, if you planted your peace lily from seed. The crowns are the smaller, younger stems that grow around the first stem.
More specifically, the mother plant is what will be left behind after dividing your peace lily. The crowns are what will be separated from the main plant and become additional individual plants. This is because peace lilies spread via their roots. New growth grows from the roots up rather than from the stem of the mother plant. The new growth then grows roots of its own, allowing it to be separated from the original plant and moved elsewhere. Here are tips for identifying the crowns:
Step 1: Gently lift low hanging leaves so that you can see the stems.
Step 2: Look for crowns with three of more leaves. Crowns with fewer leaves are too young and may not survive transplanting.

Dividing the plant
Once you’ve located the crowns, it’s time to divide the plant. Here's what you need to do:
Step 1: Gently remove your peace lily from its container. Tapping or squeezing the sides of the pot can help loosen the soil. Avoid pulling the stems too hard, as this can damage the plant.
Step 2: Brush the loose soil off the roots, keeping as much dirt in the container as possible. This makes it easier to see the roots and keeps your workspace clean.
Step 3: Lay the peace lily on a flat surface and spread the roots out as much as possible.
Step 4: Follow one crown down from the stem into the roots, finding the place where the crown is connected to the mother plant.
There should be just on root connecting the two. Don't panic if you can't immediately find it, just keep gently spreading the roots out.
Step 5: Cut the connecting root with a clean, sharp knife or pair of scissors.
Avoid damaging the surrounding roots as much as possible. Make sure your knife or scissors are clean to avoid spreading bacteria to your plant. Some peace lilies can be separated by hand, by pulling them apart gently. However, cutting them apart is less likely to damage the plant.

Potting your new peace lilies
Once you’ve separated your peace lily into as many sections as you want, it’s time to pot them.
Step 1: Replant the mother plant in its original pot. This is a good opportunity to check if your peace lily has outgrown its pot or needs fresh soil.
Step 2: Plant the crowns in airy, well-draining soil.
Step 3: Use the same blend of soil that the mother plant's pot had, if possible.
Moving a plant to a new pot with different soil can sometimes cause stress to the plant. This is called transplant shock, and it is usually identified by drooping leaves after being transplanted. Using the same soil can alleviate some of this stress. If it isn't possible, then don't worry. Transplant shock typically wears off in a few days to a week.
Step 4: Continue to care for the crowns as you do the mother plant.
Can you propagate peace lilies from cuttings?
Unlike many other plants, peace lilies cannot be propagated by taking a cutting from their stems or leaves. This can sometimes confuse new gardeners, especially if you've grown other lilies before. Many lily varieties can be propagated from a stem or leaf cutting, but not peace lilies. This is because peace lilies are not true lilies! Although they look similar, peace lilies are in the araceae family, along with arums, laceleafs, monsterras, alocasias, and philodendrons.
Peace lilies spread exclusively through rhizomes and seeds, so the only ways to propagate them is by dividing them or by collecting their seeds. However, peace lilies cannot self-pollinate, so your indoor peace lily plant is unlikely to produce seeds unless you have multiple plants. This makes division quicker and easier for most people.
Dividing your peace lily might seem like a complicated or daunting task, but hopefully this handy guide has alleviated some of your stress surrounding it. Propagating a peace lily isn’t as hard as it seems, and anyone can do it. Just treat your plant gently and go slowly. You’ll do just fine and come out the other side with several new peace lilies.


