

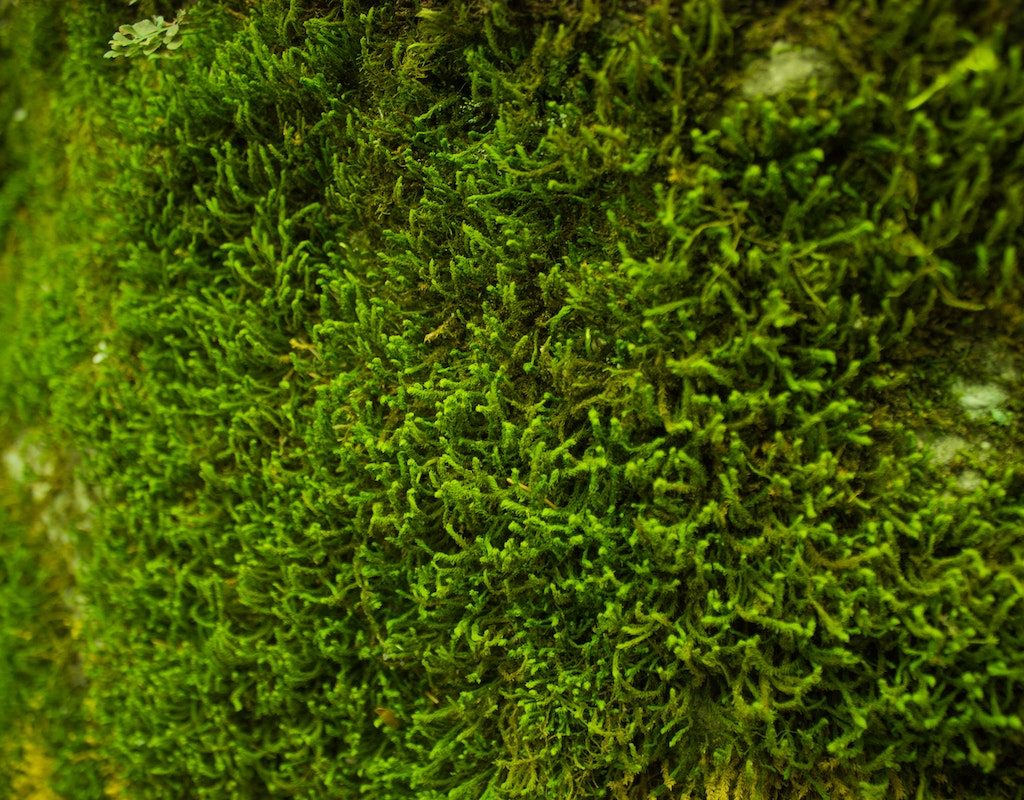
Moss is a beautiful and easy-to-grow plant that can be found just about everywhere. It can be grown as an ornamental plant in pots or even as a ground cover in your lawn! You can source your moss from a garden store, buy seeds online, or transplant moss from elsewhere.
Transplanting moss doesn’t just mean moving it from one place to another — it can also be a way to propagate your moss. Whether you’re transplanting moss from one container to another or transplanting it from the wild, we’ll give you all the instructions you need on how to transplant moss, including where to find moss and how to take care of it after transplanting.
Finding moss to transplant
Transplanting moss is a very simple process, especially compared to transplanting other plants. The most difficult part is locating suitable moss if you don’t already have some. If you’re transplanting moss from one container to another, you can skip this part and go straight to the actual transplanting method.
When you’re looking for moss to transplant, it’s best to start close to home. Look in your own yard, especially on walkways or rocks where moss could be a slipping hazard and needs to be removed anyways. If you need to range farther afield, be sure you’re allowed to take the moss from the location. This means either asking the property owner or, if the land is state, city, or federally owned, knowing the regulations that limit or prohibit foraging. Avoid taking moss from delicate ecosystems like rotting logs, marshes, bogs, and river banks, and never take more than half of the moss in one patch.

How to transplant moss
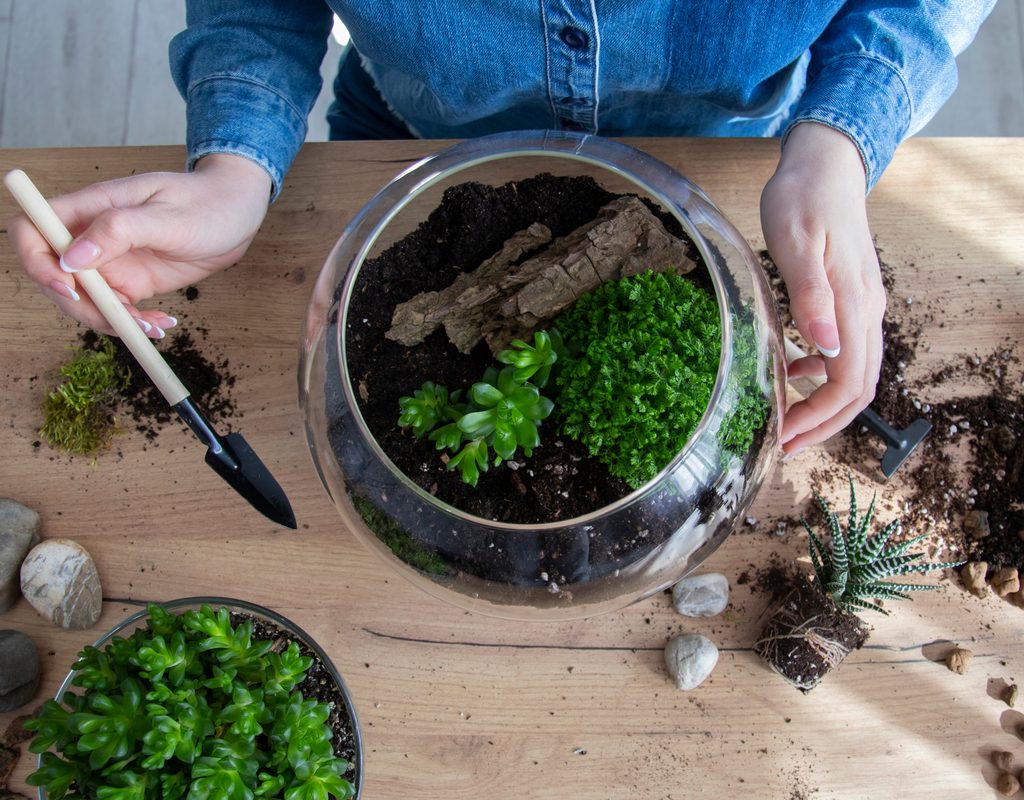
To transplant your moss, you can either use your hands (we recommend using gloves if you’re transplanting from the woods), or a flat object with a handle, such as a spatula or butter knife. Gently slide your object of choice or hand under the moss and lift. You may need to pry the moss up, but be as gentle as possible. The ideal transplant is one that keeps the moss in one piece. Brush any dirt, leaves, or bugs off the moss and out of its roots.
Once your moss is free, place it in a container until your garden or pot is ready for planting. The new location should be shady, moist, and free from weeds. Make sure the top layer of soil is loose, not compacted, so that the moss has something to grip onto. Water the soil before adding your moss, to stimulate growth and prevent the moss from drying out.
Lay your moss flat on the surface of the ground, root-side down. You don’t need to worry about digging a hole for it to sit in, but you should press it gently, yet firmly, into the ground. If you have multiple pieces of moss, spread them out. The moss will naturally spread and grow to fill in gaps over time. If the moss won’t stay flat and flush to the ground, you can secure it in place with a stick through the center or a bit of garden net or twine.
When you should transplant moss
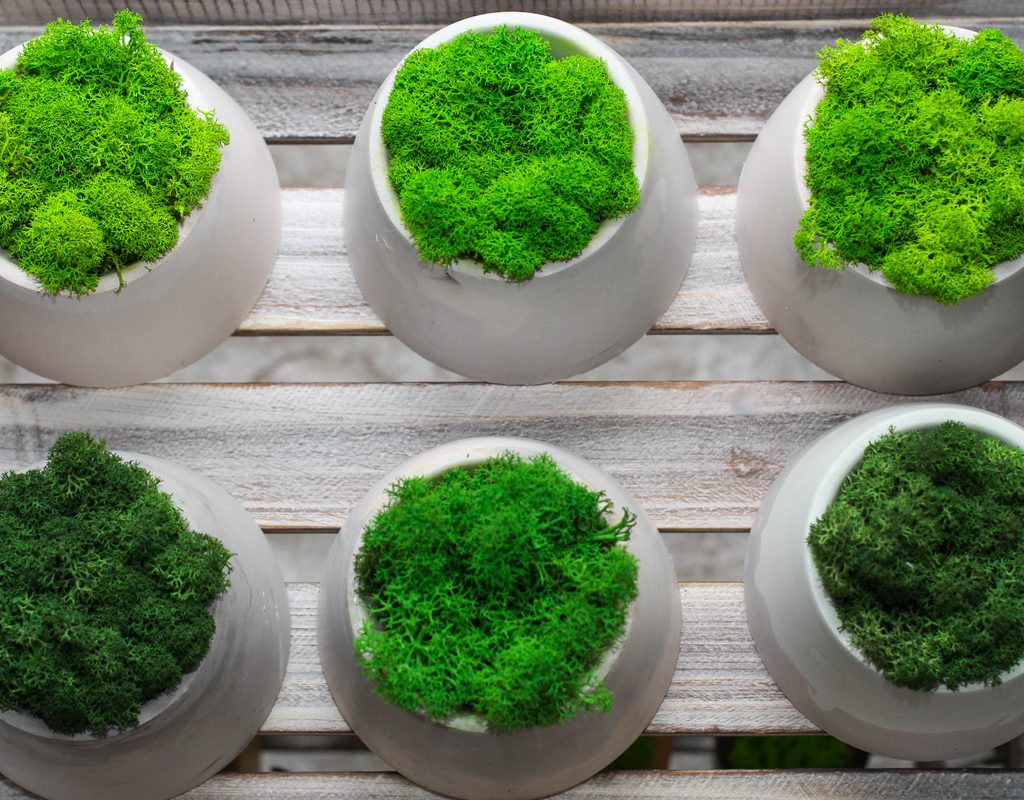
If you’re moving your moss from one container to another, you can transplant your moss whenever it fills or almost fills the container it’s in. If you transplant only part of the moss, then both the original moss and the transplanted moss will continue to grow and spread. In this way, transplanting can actually be a propagation method.
No matter where you’re transplanting the moss from, you should do so when the soil is moist, but not muddy. Just after a light rainfall is best if you’re getting your moss from outdoors. However, if you’re transplanting moss from your yard, garden, or container, then you can gently water the moss beforehand. The moisture helps loosen the roots of the moss and helps ensure that your moss won’t dry out between its starting location and its new home.
If you’re collecting moss from outdoors, then it’s best to begin looking in spring to early summer. This is when moss is the easiest to find, as late summer brings droughts, and both fall and winter bring frosts and snow that can kill moss or drive it to dormancy. Drought is less of an issue for container-grown moss, but the cold can still pose a problem.
Caring for transplanted moss
Once you transplant moss, it’s exceptionally easy to care for. The key thing to remember is that moss likes moisture and shade. Too much sun or not enough water can result in dry, brown moss. If you notice a shift in your moss’s color, or if it or the soil becomes dry to the touch, give your moss a good watering and even a light misting with a spray bottle.
If you live in a city, be aware of your water’s chlorine levels. Moss is more sensitive to chlorine than we are, so chlorine levels that are perfectly safe for people can harm moss. If you notice your moss turning brown despite getting enough water and shade, this may be the issue.

How long does it take moss to grow?
Depending on the type of moss you have, you can expect to see your moss spread a few inches each year in healthy conditions. Some moss varieties grow faster than others, such as fern moss, sheet moss, and scotch moss. If you’re transplanting your moss from the woods, you may not be able to identify the type of moss, or you may even have more than one type of moss! However, you should begin seeing growth in a few days to a week after transplanting. Keep the area free from debris and weeds for the fastest growth.
Moss is an amazing plant. It can be found almost everywhere, and, now that you know how to safely transplant moss, it can even be found in your garden. Moss is easy to care for and just as easy to transplant. With only some soil, shade, and moisture, you can transplant and grow all the moss you desire.


