
Cherry tomatoes taste great fresh, make excellent sauces and jams, and dehydrate well. Anything you do with larger tomatoes, you can do with cherry ones, too. Plus, the plants are super productive. The vigorous indeterminate vines produce a constant supply of fruits until frosty weather stops them. But the heavy yield and steady supply of tomatoes at all stages of ripeness, can make it difficult to know which ones are ready and which ones to let ripen. You can pick the fruits any time after the color begins to develop, but the best flavor comes just a bit later when the fruit easily releases from the vine.
Cultivate for great flavor
These vines are known for their low-maintenance requirements, but proper cherry tomato plant care improves the flavor of the fruits. Start with healthy seedlings that are not overgrown in their starter pots. Don’t buy plants that appear too large for their container or those with extensive roots growing out of the bottom of the pot. If you start your own transplants from seeds, raise them in a well-lit location where temperatures will always be above 70 degrees. Move them into direct natural sunlight as soon as possible after germination.
Plant them in a sunny location after the threat of frost has passed and the soil has warmed. They’ll grow well in either an 18-inch pot filled with high quality container soil, or in a well amended garden bed. Apply a granular organic fertilizer or a slow-release fertilizer at planting time to support healthy plant growth and development. Mulch them with a 3-inch layer of clean straw, old wood chips, or compost to help retain soil moisture and keep weeds at bay. Tie them to tomato cages, trellises, or garden stakes to provide support as the plant grows.
Tomato plants require consistent moisture to set and ripen a crop of high quality fruit. Applying and maintaining a layer of mulch helps. Keep an eye on the weather, too. Make sure the plants receive at least an inch of water each week from rain and hand-watering combined. When watering, always apply the water at the base of the plant to avoid wetting the foliage.
Harvest at the peak of ripeness
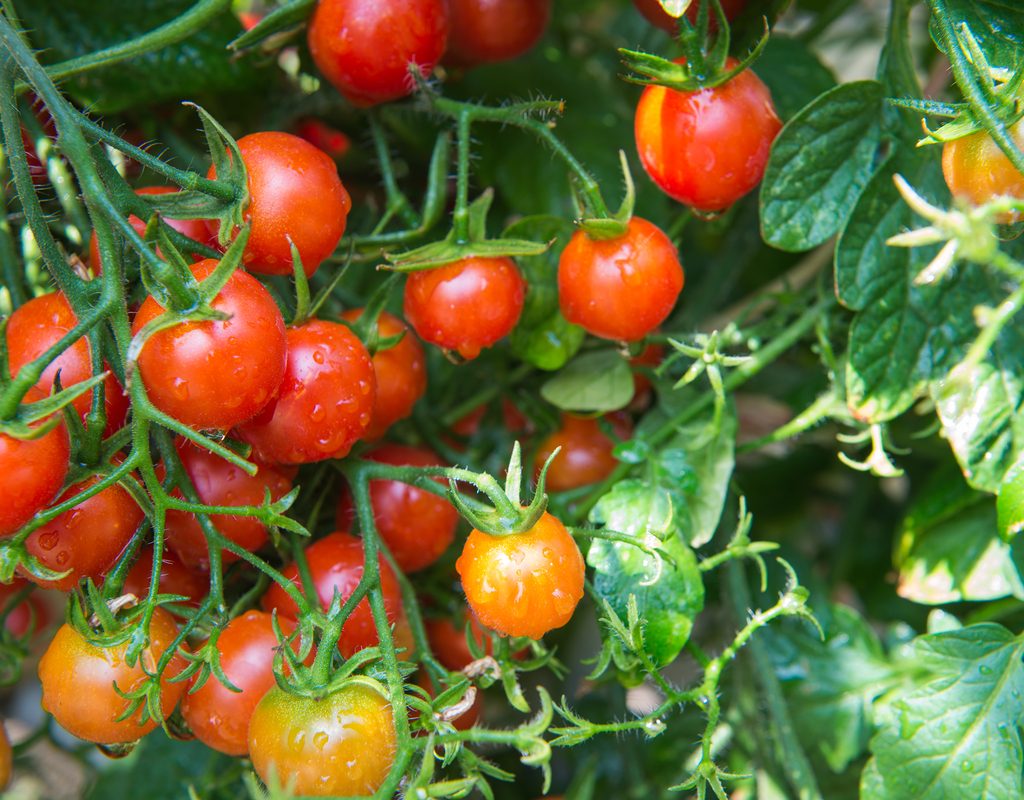
You’ll know when to harvest cherry tomatoes because of the size, color, and how easily they come off the plant. The first fruits ripen around 65 or 70 days after planting. Soon after the flower is pollinated, it turns brown and dries up, eventually falling from the young tomato. The tomato remains green as it attains mature size, and then the color develops. Sometimes the fruits ripen in clusters, like grapes, but not always.
Color develops differently among the various cherry tomato cultivars. Those that ripen to orange or yellow typically do so fully on the vine. The red-fruited cultivars may only turn deep pinkish-orange while on the vine, especially during hot weather. They may display green streaking even after they are ripe. When the color looks “close to ready” try picking a few. If they come off easily, they’re ready to go. Color will continue to develop even after harvest.
Plan for an abundant harvest
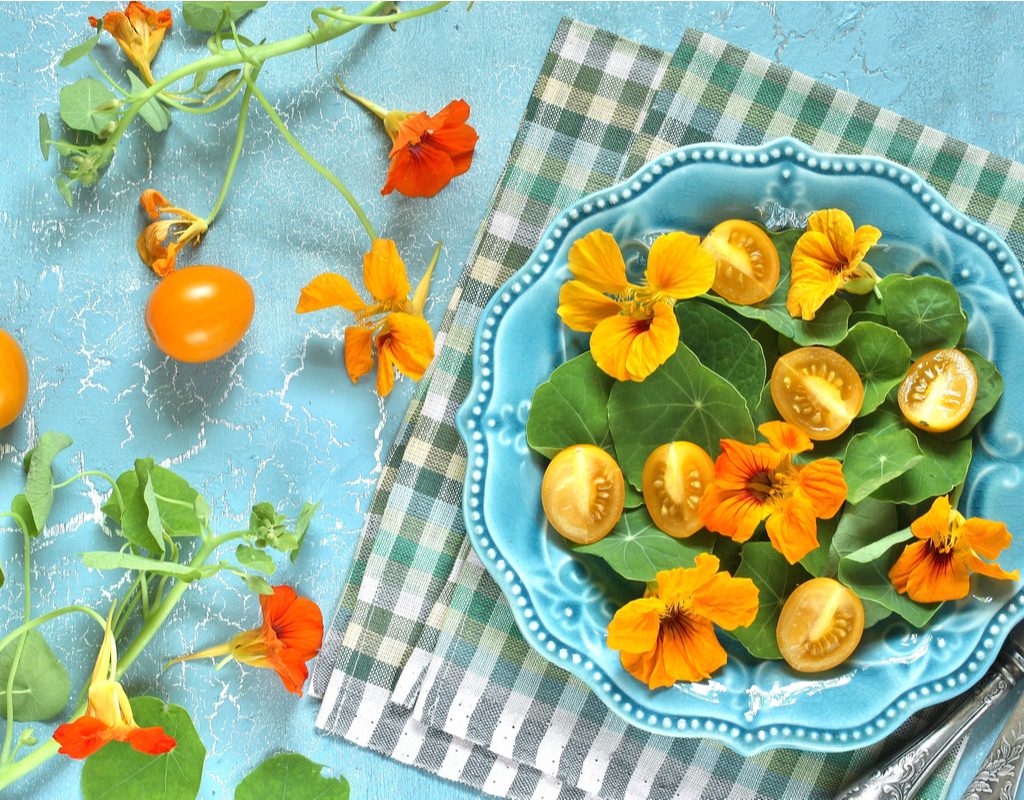
If you plant cherry tomatoes, be prepared for heavy yields. In addition to the salad toppers and fresh snackers you may have planned for, you’ll probably have plenty to share. The good news is that cherry tomatoes are versatile and healthy. They are suitable for use in all your favorite soups, sauces, and other tomato recipes. Try them roasted with olive oil, garlic, and herbs for a flavorful spread to top toasted bread. Use them in salsa, or make a delicious Caprese salad. Or just freeze them whole and use them for sauce whenever you need them. Leave the skins on whenever possible because that’s where the bulk of the antioxidants reside.
Colorful and petite cherry tomatoes are some of the most fun and rewarding garden plants you can grow. They grow with little care and reliably produce an abundant yield of sweet, tasty fruits that can be enjoyed fresh or used in endless recipes. To enjoy the best flavor, make sure to wait until they are plump, colorful, and at the peak of ripeness.


