
Add a fire pit to your garden to take advantage of cool spring nights

How to build a DIY fire pit in your garden

As winter turns into spring, the nights are finally warm enough to start going outside again, but still a little too cool to fully enjoy. Wouldn’t it be nice to have a fire pit that you and your friends could sit around? We certainly think so! If you’d like to get outside and enjoy your garden after dark, here’s how to create your own DIY fire pit.

Difficulty

Moderate

Duration

2 hours

What You Need

  • Spray paint

  • Shovel

  • Gravel

  • Metal fire ring or fire bowl

  • Bricks, concrete blocks, or stones

  • Construction adhesive

  • Level

  • Rubber mallet

Large round fire pit with a table with hot dogs on it
Image used with permission by copyright holder

Choosing a location

Before you can build your fire pit, you'll have to decide where to put it. Here's how:

Step 1: Choose a flat area.

Step 2: Pick a place that is away from structures or plants that can’t be removed.

Step 3: Choose an area with an easily accessible water source.

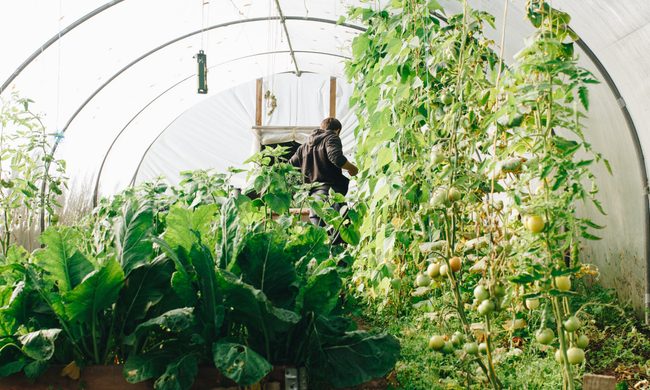
Step 4: Clear the area of removable plants and debris.

A small fire pit
Image used with permission by copyright holder

Gathering your materials

Here are a few things to keep in mind while getting your supplies:

Step 1: Make sure everything you use is safe for fires and heat.

This includes any decorations or furniture you intend to place near the fire pit.

Step 2: Measure the area before you begin construction, to ensure you have enough supplies.

Step 3: Choose blocks or bricks with flat tops.

If you want a circular fire pit, the sides should be angled.

Square fire pit with white chairs around it
Image used with permission by copyright holder

Constructing the fire pit

Here’s how to build your DIY fire pit:

Step 1: Set your fire ring or bowl where your fire pit will be and place a layer of your blocks or bricks around it.

Step 2: Mark the outer edge on the ground with spray paint, then remove the fire ring and blocks.

This will determine how wide your fire pit needs to be.

Step 3: Dig a hole that is as wide as the mark you made and at least 7 inches deep.

Step 4: Flatten the bottom of the hole.

Step 5: Add a 5- to 6-inch layer of gravel and flatten it.

Step 6: Set the first layer of blocks or bricks on top of the gravel, at the edge of the pit, so they form a tight ring.

Step 7: Use a level to ensure the layer is flat.

Step 8: Set the next layer of blocks on top, arranging them so the joints are offset from the joints of the first layer.

This is a test to ensure each layer fits perfectly before you add the adhesive. This is also a good time to test that your fire ring fits.

Step 9: Remove a few blocks from the test layer, add construction adhesive to the top of the first layer, and replace the blocks.

Repeat this step for the entire layer.

Step 10: Tap the layer down with a rubber mallet to make sure it's secure.

Step 11: Continue adding layers until you have three or four total layers.

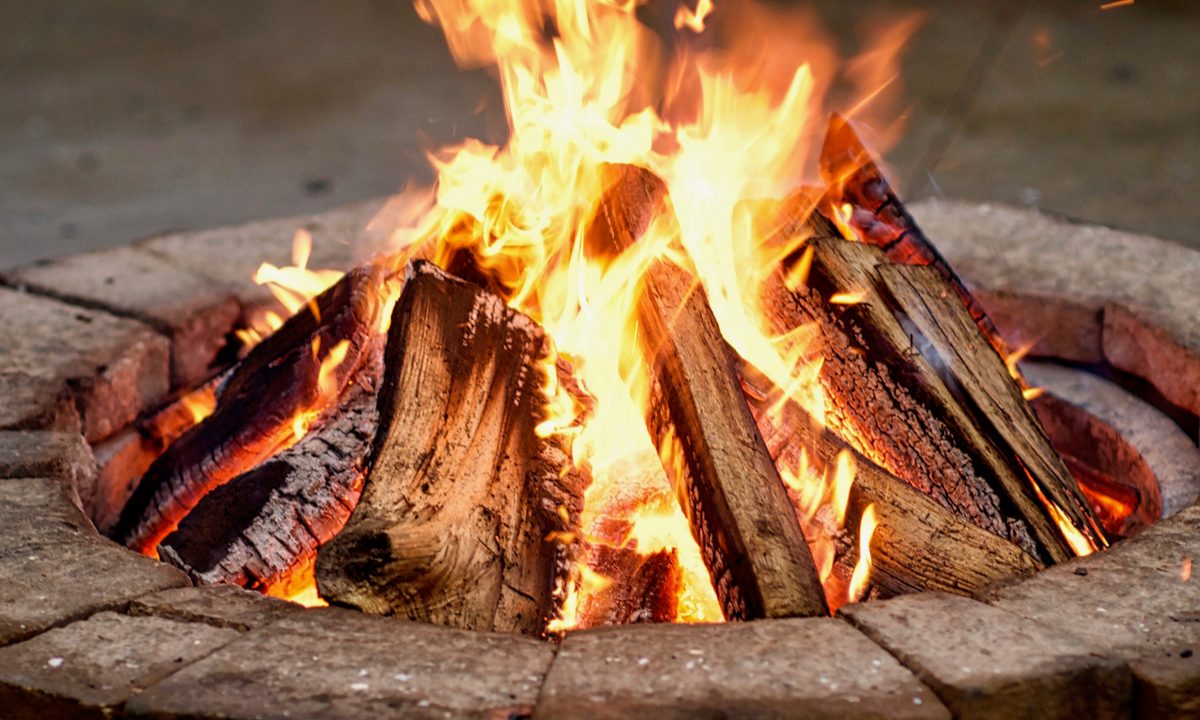
Step 12: Add your fire ring or bowl.

Congratulations, your DIY fire pit is now ready to use! You may want to light a small test fire first, to ensure everything is in working order. After that, all you need to do is set your chairs around it, call your friends over, and enjoy the results of your hard work on cool spring nights!

Editors' Recommendations

Cayla Leonard
Cayla Leonard is a writer from North Carolina who is passionate about plants.  She enjoys reading and writing fiction and…
6 balcony vegetable gardening tips every new gardener needs
container garden

You've likely seen photos of gorgeous raised garden beds with rows and rows of beautiful vegetable plants. Or a luscious and full flower garden with new blooms all year round. As someone who lives in an apartment, these photos can be discouraging. It can feel like you can't achieve those beautiful green spaces with what you have, but we're here to tell you that you can!

Creating a balcony garden can be as simple or as complex as you want it to be. Whether you have a walk-out patio with space for tables and chairs or just a small space to stand, you can transform these spaces into garden sanctuaries. So stop feeling like you have to wait until you have a backyard or more acres; beautiful gardens can come from small spaces too, and here's how you do it.

Read more
A tiny oasis: Herb garden ideas for small decks
Herb plants in ceramic pots on table

An herb garden is a lively, practical addition to almost any deck. Container gardening involves less plant maintenance, as weeds are usually nonexistent. Potted plants can be easily transported as needed. And a well-planned herb garden can serve as attractive decor. Here are answers to common questions relevant to herb gardens.
Which herbs do well in small pots?

Conveniently, many herbs grow well in pots. You might choose a mix of fragrant and particularly pretty herbs, or you might choose a medley of those you use most often in cooking. If you want to grow different herbs in the same pot, be sure that those you group together have similar care requirements. We suggest picking a few of the following:

Read more
5 ways to go green in your patio or deck space
A deck with eco-friendly furniture

Your outdoor space is super important. Most people enjoy spending a hefty percentage of time outside entertaining family and guests. However, not everyone considers the importance of making these spaces as environmentally friendly as possible.

For example, by using Earth-friendly building materials, you can create a healthy environment for your family, pets, and the area's plant and animal life! In today's day and age, many companies out there can help you build an eco-friendly patio or deck. Moreover, you can customize many to fit within your budget.

Read more