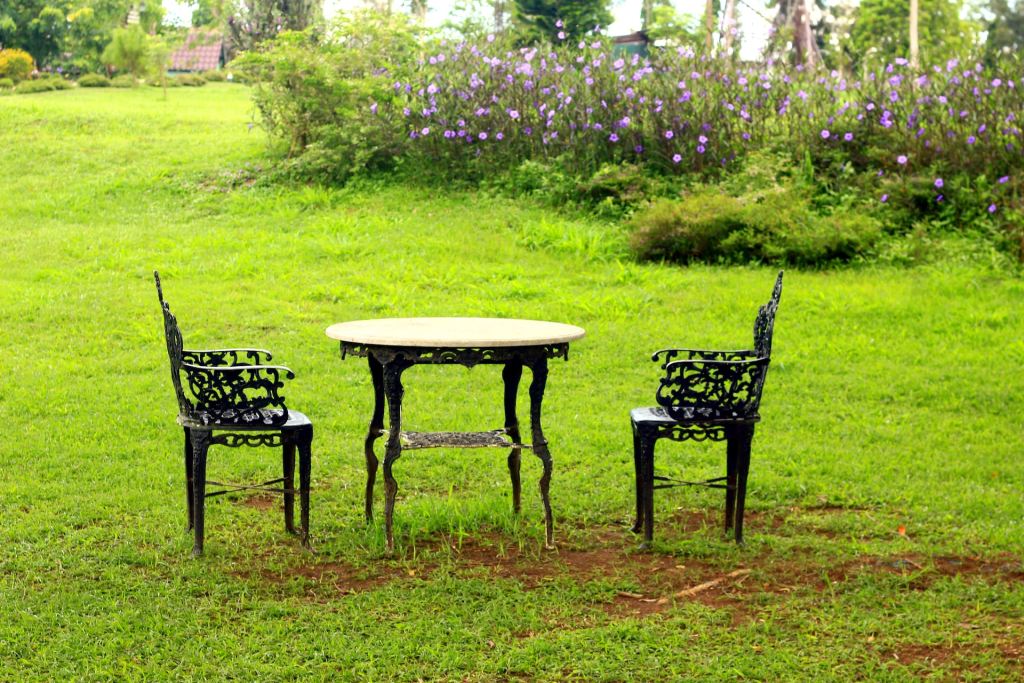
For more than a hundred years, furniture has been made of wrought iron. Not much furniture today is made of a material that’s both long-lasting and attractive. Indeed, most modern furniture sacrifices durability for appearance, or vice versa. In contrast, wrought iron furniture serves both purposes and will lend any outdoor patio area a kind of rugged elegance.
The charm is that this rugged elegance is earned over years and years — if you purchase a vintage wrought iron patio set, that is. So how can you tell if that patio set you’re eyeing is actually vintage or just a ripoff with a high price tag? We have some tips.
Why wrought iron furniture is sought after
First thing's first: What makes wrought iron so special for outdoor backyard designs? Although wrought iron is tough, it's also soft and malleable. On a technical level, it's essentially iron with less than 0.3% carbon, with 1 or 2% slag mixed into it. It's incredibly durable, resistant to wind and weather damage as the years pass by.
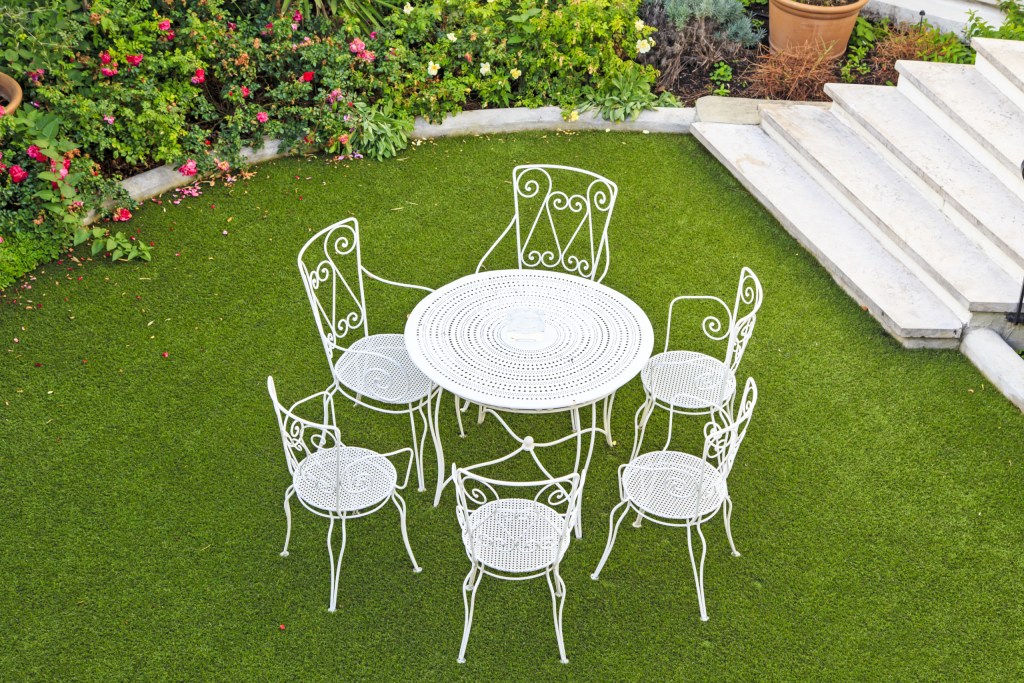
While wrought iron is more of an investment than wicker or plastic, it's much sturdier. Plus, its malleability means that you'll find wrought iron furniture pieces crafted with beautiful designs. And, of course, we'd be remiss not to mention how cleaning wrought iron is a breeze, as you only need some soapy water to spray it down.
How to identify vintage wrought iron furniture
One reason antique dealers and others in the know peruse flea markets, garage sales, estate sales, and more is because they know how to identify vintage wrought iron furniture. An old wrought iron chair designed to be an outdoor patio fixture can fetch more than $100, even if it’s unmarked. If it’s marked and has the name of a well-known manufacturer from bygone eras, it could be sold for a price that reaches into the thousands of dollars, if not more. Here's how to identify classic wrought iron furniture:
Step 1: Look for mold lines
No, not the fungus type, but shaping molds. Cast iron is formed in a mold, but wrought iron is not.
Cast iron often can be mistaken for wrought iron, so to tell the difference between the two, look for the mold lines along the sides of the furniture. Cast iron furniture will have mold lines on the sides, while wrought iron won’t. Mold lines typically look like ridged grooves on the sides of the back and legs and will make the table or chair look a bit more manufactured.
Step 2: Examine the texture
If the metal looks like it’s been hammered or there are other signs of “imperfection” on its surface, it could be wrought iron.
A sign of cast iron is its uniformity. Aside from mold lines, this is one of the clearest giveaways as to what kind of iron furniture you’re actually looking at.
Step 3: Look for signs of rust
Believe it or not, rust spots are a good thing if you're looking for wrought iron furniture.
Wrought iron is vulnerable to rust, especially if it's not covered with varnish or paint. Thus, that super-heavy metal chair you’ve got your eye on might be wrought iron if it’s a bit rusty. The good news is that it’s easy enough to remove rust from wrought iron, and if you spot an authentic piece that is rusted, you may be able to get the seller to knock a few bucks off the price.
Step 4: Look for a maker's mark
Sometimes these marks can be small or partially worn away, so use a magnifying glass to get a closer look.
Although not every wrought iron piece has a mark from the manufacturer or designer, many pieces do. If you do find a maker’s mark on the piece you’re eyeing, it could help you figure out who made it. However, the lack of a mark does not necessarily mean the piece you're looking at is not true wrought iron.

Popular wrought iron manufacturers to be on the lookout for
If you come across vintage wrought iron furniture made by certain famous manufacturers, you’re in luck. Pieces made by the companies listed below are worth more than those made by individual craftsmen. If there isn’t a maker’s mark (and again, many times there isn’t one), you still might be able to identify the creator by checking out pattern books.
Just a few manufacturers to consider include:
Leinfelder: This brand operated in in Wisconsin during the 1930s. Its furniture featured paint colors that were bright and festive, such as green, yellow, and pink.
Lee Woodward and Sons: This was a Michigan-based manufacturer. Its wrought iron furniture was also made mainly during the 1930s.
Salterini: Beginning a bit before the two listed above, Salterini’s furniture started in 1928 in New York. The company continued to manufacture wrought iron furniture until 1953.
Florentine Craft Studio: Also based in New York, this studio started in 1910, which is long before any of the others we've mentioned. It’s mostly known for its patio furniture (and wrought iron works of art).
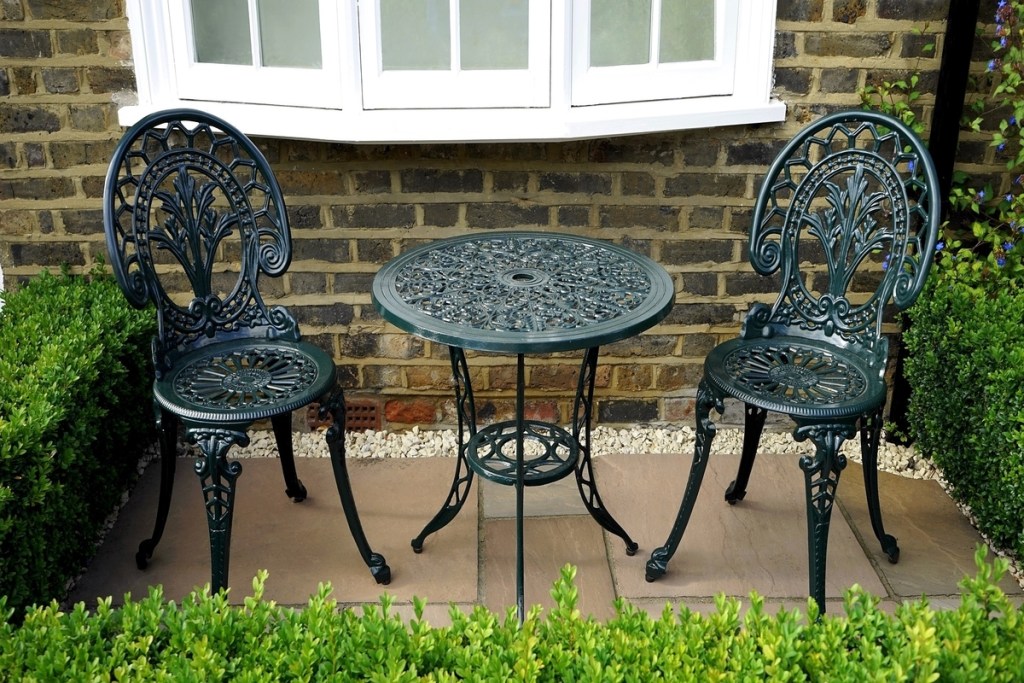
Finding and adding wrought iron furniture to your space
Knowing how to identify vintage wrought iron furniture is the key. Take this newfound knowledge of yours and apply it to research while you browse online retailers, specialty stores, auction websites, live auctions, secondhand stores, and more. Oh, and once you get bitten by the bug, there is a whole world of other vintage garden implements — such as decor and gardening tools — you may want to explore, too!
Whether you’re looking for wrought iron garden furniture because you like the idea of having old, handmade furniture on your patio, you want something to talk about at your next cocktail party, or you’re a collector or dealer, there’s something exciting about finding a piece that no one else seems to recognize.