
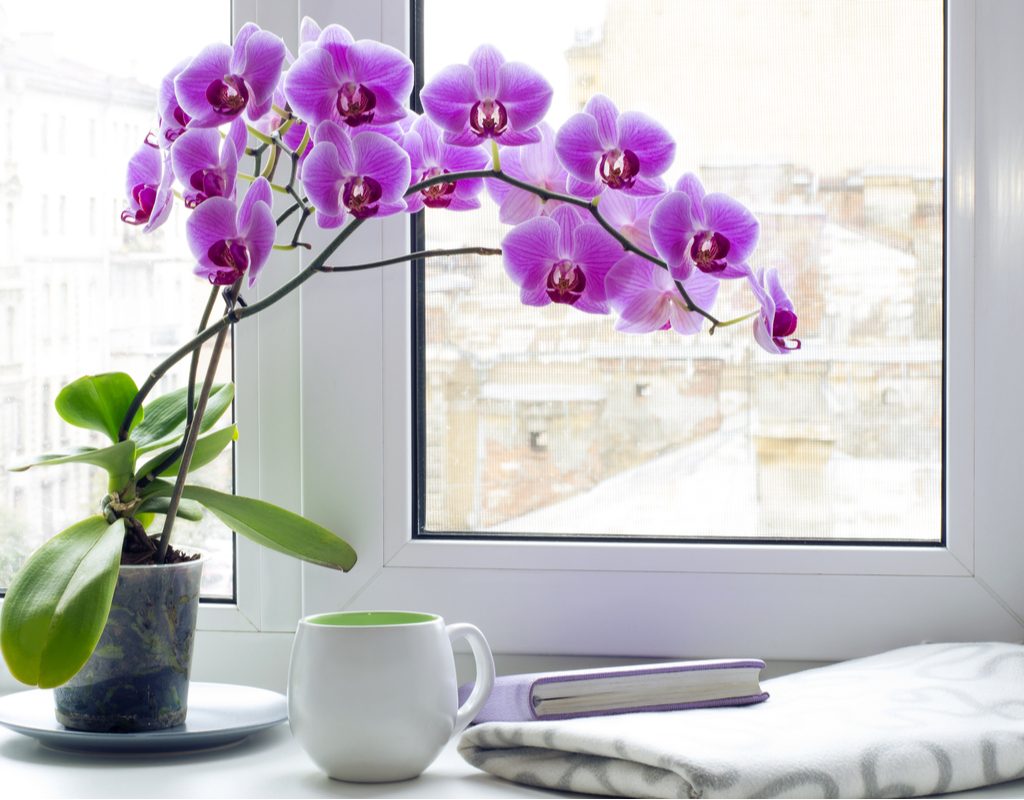
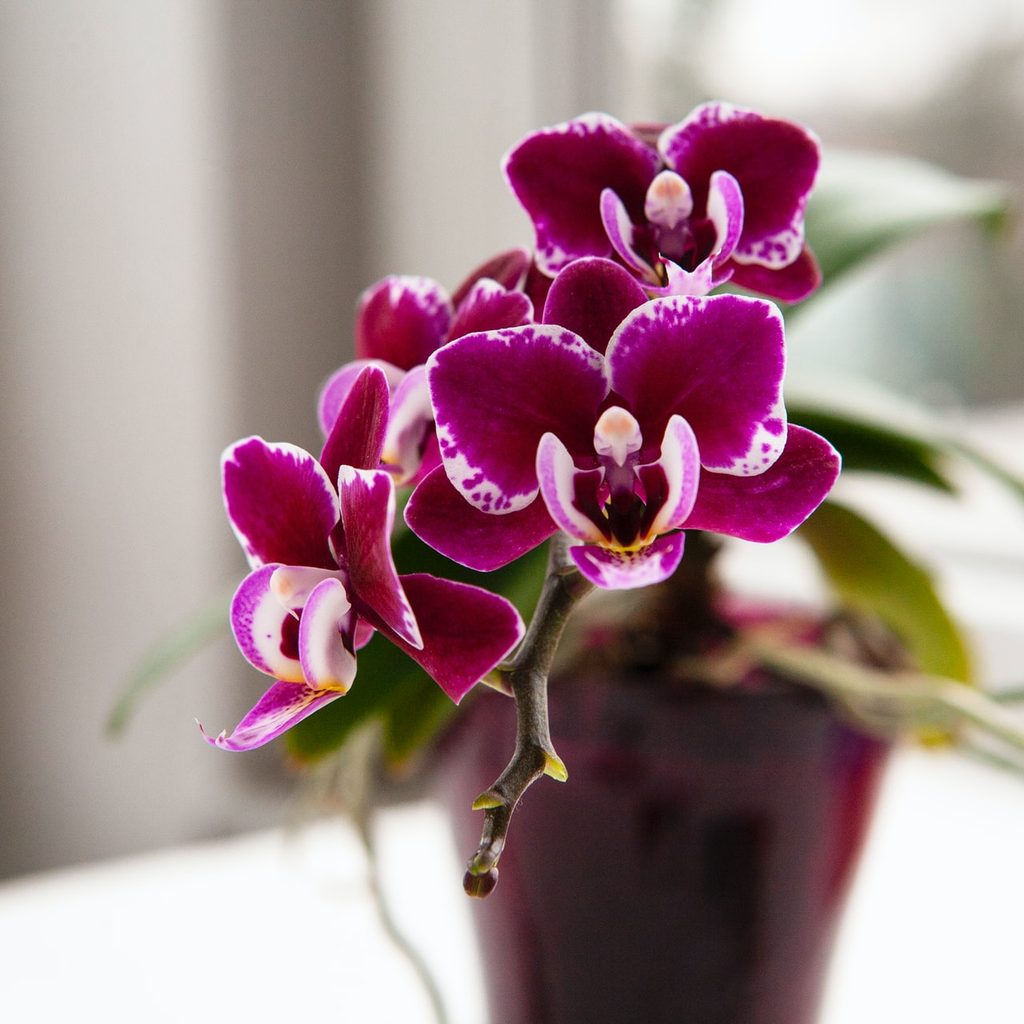
Orchids are beautiful houseplants native to tropical regions. Most often, when you buy them from a nursery, they’ll be in full bloom. This will give you an idea of the color and shape of their petals, so you can choose the best orchid variety for your home. Once you’ve brought it home and planted it in soil or in water, your orchid may thrive — or it might start to wilt.
It’s disheartening when your new plant turns becomes unhappy in the environment you’ve picked for it, and it can even make you feel like a bad plant parent. Luckily, most of the orchid’s problems are fixable so long as you catch them early enough. Keep reading to learn how to revive an orchid and give it back its rightful place as the centerpiece of your indoor plant collection.
How do you bring back a wilting orchid?
When an orchid starts to fade, you’ll probably find yourself wondering whether you can bring an orchid plant back to life. Can a dying orchid be saved? Unfortunately, there’s no straightforward answer. How you can revive your orchid will depend largely on the symptoms and the root (no pun intended) of the problem. Sometimes it’s as easy as considering the plant’s natural habitat and making adjustments to your home to fit its needs. Other times, you may have to do a bit of root maintenance to see results.
How do you save a dying orchid?
Saving a dying orchid requires you to first diagnose the problem. Before doing anything else, inspect the plant for signs of pests and infestations. Orchids are prone to attracting aphids, fungus gnats, mealybugs, mites, scale, thrips, and whiteflies. So if you notice any signs of damage or sudden decline, give the leaves and stems a thorough inspection and try to spot any unwanted visitors. For some pests, like mites, you may need to look with a magnifying glass because they’re so small.
If you notice a pest’s presence, there are a few different things you can try depending on the severity of the infestation.
- Spray the leaves gently with water to remove the pests. You can do this under a lightly running faucet.
- Wash the leaves with soapy water to remove and damage the pests.
- Mix rubbing alcohol with a few drops of liquid dish soap in a spray bottle and spray the leaves to eliminate the pests; this mixture is similar to insecticidal soap.
- Use neem oil to get rid of the infestation.
If none of these solutions help, you can always try an insecticidal soap that’s marked safe for houseplants. Be sure to follow the directions carefully on the bottle because improper use can have adverse effects.
If there are no pests on your plants, it’s time to diagnose the problem and try one of these tricks to bring your orchid back to life.
Water more regularly
If you notice the leaves of your orchid shriveling and wrinkling, you may need to water your plant more regularly. Because orchids don’t need a lot of water (their roots are designed to soak up water quickly and favor periods of drying between waterings), it can be very easy to underwater them.
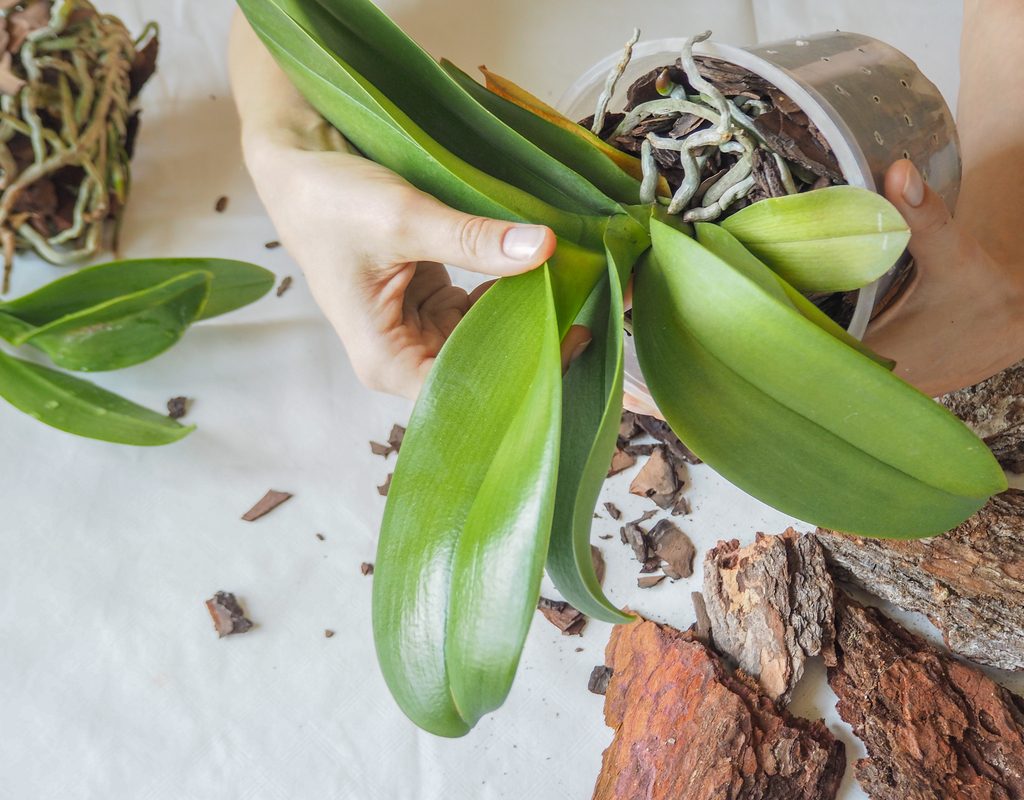
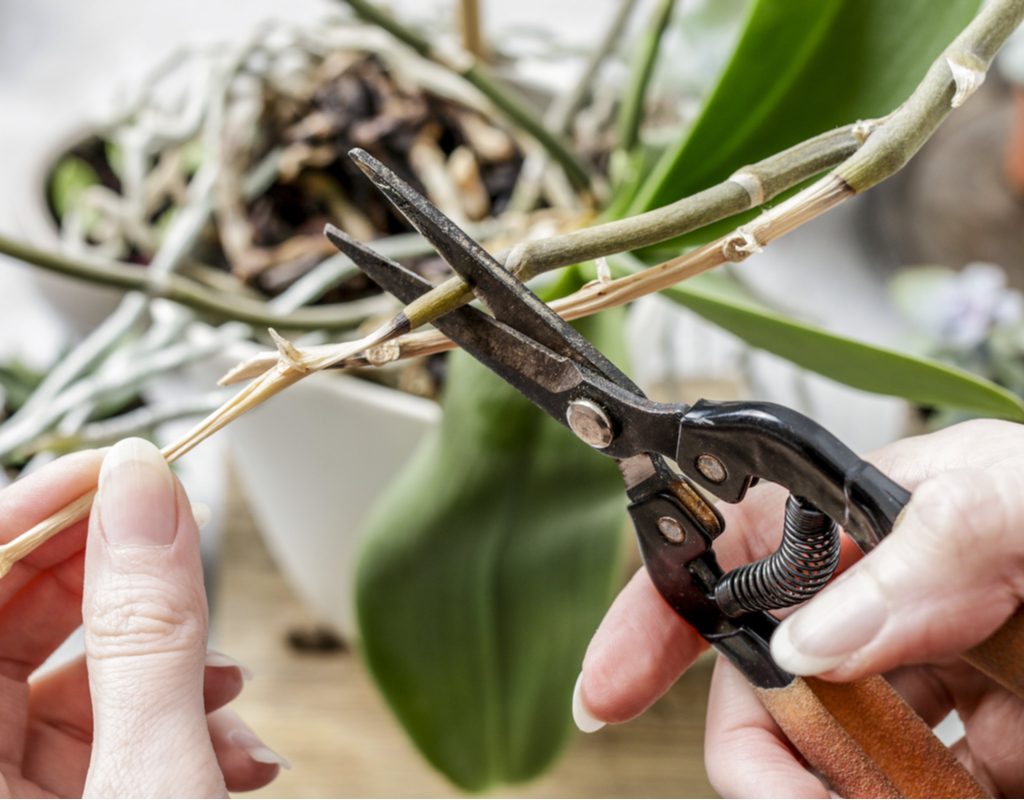
Before you go dousing your plant, you’ll want to remove it from the pot and check the roots. Sometimes, shriveled or wrinkled leaves can be a sign of an unhealthy root system. If that’s the case, you should trim off the damaged roots with sterilized scissors or shears, then repot the orchid in a fresh potting mix. If the roots are entirely healthy, repot your plant in fresh soil (making sure not to pack it down so that the roots have room to breathe) and give the plant a good drink of water.
Remove contaminated roots and repot
If the leaves of your orchid are starting to turn yellow, chances are it’s been overwatered and is experiencing some root rot. To fix this problem, take the orchid out of its pot and inspect the roots. If all the roots look mushy and brown, the orchid is unfortunately too far gone and can’t be saved. It happens to the best of us, and there’s no harm in getting another plant and trying again!
But what if you find some healthy, fleshy roots among the dead ones during your inspection? Well, first, celebrate! All is not lost. Take some sterilized scissors or shears and trim off the decayed parts so that only the healthy roots remain. Discard the old soil, clean out the pot, and repot your orchid with its newly trimmed roots in fresh soil.
Relocate your orchid
Bud dropping is perhaps the easiest problem to solve when it’s not paired with any of the above symptoms. Are the leaves wrinkling? Turning yellow? If the answer to both of those is no, chances are your orchid just needs to be relocated. An orchid in an area that’s too low in humidity or is near chemical fumes (like paint) will exhibit bud dropping. You can correct this by relocating it to an area with higher humidity, like a well-lit bathroom or an area that’s away from harmful toxins.
If there are no chemicals around the plant, you can also choose to increase humidity in the plant’s current location instead of trying to find a new spot for it. You can buy a small plant humidifier or place your plant near a shallow tray with pebbles and water.
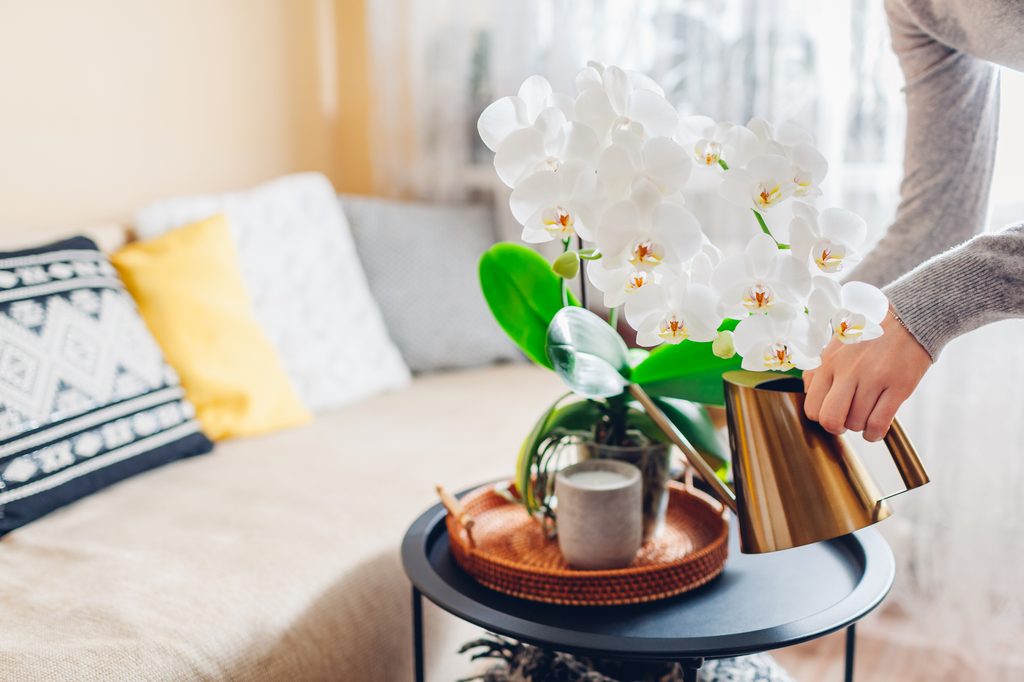
Care tips for keeping your orchid happy and healthy
Once you’ve gotten your orchid cleaned up, the key to making sure it stays as healthy as possible is proper care. The roots of the orchid are designed to soak up water and absorb oxygen, so they need a lot of airflow to thrive. Choose a pot with air holes, make sure you don’t pack down the potting mix, and avoid covering the roots in anything that would keep them from getting the air they need. Use an orchid-specific potting mix, which is usually made of things like bark and cork.
You also want to keep the plant’s natural tropical habitat in mind. Orchids like consistently high humidity and prefer to be in a space above 50 degrees Fahrenheit but below 85 degrees Fahrenheit. When the blooms are spent, you can either snip off the stem at the base or leave the stem in hopes of a rebloom. They also enjoy bright light, but keep them away from direct afternoon sun.
Orchid watering techniques
Getting your orchid watering just right can spare you the headache of dealing with pests and rot. When you’re watering your orchid, try to water the potting mix evenly instead of watering the flowers and leaves. Because getting water on the leaves and flowers can lead to rot, you’ll want to avoid misting as well. You also want to follow a set watering cadence, regularly watering your plant to avoid shriveled roots and unhealthy blooms.
You may have heard rumors about people using ice cubes to water orchids. While you might have success with this watering method, you should be on the lookout for signs of shock and rot, as ice does not melt evenly around the roots and may be too cold for your orchid’s root system. To try out this technique, you’ll want three ice cubes for a 5- to 6-inch planter.
How to tell if your orchid is beyond saving
These tips and tricks can pull most orchids back from the brink of death. But if the problems have gone on too long, then your orchid might be beyond saving. However, it can be tricky to tell if an orchid is fully dead. To figure out if your orchid can be saved or if it’s time to say goodbye, look at the base of the stem where the roots attach. If the base of the stem and tops of the roots are brown and mushy, then the root rot has spread too far. If the base of the stem and top of the roots are firm, then you may be able to revive your plant.
Reviving a dying orchid isn’t an impossible task — you just have to know the plant, identify the problems, and act fast to find a solution. In most cases, your plant will have a good chance of surviving and thriving with continued care and maintenance.


