
Spinach is a popular cool-weather crop that’s grown in many garden beds and homes. Plus, spinach can be grown hydroponically and in soil, making it a versatile crop. However, spinach seeds can be a bit finnicky when it comes to germinating. The weather and how they're prepared can make a huge difference in how long they take to germinate, which can make them a frustrating crop for beginners. If you know the proper steps, germinating your own spinach seeds is quite rewarding, though. Luckily, this guide will walk you through everything you need to know about spinach germination time.

Preparing your seeds for germination
Spinach germination occurs in three stages: absorbing moisture, growing new cells, and sprouting. Each stage needs to happen in an environment that’s between 40 and 75 degrees Fahrenheit for germination to be successful. Although never guaranteed, it’s possible that you’ll have more sprouts at the end by slightly prolonging the second stage.
When planning out your spinach germination time, you should start with a process called priming.
Step 1: Soak the spinach seeds in room-temperature water for about 24 hours.
Step 2: Place the soaked spinach seeds on a paper towel and leave for a day or two.
Step 3: Move the seeds to an airtight container and store them somewhere cool for about a week. Because of the priming, the seeds will have enough moisture to undergo the first two stages of germination before being planted, after which they should germinate in about five days.
Sowing the sprouted seeds
Spinach seeds can be sown as soon as you’re able to work the soil, which is often up to six weeks before the last frost of winter. (Remember that it’s a cool-weather crop, so as long as daily temperatures are mostly above that 40-degree range, you’re good to go.)
Step 1: If you know that you’re going to want to grow spinach from seed during the next growing season, prepare the soil the fall before while it’s still easily workable. This lets you drop the seeds in when with little hassle when it's time to plant.
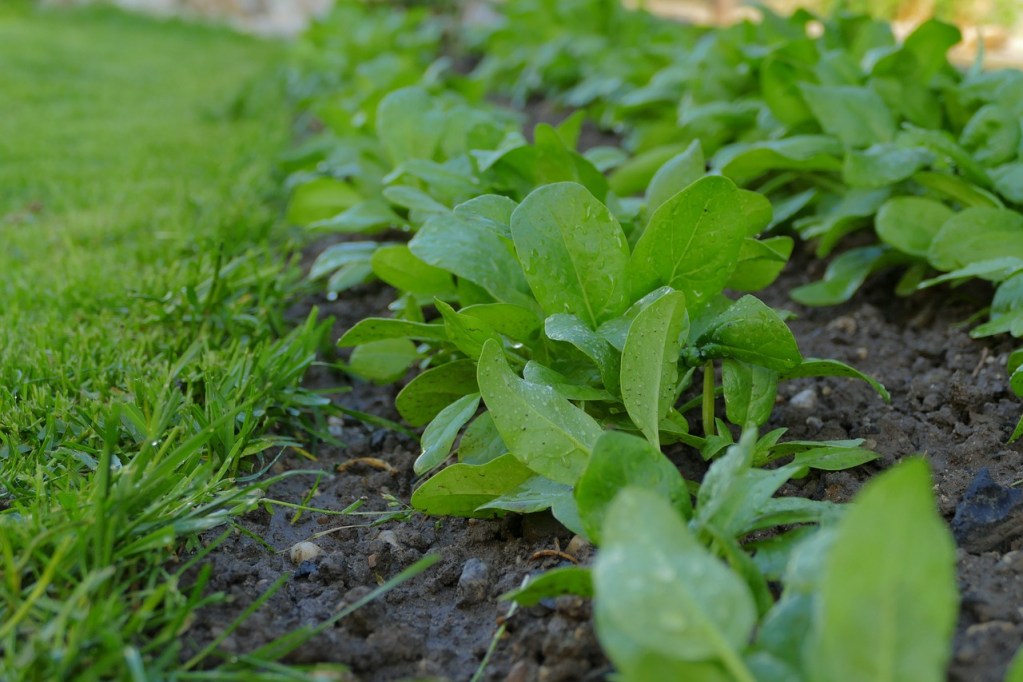
Step 2: Plant the seeds in moist, nutrient-rich soil. The soil should be loosened about a foot deep prior to planting, as the spinach will form a deep taproot as it grows.
Step 3: Keep the soil moist to increase the chances of successful germination. Spinach doesn’t like to be soggy, but it doesn’t like to be dry, either.
Step 4: Thin out the seedlings once they have at least two true leaves. The remaining plants should be roughly 4 to 6 inches apart to allow for sizable growth. As the spinach plants grow, you’ll want to carefully maintain them. A crowded spinach plant will more likely go to seed early on.
Growing spinach hydroponically
If you don’t have a garden bed or are interested in growing crops hydroponically to make things a little easier, you’re in luck. Growing spinach hydroponically is fairly easy by varieties like the Bloomsdale or Noble Giant, which are better suited for hydroponic systems.
Seeds for these varieties can be purchased online or possibly at a local gardening store. If you have a variety you like, though, give it a try. Most spinach varieties can be grown hydroponically.
Harvesting your spinach
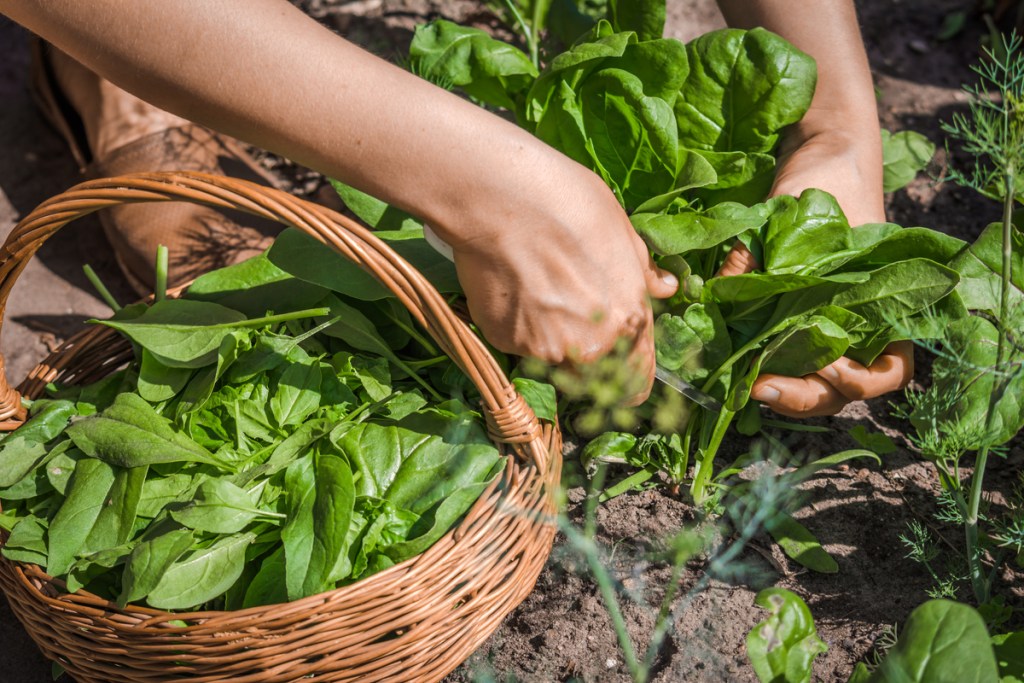
Spinach, whether grown hydroponically, in containers, or in a garden bed, can be harvested roughly six to eight weeks after planting as long as the leaves are 3 to 4 inches long.
Step 1: Start by using sterilized shears or scissors to cut the outside/older leaves first to give newer leaves more time to grow and mature.
Step 2: Once the plant starts to bolt (or go to seed), harvest the remaining leaves. A plant that goes to seed starts conserving its energy, which will result in more bitter-tasting leaves.
Troubleshooting problems with your spinach
Spinach blight is spread by aphids. Plants that have been affected will have stunted growth and yellowed leaves. And if you notice yellow spots on the surfaces or mold on the underside, chances are your spinach has been affected by downy mildew. Luckily, there are spinach varieties that are resistant to both these diseases that you can plant if you don’t want to take the risk.
Pests usually aren’t a problem since spinach grows during colder parts of the season; however, it’s possible that leaf miner larvae will burrow into the leaves. You can identify them by the tan patches they leave behind.
Step 1: If you notice any leaf miner damage, immediately remove and dispose of the affected leaves to prevent any adult pests from causing more harm to the crop.
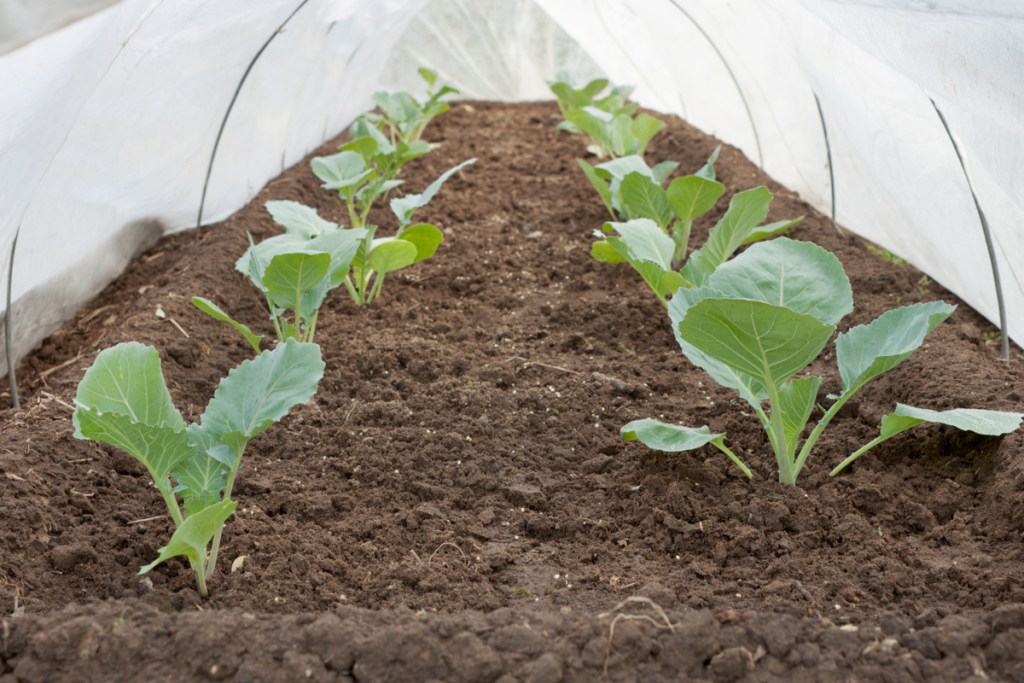
Step 2: Cover your spinach seedlings and plants with a floating row cover to avoid future leaf miner infestations.

Harvesting and storing spinach seeds
Saving seeds from your spinach is easy - the only thing it takes is patience. In order to harvest seeds, you'll need to let your spinach bolt. Typically, this is something gardeners want to avoid, as bolting makes the leaves bitter and unpleasant to eat. However, it also means the spinach will put out a flower spike, which is where the seeds form.
Like most cool-weather crops, spinach bolts more quickly in warm weather. This makes early summer the perfect time to collect seeds. Simply leave a few spinach plants in your garden after your last spring harvest and you should begin seeing flower spikes in no time.
Once the flowers have bloomed, you'll begin seeing flowers closing and seed pods forming. Let the stalks dry completely to ensure the seeds have plenty of time to develop. You can leave the stalks in the garden and the seeds will eventually drop off and reseed on their own. You can also cut the stalks and remove the seeds for later planting. Place the harvested seeds in a bag or jar and store them in a cool, dry place.
With just some seeds and a little bit of patience, you can grow tasty spinach right from your own garden to enjoy all growing season long.


