
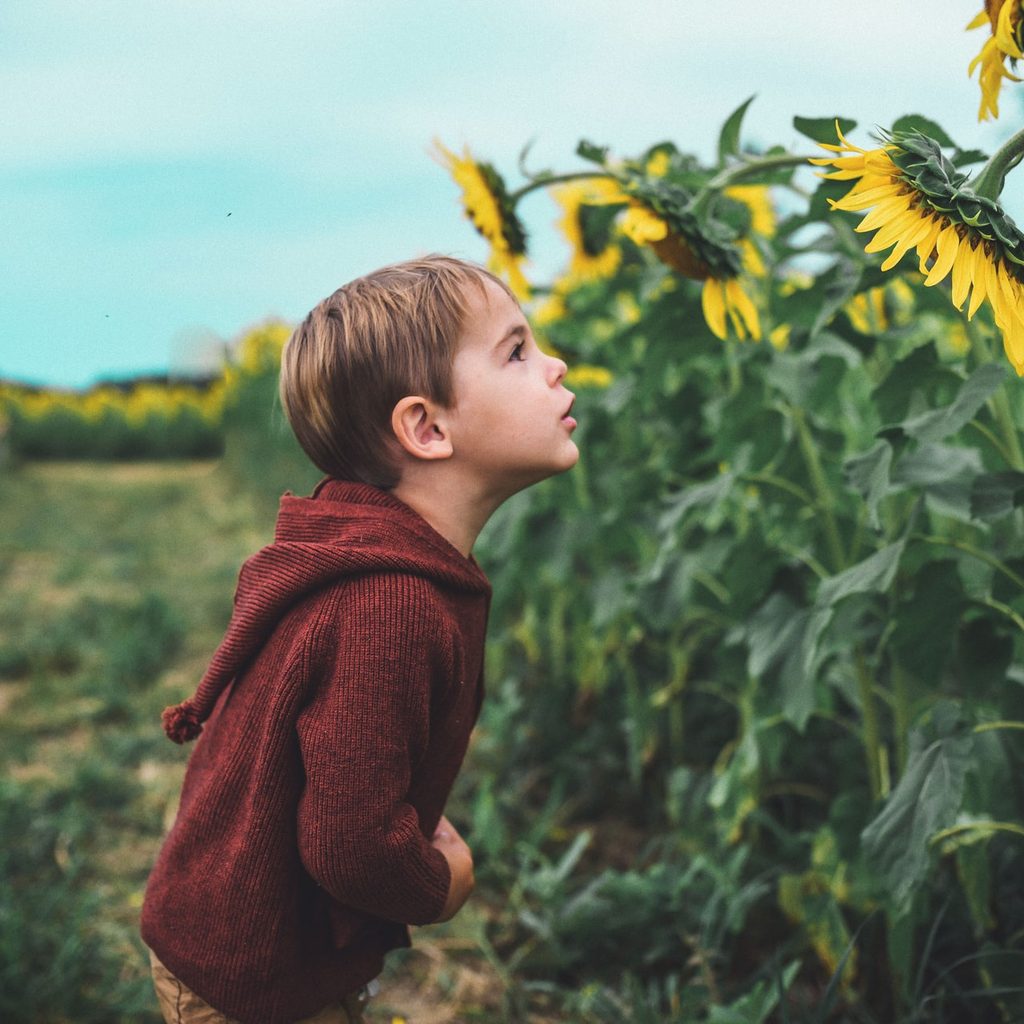
Sunflowers are an easy-to-grow and iconic late-summer, early-fall bloomer that’s instantly recognizable. They can be cut to decorate your home or planted to add color and variety to landscaping. Not just that, but sunflower seeds can even be harvested as a tasty snack. No matter the reason you’re in love with these flowers, it’s common to wonder if you can plant them in late summer and still enjoy blooms. Keep reading for the full scoop!

Can you plant sunflowers in late summer?
Like most gardening-related questions, the answer is: maybe. It depends on which USDA zone you’re located in, the variety of sunflower you wish to plant, and just how late in the summer you’re thinking of growing them. In zones 8 and higher, you’ll likely have success with a late-summer sowing of sunflower seeds. However, they may be shorter and produce fewer blooms because of the shorter days and decreased sunlight.
You’ll also want to watch out for early frosts. Frost will burn or kill your sunflower plants and result in no blooms at all. You can either cut the flowers and bring them indoors or try to cover them on chillier nights. To avoid any disasters, it’s best to begin sowing sunflower seeds no later than mid- to late August in these zones.
It takes an average of 55 to 70 days for sunflowers to begin producing flowers after being planted. As long as you have at least that many days between before the end of your growing season (the first frost date), you should be good to go to plant late-season sunflowers.
How to plant sunflowers for the most blooms in fall
While it’s safe to sow sunflower seeds even in late summer (in zones 8 and higher), to get the most out of sunflowers and their striking blooms, here’s what you should do.
Plan ahead
The best way to get the most out of any garden is to plan, plan, plan. This means gathering seeds, drawing out a garden map, and planning what will go where and when. This way, when the time comes to plant, you’re not rushing around trying to get everything ready––or worse, giving up. Buy a dedicated calendar for gardening and mark when your sunflowers need to be directly sown into the ground.
Stagger your planting times
If you plant all of your sunflowers in the first week of planting season, they will all bloom and die at the same time. To prolong the blooming phase and the amount of enjoyment you’ll get out of the flowers, try succession planting. This means you plant a certain amount of flowers one week, then another amount the next week, and so on. Then you’ll get a new group of flowers blooming every week, and your garden will have that sunshiny color for weeks.
Sow the seeds directly in the ground
While many plants like tomatoes or zucchini don’t mind getting transplanting from seed-starting trays, sunflowers don’t like their roots to be disturbed. You might have some success in starting sunflowers indoors, but to get the most out of them and to achieve big, healthy blooms, sow them directly into the ground where you want them to grow.
Feed your sunflowers heavily
Sunflowers are always hungry! You’ll want to fertilize them more often than you might be used to with other flowering plants. Since they grow so tall so quickly and have to support large blooms, they need a lot of food to be sturdy and healthy. Use either a slow-release fertilizer early in the season or fertilize the plants with organic compost or liquid fertilizer every two weeks during their big growing season.
Avoid high-wind areas
Sunflowers are notorious for being tall and having big flowers. Unfortunately, this combination can end in disaster if the sunflowers are planted where high winds can knock them over. If you can, plant sunflowers near a fence or beside a shed where they’ll sheltered from the wind and will be less likely to topple over.

How to care for sunflowers
Plant sunflowers about 6 inches apart and 1 to 1.5 inches deep. When planted, supply the seeds with plenty of fertilizer upfront, then wait to fertilize again until the plant has become established. At that point, you’ll also want to begin watering heavily to encourage deep, strong roots. As the plants grows taller and taller, you might want to provide them with additional support using bamboo stakes. The stakes are strong enough to support the flower, but they won’t distract from the plant’s beauty.
Whether you want to grow sunflowers to decorate your table or you love snacking on sunflower seeds, or you just enjoy these sunny giants, these plants are a favorite among novice and veteran gardeners alike. Once you try them yourself, you’ll see why—no matter when in the season you get started!


