
Wondering how to grow chives from seed? Whether you’re a foodie who prefers fresh herbs for cooking or you’re an aspiring gardener who’s ready to test your green thumb, chives are a great plant to start your herb garden adventure. Chives are relatively low maintenance and easy to grow. Even better: they have a versatile, light oniony taste that complements soups, dips, roasted veggies, omelets, and more. (Although it might surprise you to learn that they aren’t the same thing as green onions!)
Here, we’ll teach you how to grow chives from seed outside in a garden or from the windowsill of your own kitchen.
Are chives easy to grow from seed?
Growing your own chives is as easy as providing your plant with the basics: sunlight, water, and space to spread its leaves. The seedlings can be planted outside in the spring once temperatures on the ground hit about 65°F, but it’s best to start indoors when growing chives from seed. This gives them a head start before the optimal warmer growing season, when they can really thrive. Bonus: this hybrid growing method means you can enjoy them sooner and longer. You can start planting your seeds indoors about a month before temperatures begin to warm up or just after the last predicted frost.
Nonetheless, chives are a perennial plant, meaning once planted, they’ll grow back each season on their own with little to no help from you. In fact, you’ll probably see their light purple edible flowers and tall, green leaves as one of the first plants to sprout in your garden each spring.
The best environment for growing chives
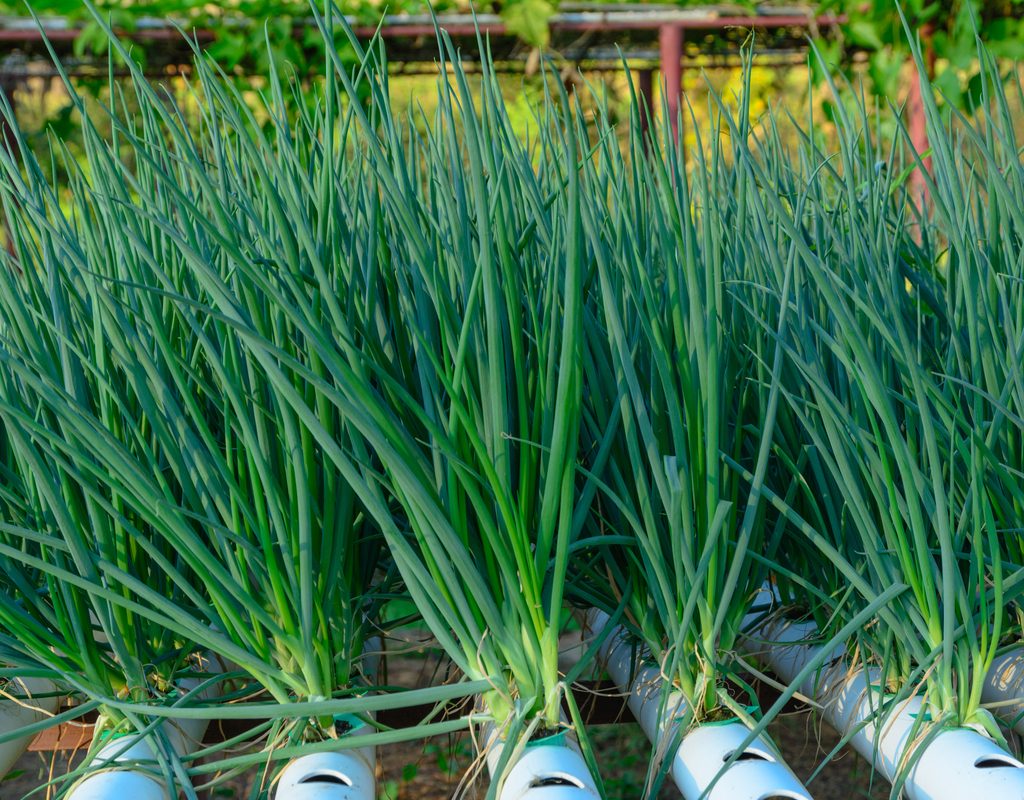
While chives are extremely laid back when it comes to maintenance, they thrive on sunlight.
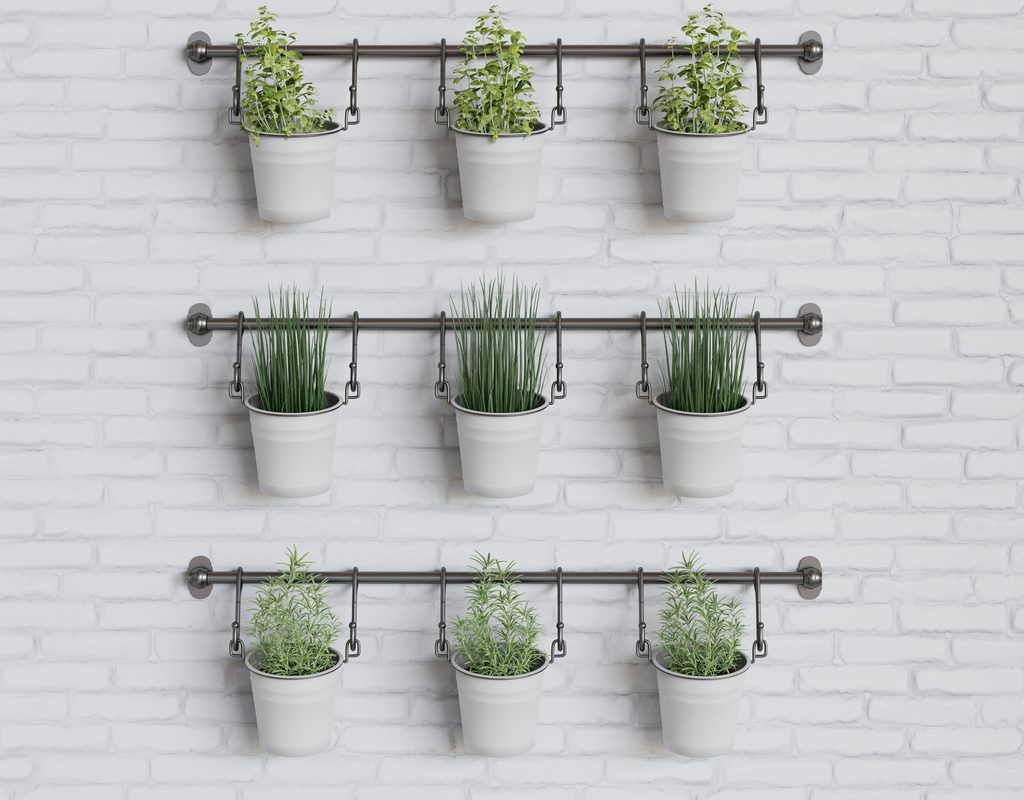
If you’re growing chives from seed indoors, ideally you should find a windowsill where they can get at least six hours of sunlight per day. If the chives begin to grow toward the light, you can rotate the pots to ensure they receive even sun exposure. No bad tan lines here! If full sun isn’t possible, you can always supplement with a grow light positioned about a foot from the plant.
Chives also appreciate a little humidity, so you can place other potted plants close by, use a water bottle to mist the leaves, or place a small pebble tray filled with water nearby. You can keep the soil slightly moist, too, as long as there’s proper soil drainage.
A good practice is to water your chives as soon as the top of the soil is dry to the touch. If you forget to water your plant for a little bit, don’t worry—it will probably still survive. And make sure your pot has holes in the bottom for drainage so that the plant isn’t sitting in damp soil that can rot the roots.
During the warm seasons, apply a diluted water-soluble fertilizer twice a month to help your chive plant thrive. When seasons change and it starts to cool down outside, the chives will grow much more slowly; most likely, they will eventually die back. But don’t fear—clear out the dead foliage, water every now and then through the winter, and the chives will grow back as soon as the weather starts to warm up again.
How do you start chives from seed?
When you start growing chives from seed, it’s important to plant them in fertile and well-drained soil, such as a standard potting mix. The soil should also only be lightly fertilized, as too much fertilizer will affect the taste of the chives. We don’t want that!
To begin planting, dampen the soil (but don’t let it get soggy) and place it in a pot until the soil depth is about 6 inches. Spread the seeds out over the soil and cover with a thin layer of dampened soil. Then, place the pot in a sunny spot and wait. Things will start to get exciting in about a week to 10 days, when seedlings will start to pop up.
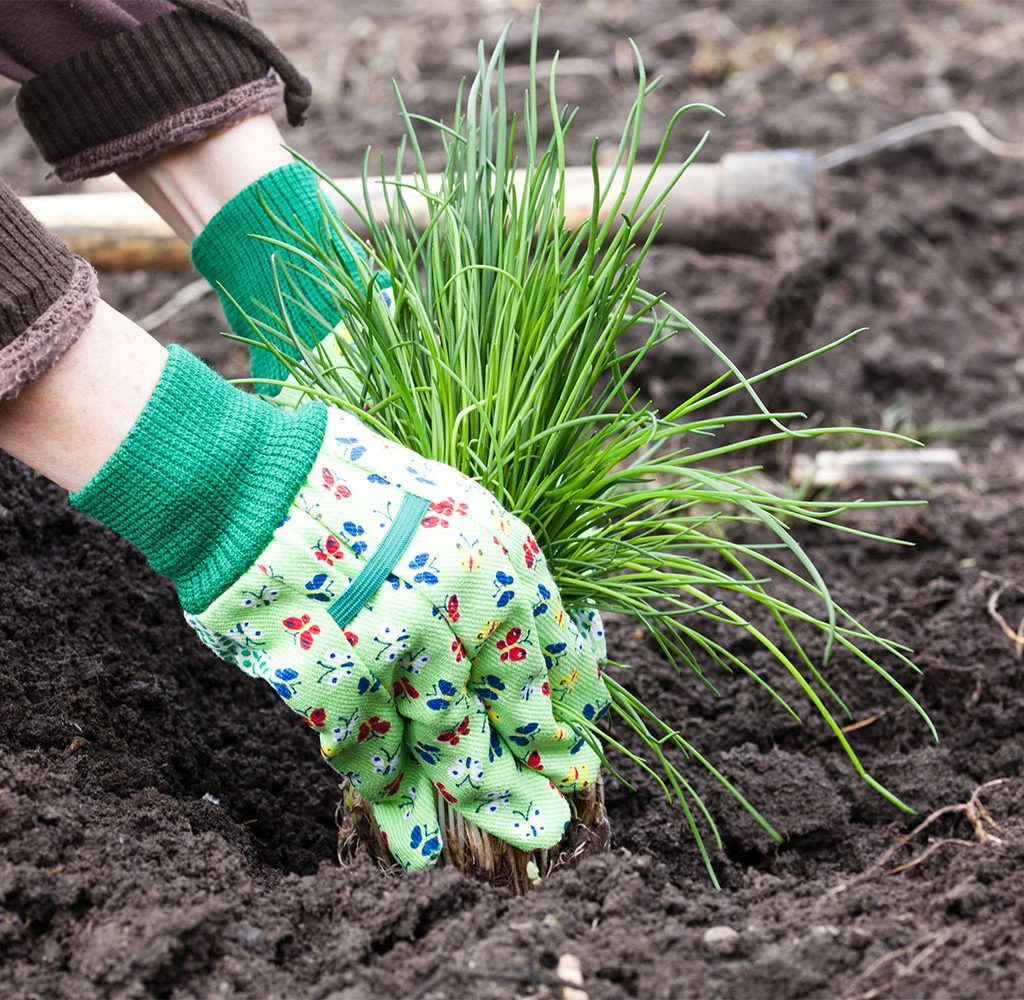
You can, of course, keep your chives inside in your kitchen for added convenience while cooking. However, if you do choose to move them outside, wait until the temperature is right and the seedlings are at least 2 inches in height. An added bonus of growing chives outdoors: they’re known to help keep pests away. While you’re at it, why not also plant some additional vegetables and herbs that make good companion plants and will be extra tasty when it comes time to harvest?
When should you harvest chives?
Here’s something you might not know: The entire chive plant is edible. You can eat the leaves (the part most people eat), the blossoms, and the bulbs, if you like. You should wait until the plant is at least 6 inches tall to begin harvesting; however, if you plan to use a lot of chives while cooking, the taller you let the plant get, the better.
Start your harvest by cutting the flowers, as they can restrict the growth of new leaves. To do so, cut the blossoms at the base of their stems. You can use them as a garnish or salad topper, or if you’re feeling really thrifty, you can use them to make chive blossom vinegar.
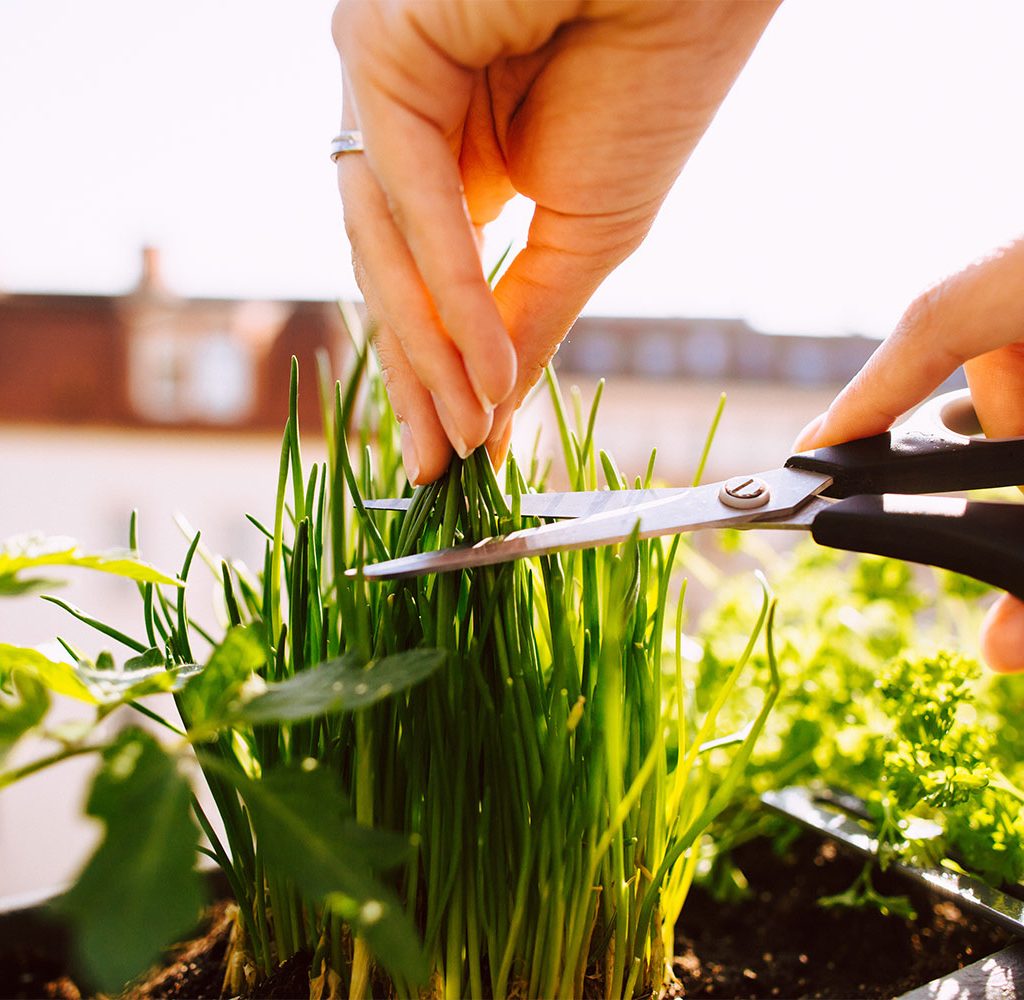
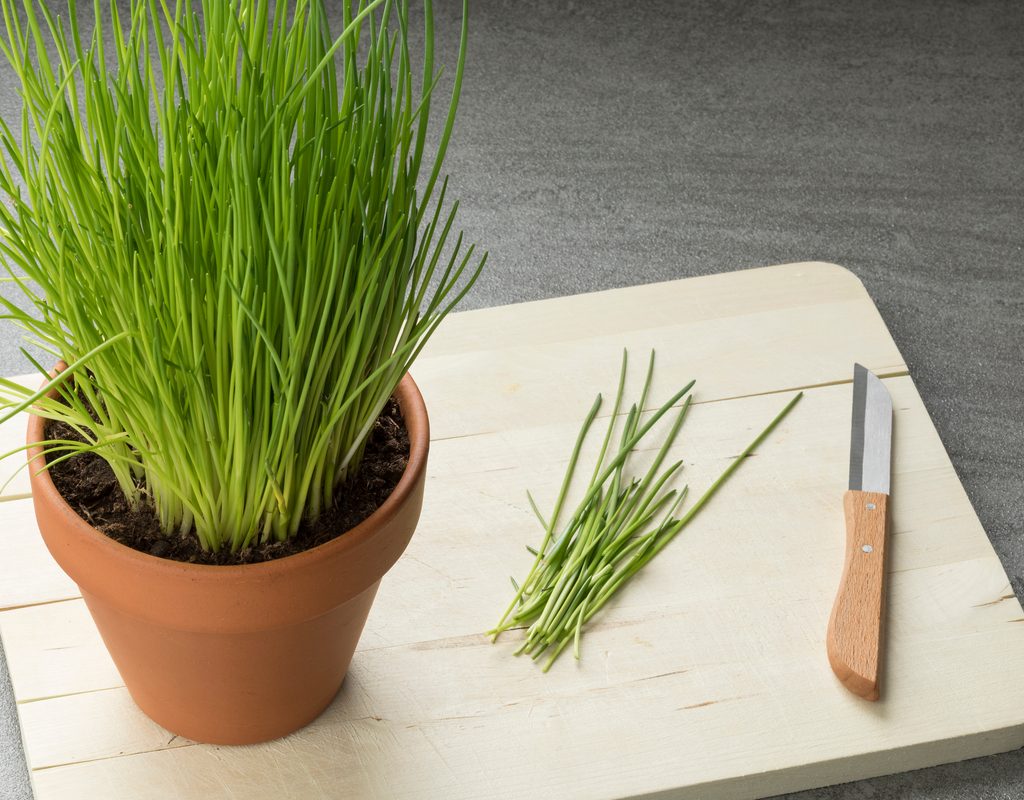
The leaves can be cut several times throughout the growing season, but you should start with the outer ones first and then work your way in toward the center of the plant. Use scissors to clip them 2 inches above the soil to ensure they’ll continue to grow during the rest of the season.
As long as you follow these steps for growing your chives, you should end up with a healthy plant and a happy gardener. Plus, if you transfer your chives outdoors, you’ll have minimal work and plenty of rewards for years to come.


