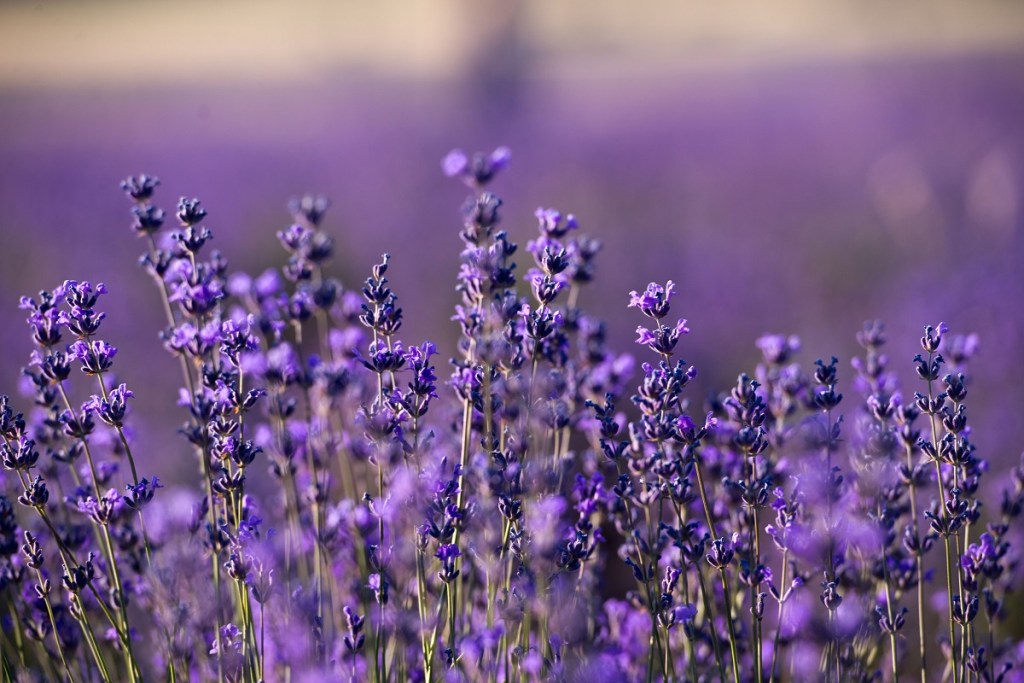
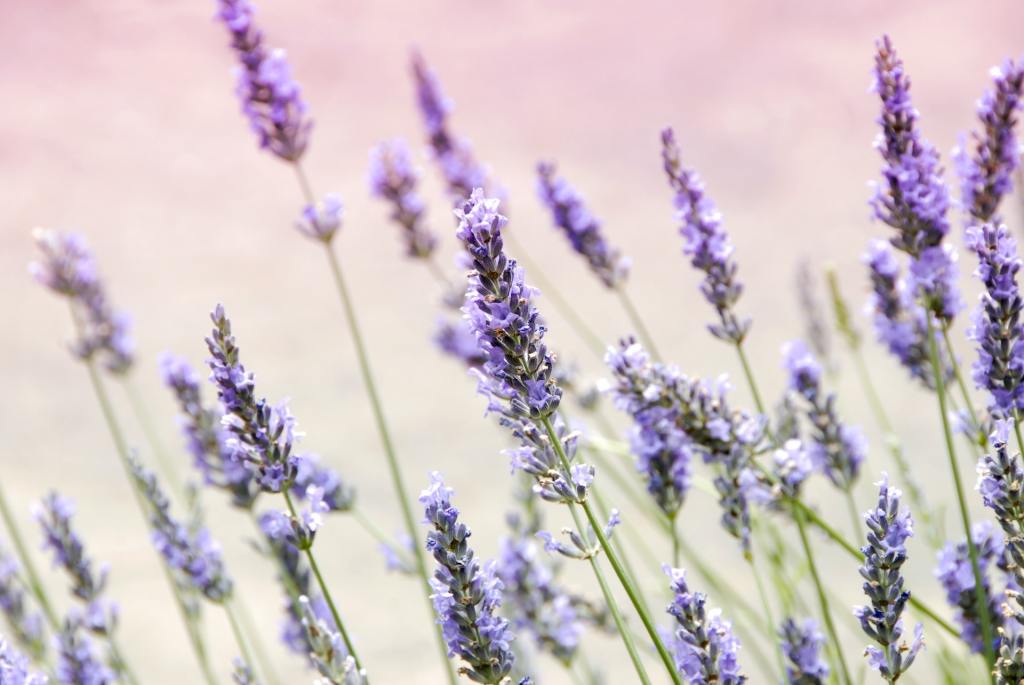
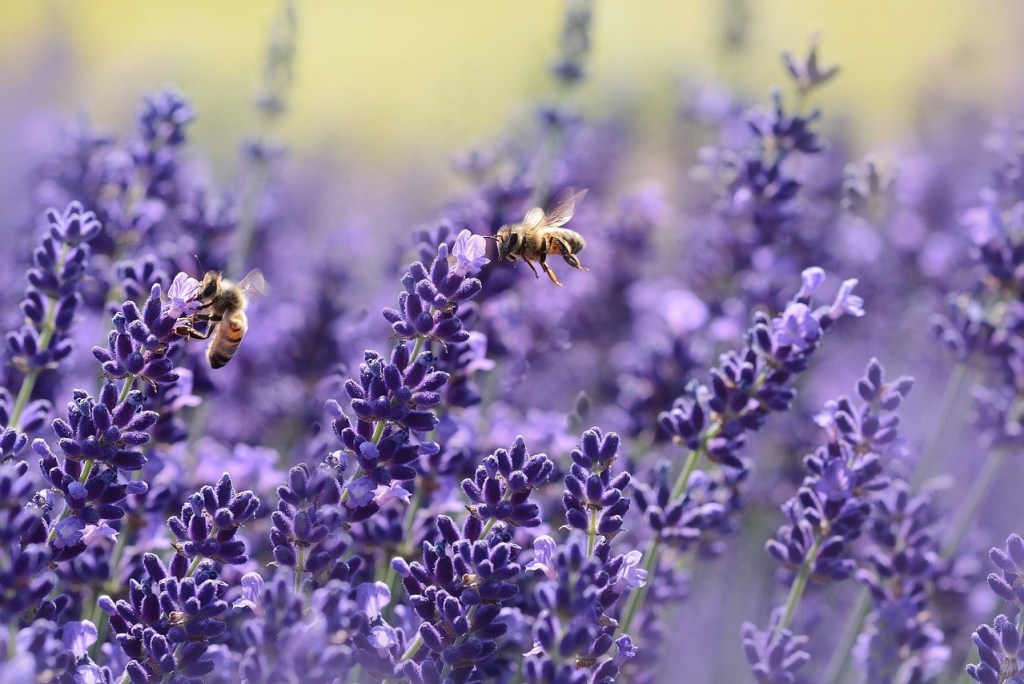
Lavender is a beautiful and useful flower. Whether fresh or dried, lavender's smell, taste, and color can brighten any room, baked good, or beverage. It’s scent is also great for stress relief, both in dried potpourri and as an oil. It’s only natural to want to fill your garden with it, especially since it is low-maintenance and attractive to pollinators. What if you only have one plant and you don’t want to wait for seeds, though?
Luckily, lavender cuttings are incredibly easy to propagate. In fact, it’s one of the best herbs to propagate. If you want to know how to propagate lavender, this simple guide will walk you through each step.
How long do lavender cuttings take to root?
The time it takes depends somewhat on the type of lavender cutting you use and the method you use to propagate it, but it’s only a matter of weeks. Here's what to know about rooting times:
Softwood cuttings — cuttings that are taken from younger plants and are still flexible — take two to four weeks to put out roots.
Hardwood cuttings — which come from more-mature plants — take three to six weeks but are generally hardier.
How do you take cuttings from lavender?
Step 1: Select what kind of cutting you want.
Softwood cuttings root faster, but they aren’t as reliable and don’t do well propagating in water. Hardwood cuttings are hardier and do better in water, but they take longer to root.
Step 2: Select a stem that is healthy, with a good color, no damage or off-colored spots, and has leaves but no buds.
When a plant starts to flower, it puts a lot of energy into making that flower, which means it has less energy for making new roots. It isn’t impossible to root a stem that has a bud, but it is certainly more likely to fail.
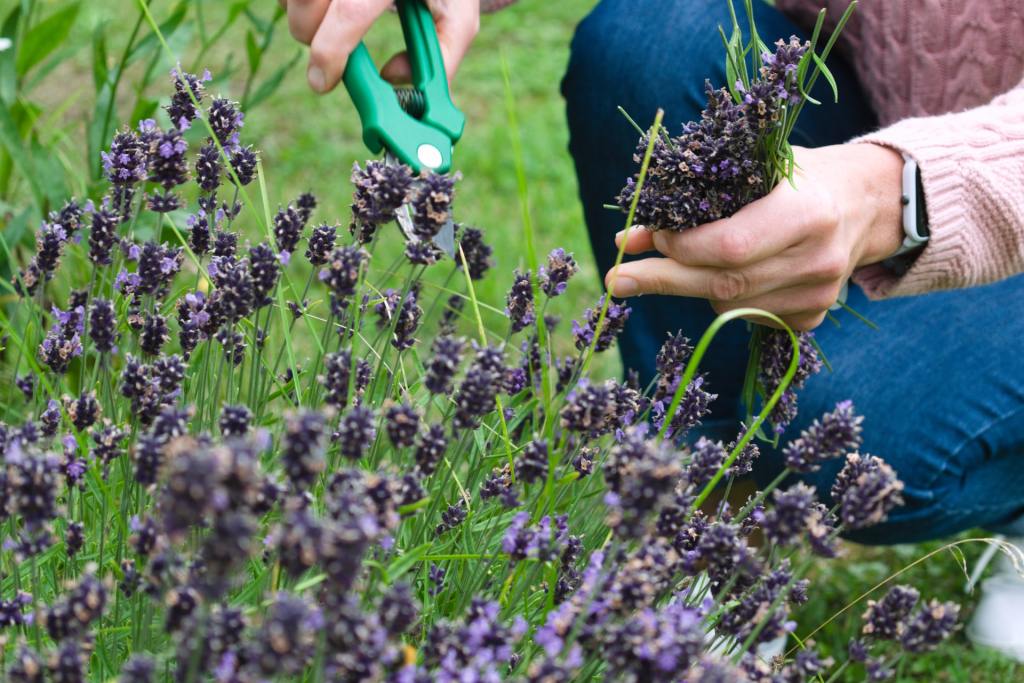
Step 3: Make sure your knife or garden scissors are sharp.
If your blade is dull, it will tear or crush the stem, damaging both the cutting and the plant you’re cutting from. A sharp blade cuts cleanly through, allowing the remaining plant to heal quickly and your cutting to put out roots.
Step 4: Decide how long to make your cutting.
Your cutting should be 3 to 4 inches long, although a hardwood cutting from a mature plant can be a little longer.
Step 5: Consider how tall your plant is.
You want to leave at least as much as you’re taking, so if your plant is only 5 or 6 inches tall, you should wait a while before cutting.
Step 6: Strip the leaves from the bottom few inches of your cutting and place them to the side for use in cooking or potpourri.
Step 7: Take the edge of your knife and gently scrape away some of the skin on the bottom of the cutting.
This focuses your cutting’s attention on this area and encourages it to put out roots.
Step 8: Apply rooting hormone to the end of the cutting.
This step is optional, as lavender typically roots well enough without it.
Step 9: Stick your cutting into a container of soil or water, whichever is your preference.
Step 10: Make sure that the section of cutting without leaves is fully embedded and that your lavender is standing up straight.
Step 11: Check on root growth by gently pulling on the cutting every few days and feeling for resistance.
Just be very careful not to pull too hard or too often, as this could damage the young roots. Cuttings propagated in water can be checked visually, without pulling.
What month should I take lavender cuttings?
Softwood cuttings can only be taken in spring when the growth is young and fresh. Hardwood cuttings can be taken anytime, typically in spring or fall. In general, spring or summer months are the best bets for your lavender cuttings. Here's how to time your cutting just right:
Step 1: Take your cutting either before the plant puts out buds or after the flowers have already bloomed and died.
Step 2: Keep in mind that the warmer the month, the stronger the cutting will be.
Why do my cuttings keep dying?
If you’re taking cuttings from lavender and they keep dying, a few things might be happening. Here's how to troubleshoot your cuttings:
Step 1: Check on the soil.
If it’s too dry or too consistently soaked, it’ll inhibit growth, so adjust your watering accordingly.
Step 2: Make sure that the water is kept consistently clean.
This includes refreshing the water of a cutting that is rooting in water and occasionally rinsing out the container.
Step 3: Place the cutting in bright, indirect light.
Direct light can cause damage to the cutting, while too much shade can slow its growth.
Step 4: Make sure the cutting isn't much longer than four inches.
A cutting that is too large will struggle to adapt and root.
Can you root lavender in water?
Lavender cuttings can be rooted in water very simply. Here's what to do:
Step 1: Place your lavender cutting in a vase or other container that is half to three-quarters full of plain, room-temperature water.
Step 2: Remove any leaves that touch the water.
Wet leaves will rot, which is unpleasant for you and your plant.
Step 3: Use a container that is tall enough to support your cutting.
Any type of container will work, but it is easier to monitor your cutting's roots in a clear one.
Step 4: Keep an eye on the water level and replenish it when necessary.
Step 5: Avoid getting the leaves wet when adding more water to your container.
Step 6: Wait until the roots are thick to transplant.
Cuttings rooted in water will start producing roots more quickly than those rooted in soil, but thicker roots have a higher likelihood of surviving the transition to soil
Transplanting your lavender cuttings
Once your lavender cuttings are rooted, you can transplant them into a pot or your garden. Cuttings rooted in soil may not need to be transplanted until they have outgrown their starting pot. If you plan on moving your lavender into your garden, you should wait until spring, after the ground has thawed and the frost has passed. If your lavender will be staying indoors, you can begin during any season.
Here's how to transplant your lavender cuttings:
Step 1: Prepare your pot or planting site.
The soil should be light and well-draining, and an outdoor planting site should be in full sun. Lavender will grow in any container with drainage holes, but does best in terracotta or unglazed clay pots, as these can absorb excess water.
Step 2: Remove the cutting from its old pot or water.
Be gentle when removing the cutting from soil to avoid damaging the roots. Gently brush off excess soil or water.
Step 3: Place the cutting in its new home and fill the soil in around it.
Make sure the roots are spread out in the hole when you place it. Pat the soil into place gently, so that it is firm enough to support the cutting but not densely packed.
Step 4: Water your cutting.
Step 5: Watch for signs of transplant shock.
It may take some time for your cutting to adjust to its new home. With attentive and consistent care most plants can recover from transplant shock. However, some cuttings may not. Don't get discouraged.
Lavender is a versatile plant — it even works great in a drought-tolerant garden. Propagating lavender can be easy, fun, and productive. Now that you know the ins and outs of lavender cuttings, you can have a garden full of lavender, ready to sweeten your garden and your life.